
Customer objects
Record what your customers own that you work on — a horse, a car, a boiler — and tie each appointment to the right one.
A farrier does not visit Mrs de Boer, but her horse Bella. A garage does not service the customer, but their car with plate AB-123-C. And an installer who maintains both a boiler and a heat pump at one customer's wants to know which of the two the last visit was about. That is what objects are for: the things a customer owns that you work on, each with a page of its own, its own fields, notes and the appointments that were for it.
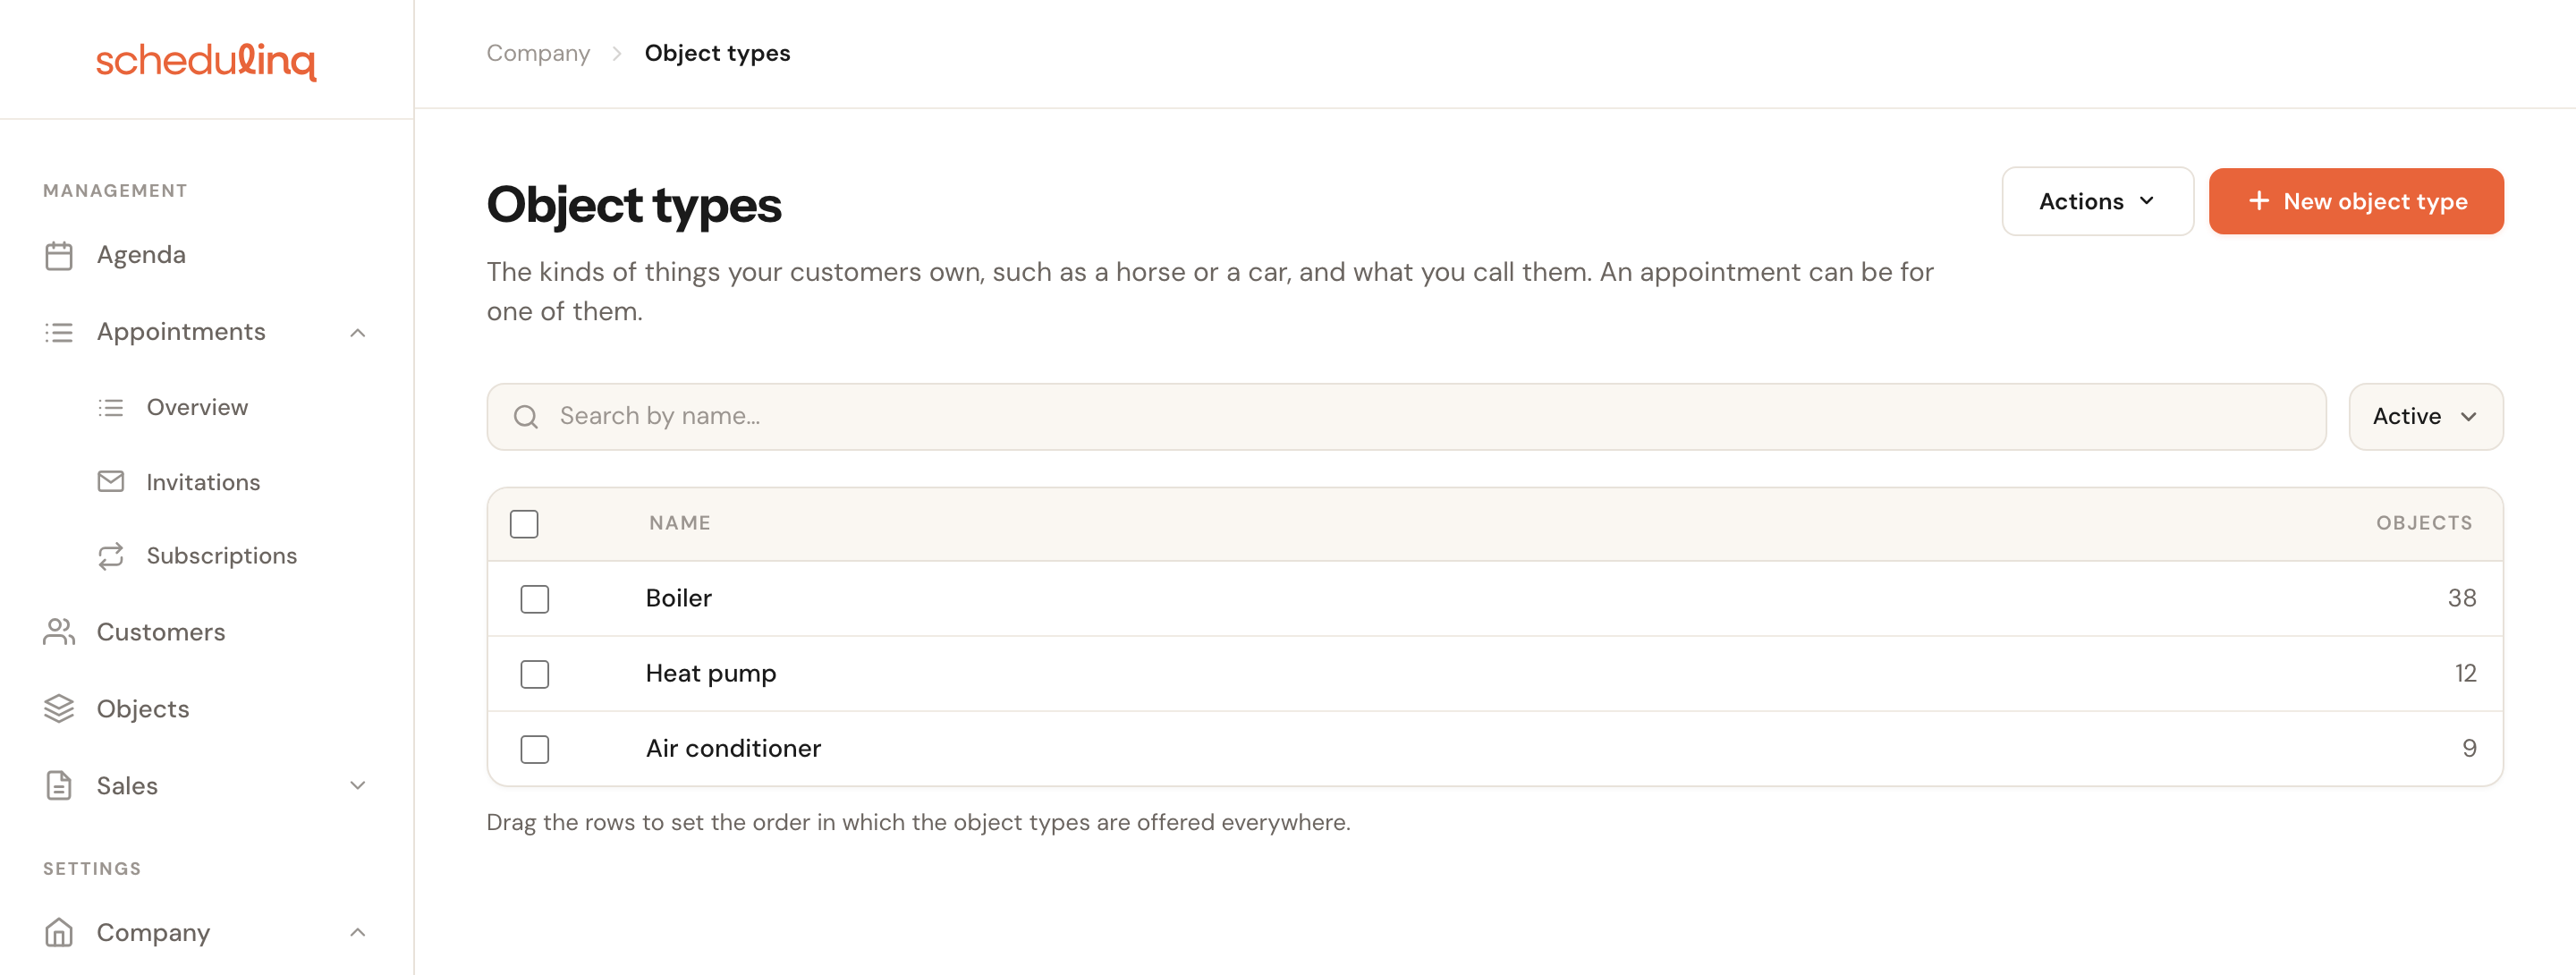
1Under Company → Object types, set up the kinds of things your customers have.
In short
- Under Company → Object types, create the kinds your customers have, such as Boiler and Heat pump.
- Give your objects a name of your own if you like, on the same page under Actions → Change naming.
- To record something per object, such as a serial number, create a field under Company → Custom fields on the Object tab.
- Open a customer, go to the Objects tab and click New.
- On an appointment, invitation or subscription, choose which object it is for under Object.
Creating object types
An object type is a kind of thing: Horse, Car, Boiler. Every object belongs to one type. As long as your company has no object type, you see nothing of objects anywhere — no tab on the customer record, no menu item, no choice on an appointment.
Go to Company → Object types.
The list shows how many objects there are of each type. Click New object type to add one.
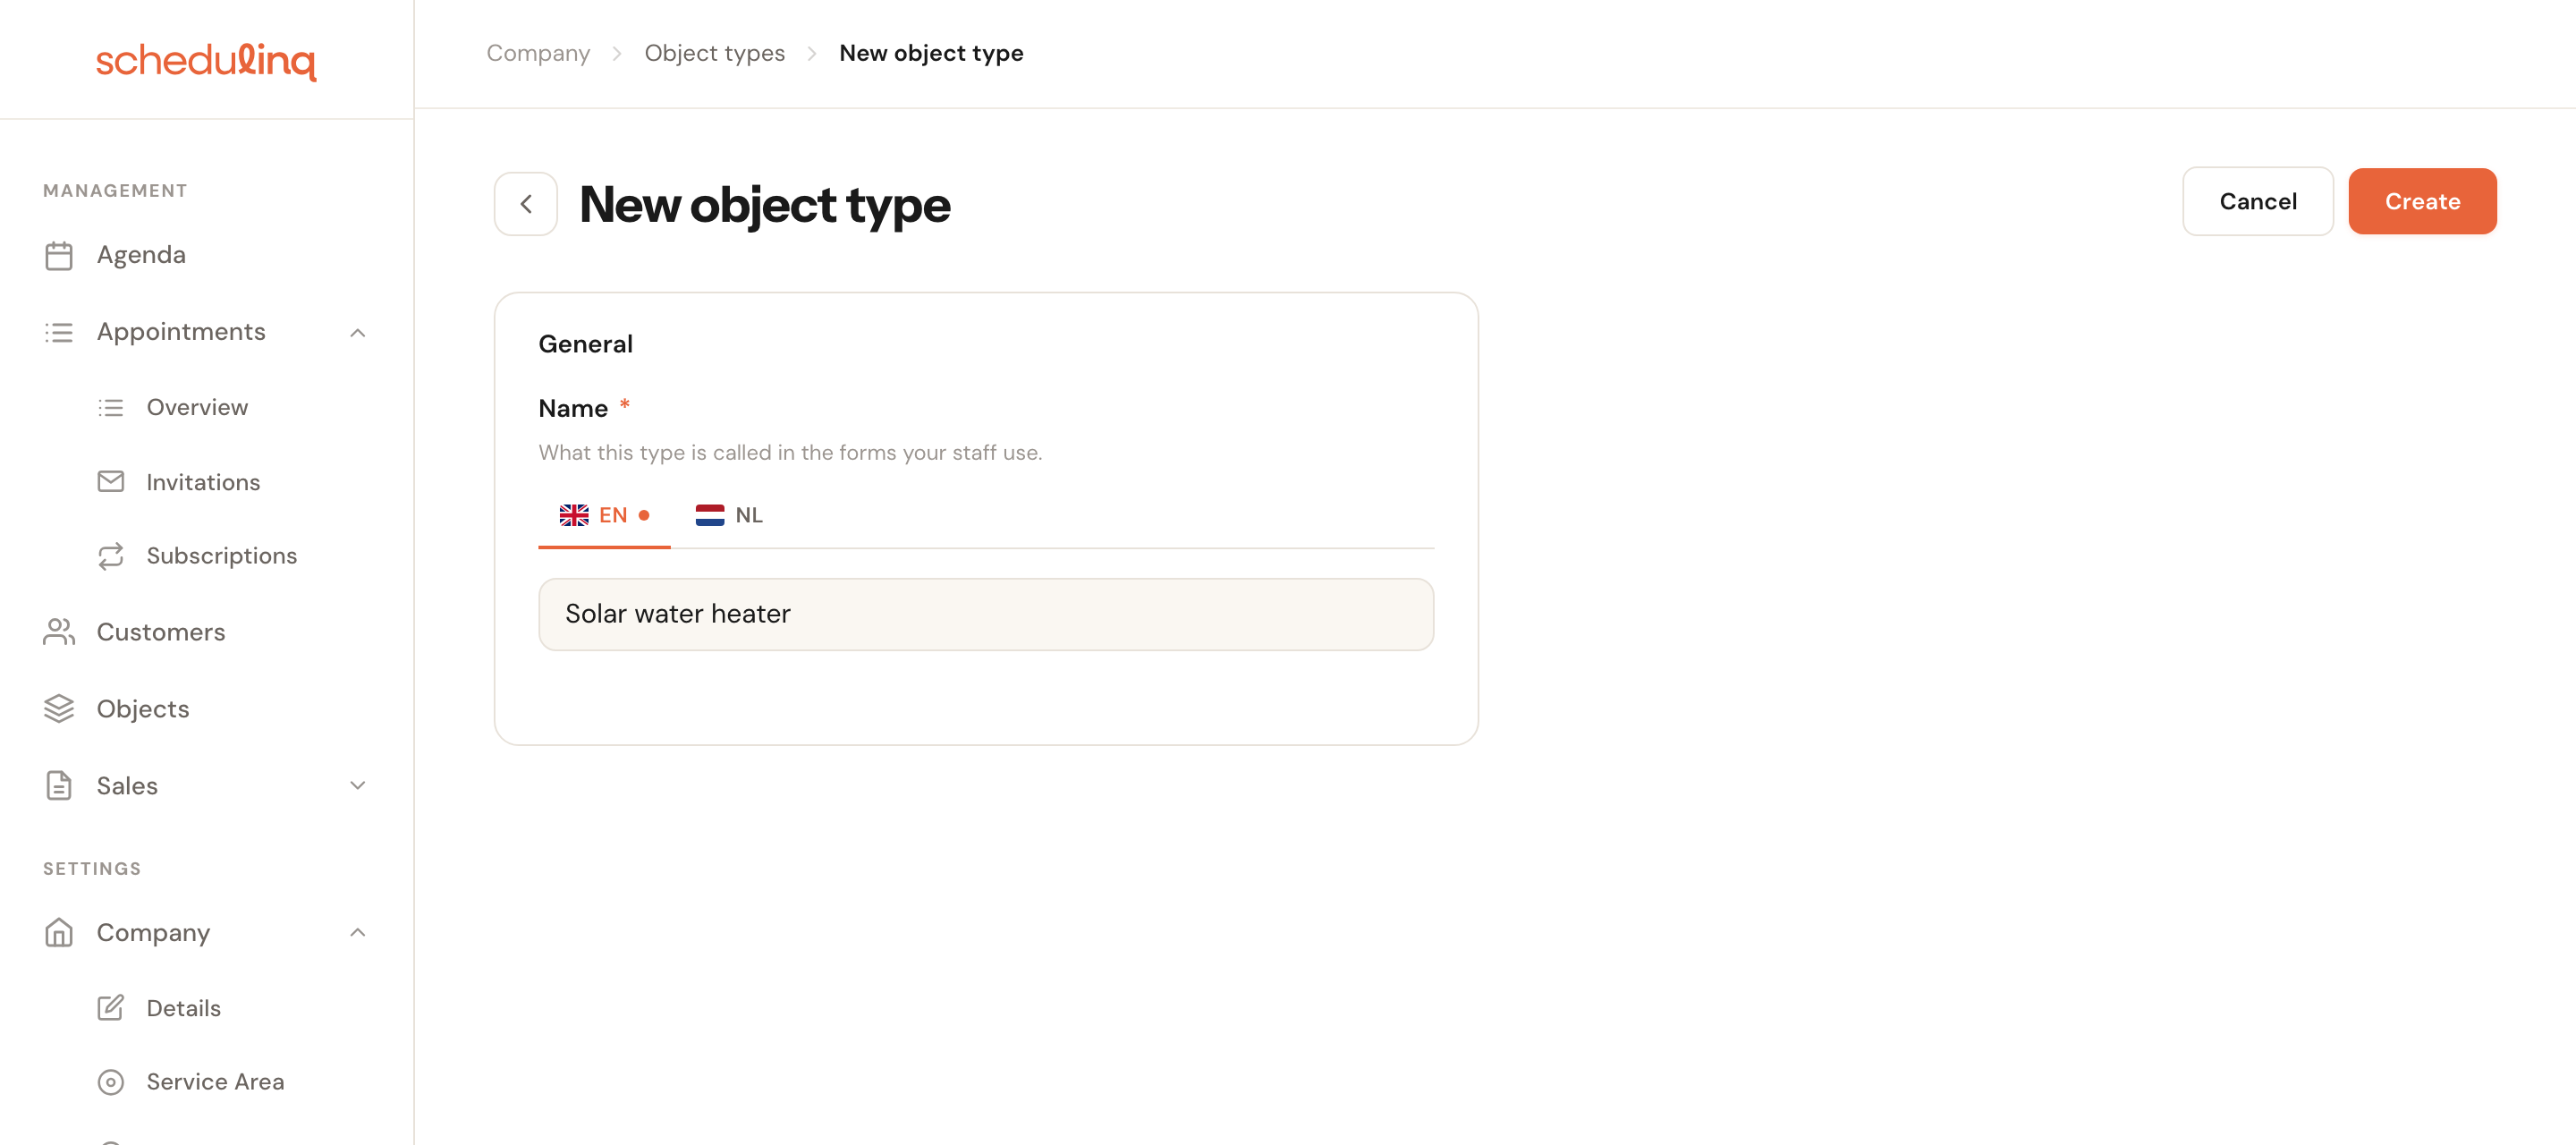
Name
RequiredPer languageWhat the type is called in the forms your staff use. If your company supports more than one language, you fill in the name per language; your company's default language is required.
The type appears beside the name of every object — Loft boiler with Boiler next to it — and in the email to your customer. A customer written to in Dutch reads the Dutch name.
The order of the list is the order the types are offered in everywhere. Drag a row to move it. That works only while you are viewing the active types and not searching.
What do you call them?
You choose the word your team and your customers read everywhere instead of Object on Company → Object types, under Actions → Change naming. Under that menu item is the word in use now, for example Currently: Object / Objects. You only see the Actions menu if you may edit the organisation settings.
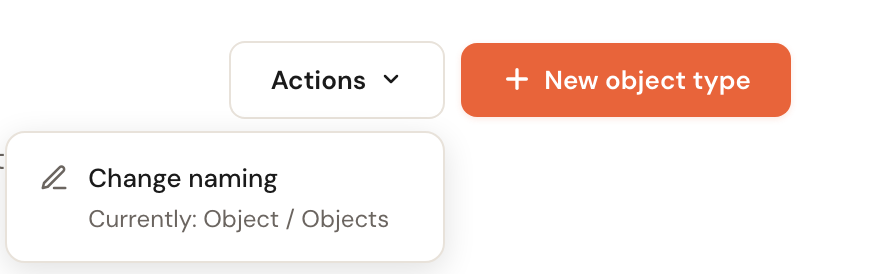
The What do you call them? window opens.
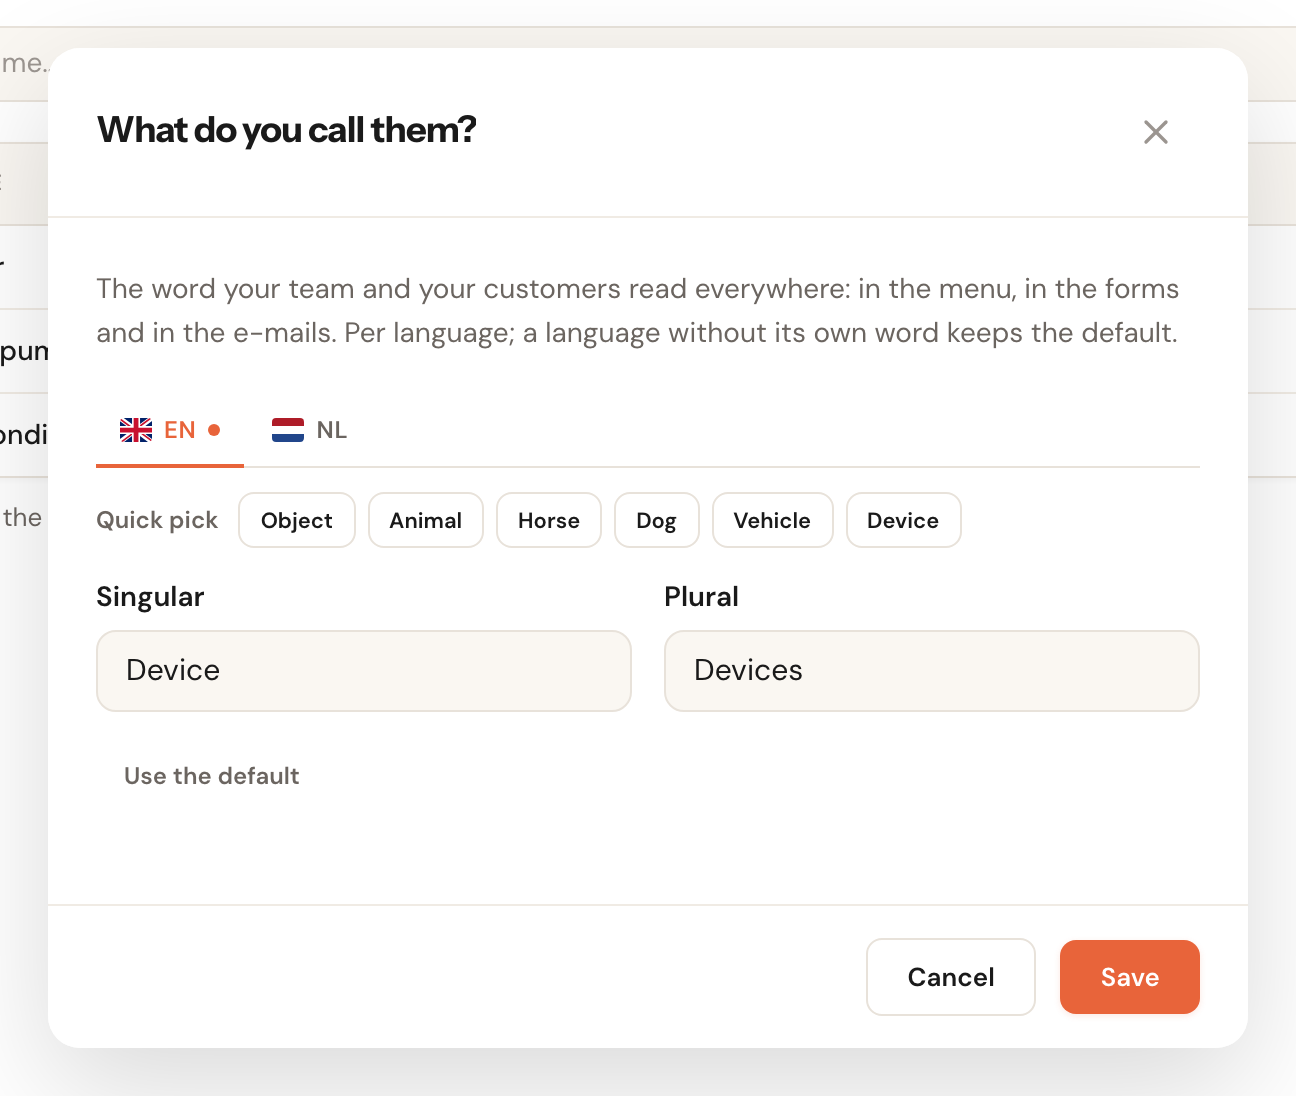
Choose the language
The word is set per language. A language without a word of its own keeps that language's default word — never the word you chose for another language.
Pick a word or type your own
Quick pick offers a few common words, such as Animal, Horse, Vehicle and Device. One click fills in the singular and the plural. If none fits, type your own under Singular and Plural: fill in both or leave both empty, at most 40 characters per word.
Click Save
From then on the new word appears in the menu, on the customer record, in the forms and in the emails. Use the default takes a language back to the default word; Cancel closes the window without changing anything.
A customer whose confirmation says Object: Bella reads something impersonal. With Horse: Bella they read their own situation back. So choose a word your customer would use themselves, and keep it short: it is also a column header and a tab name.
Custom fields per object type
To record something per object — a serial number, a year of build, a horse's registered name — create a custom field under Company → Custom fields, on the Object tab. You choose there which object types the field applies to; leave that empty and it applies to every type. See Add your own fields.
Recording an object
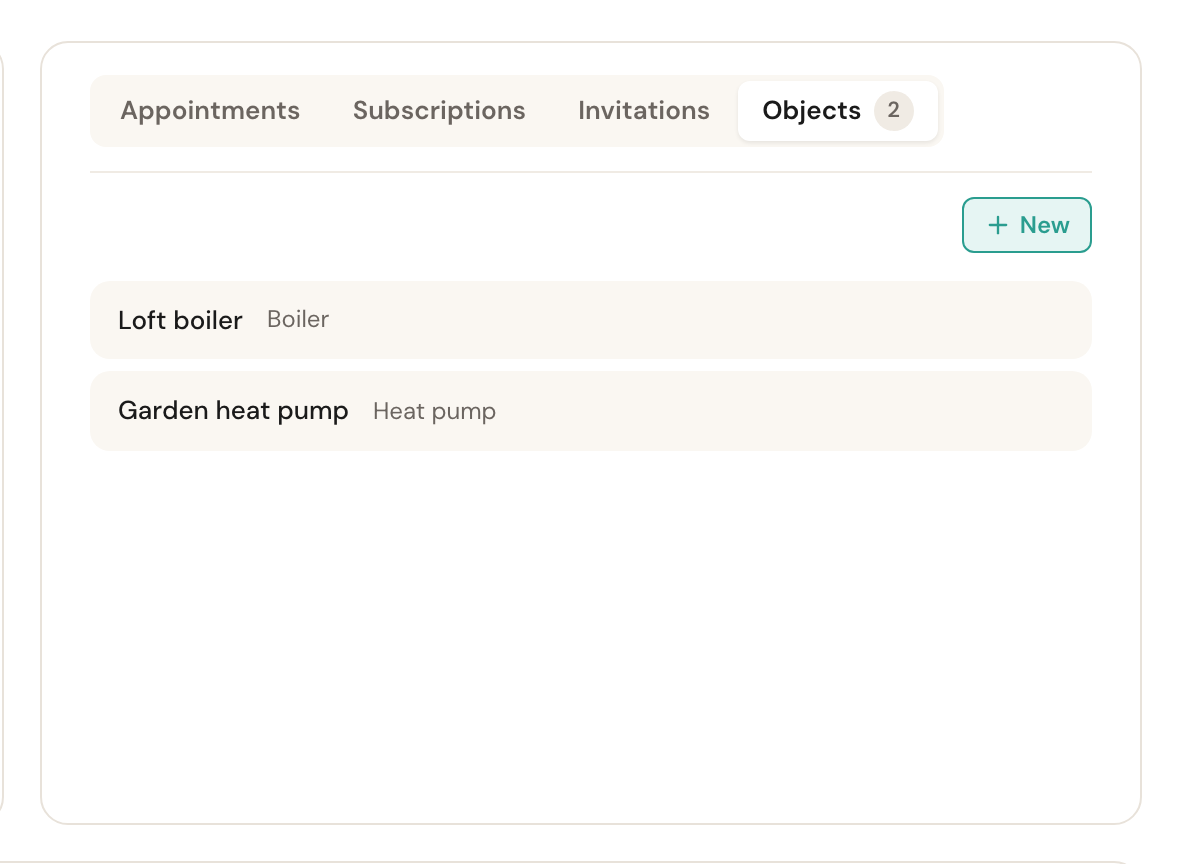
Open the customer and go to the Objects tab on the customer record. Click New.
You can also start from Management → Objects with Add object; you then choose the owner yourself in the form.
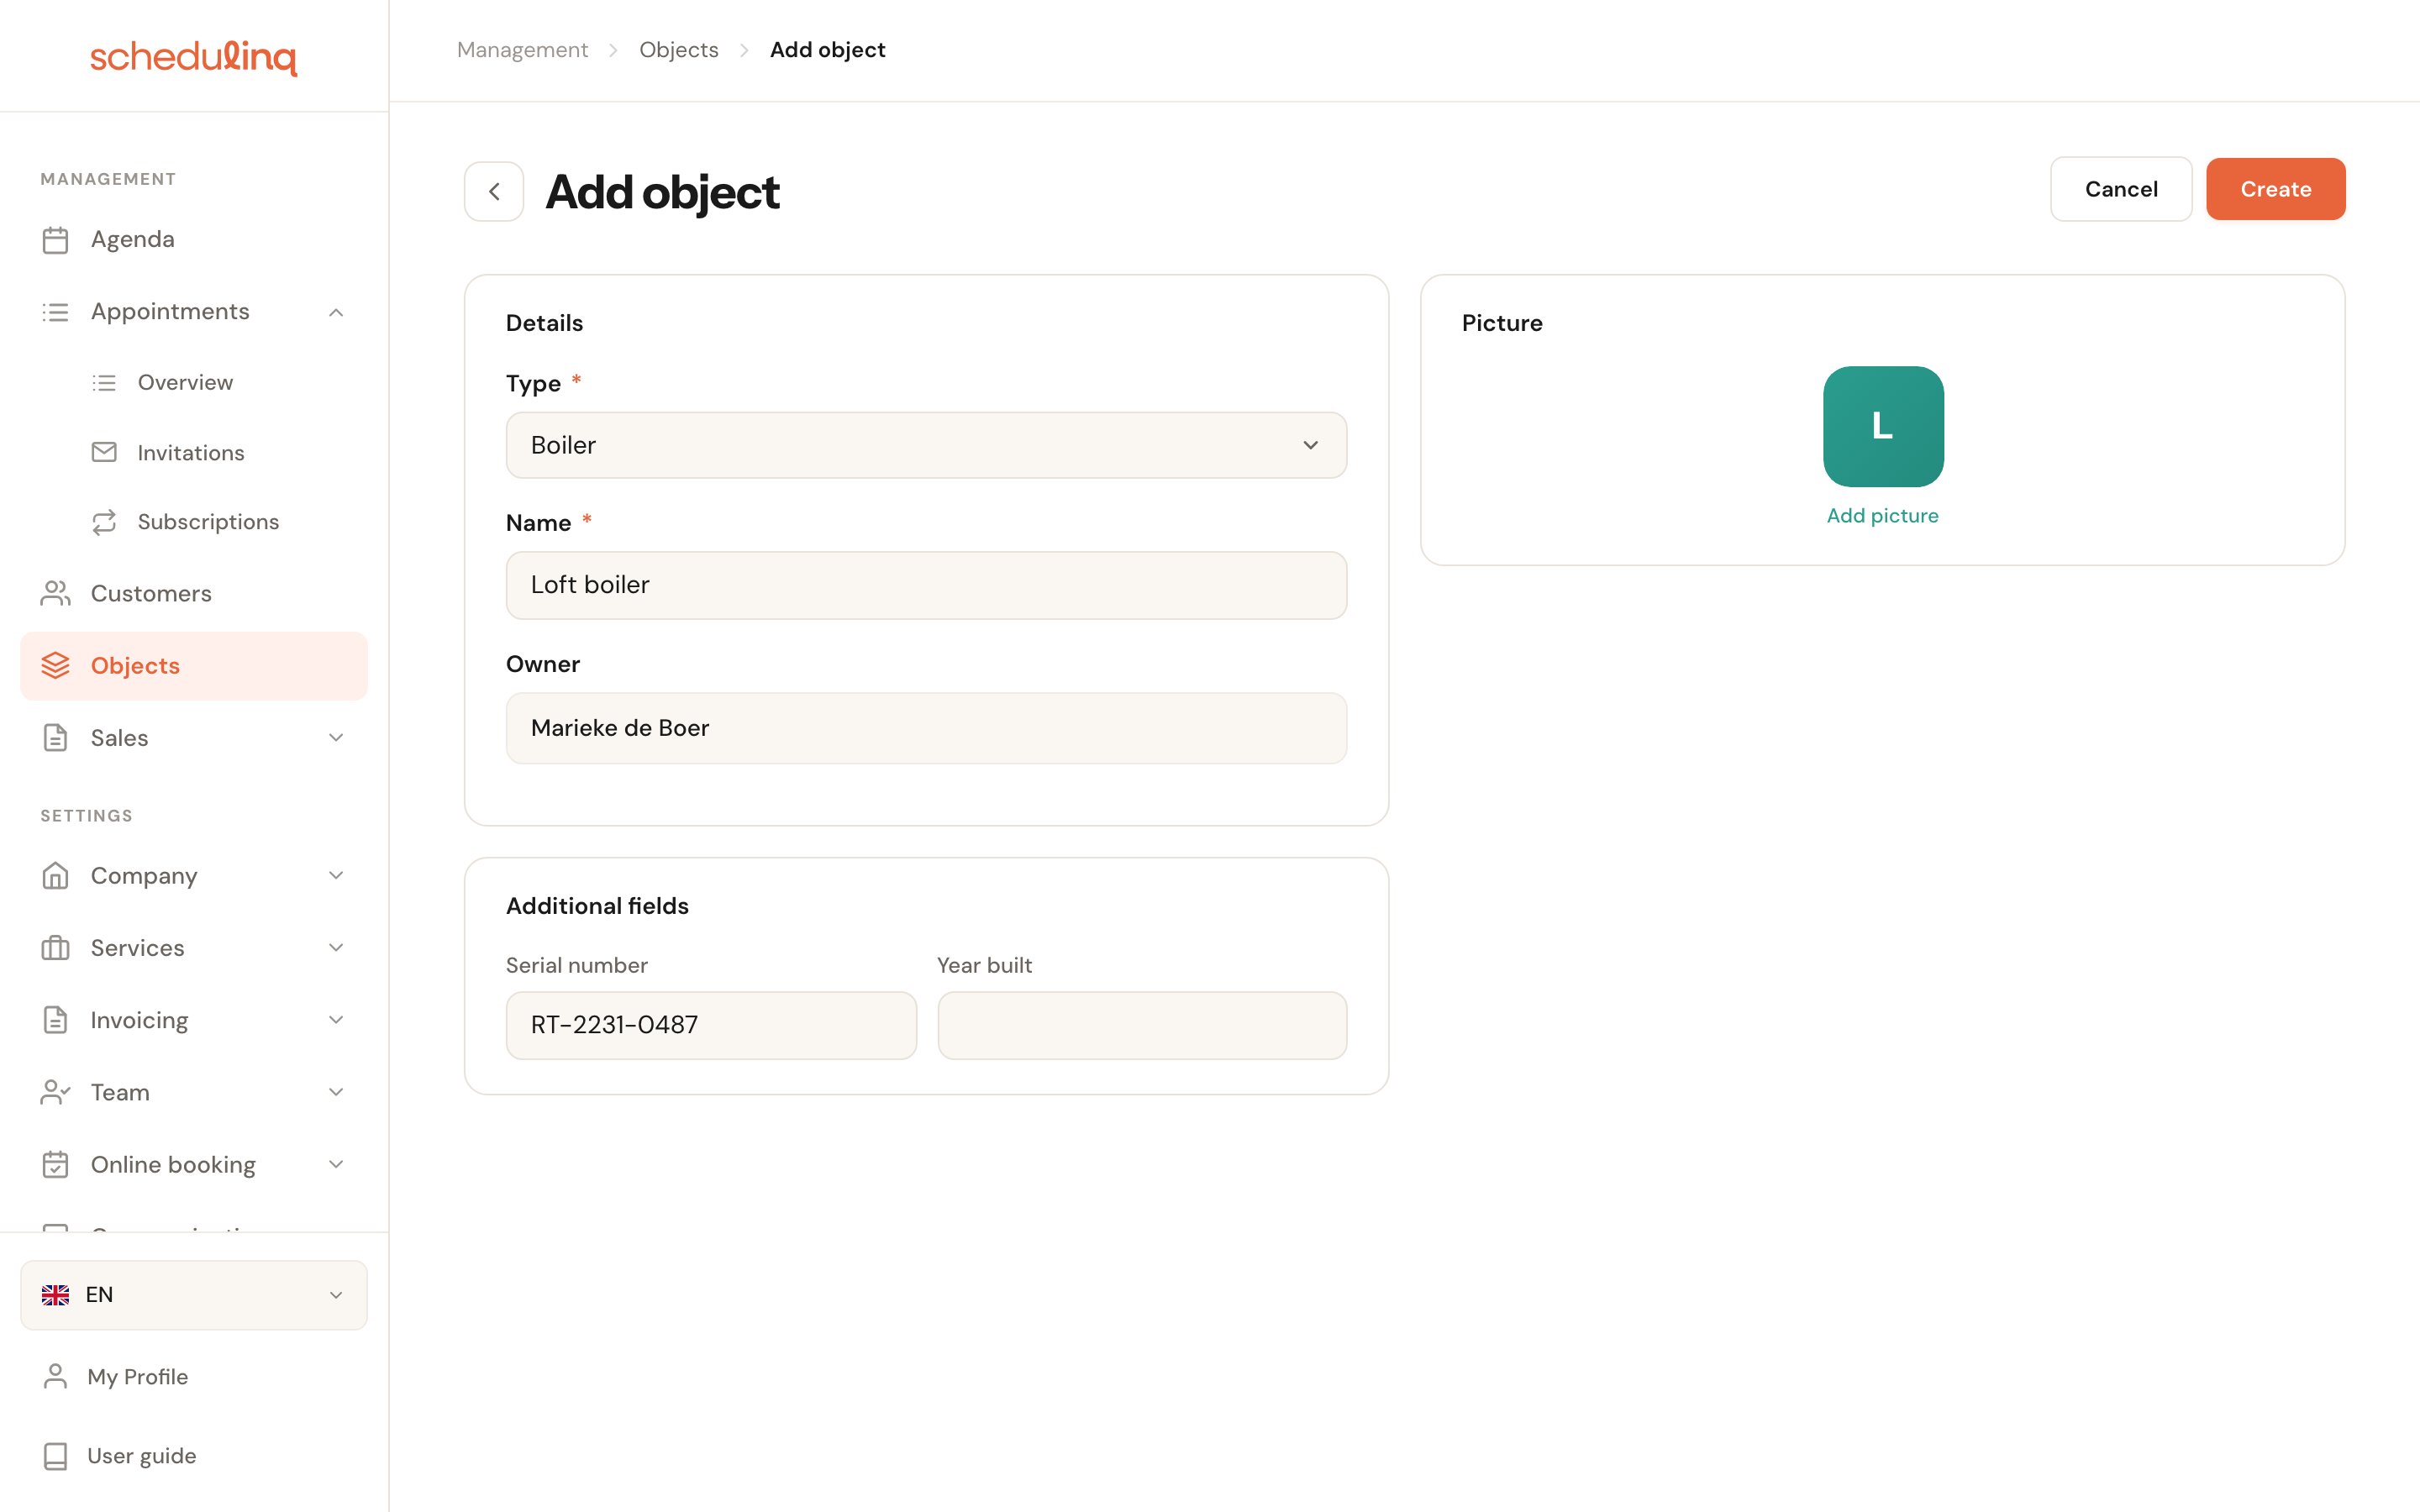
Type
RequiredOne of your object types. The type decides which additional fields there are: they only appear once you choose a type.
Change an object's type later and the answers to fields that belonged only to the old type fall away — just as on an appointment whose service you change.
Name
RequiredMax. 200 charactersWhat you recognise the object by: Bella, AB-123-C, Loft boiler.
This name appears with the appointment in the calendar and in the email to your customer. If a customer has two objects of the same type, make the difference in the name.
Owner
RequiredThe customer the object belongs to. If you came from the customer record, it is already set.
Additional fields
The custom fields that apply to this type. A field marked Required in admin has to be filled in before you can save.
Picture
OptionalMax. 12 MBA photo of the object, so your team knows on site that it is the right horse or the right boiler. On a new object the picture is saved as soon as you create the object; after that, the moment you pick it.
A photo straight from your phone is fine. If Schedulinq refuses the picture, the reason appears under the picture — because the file is not an image, for example. You can upload at most 100 pictures an hour.
Click Create.
An object's page
Click an object — on the customer record or in the overview — to open its page.
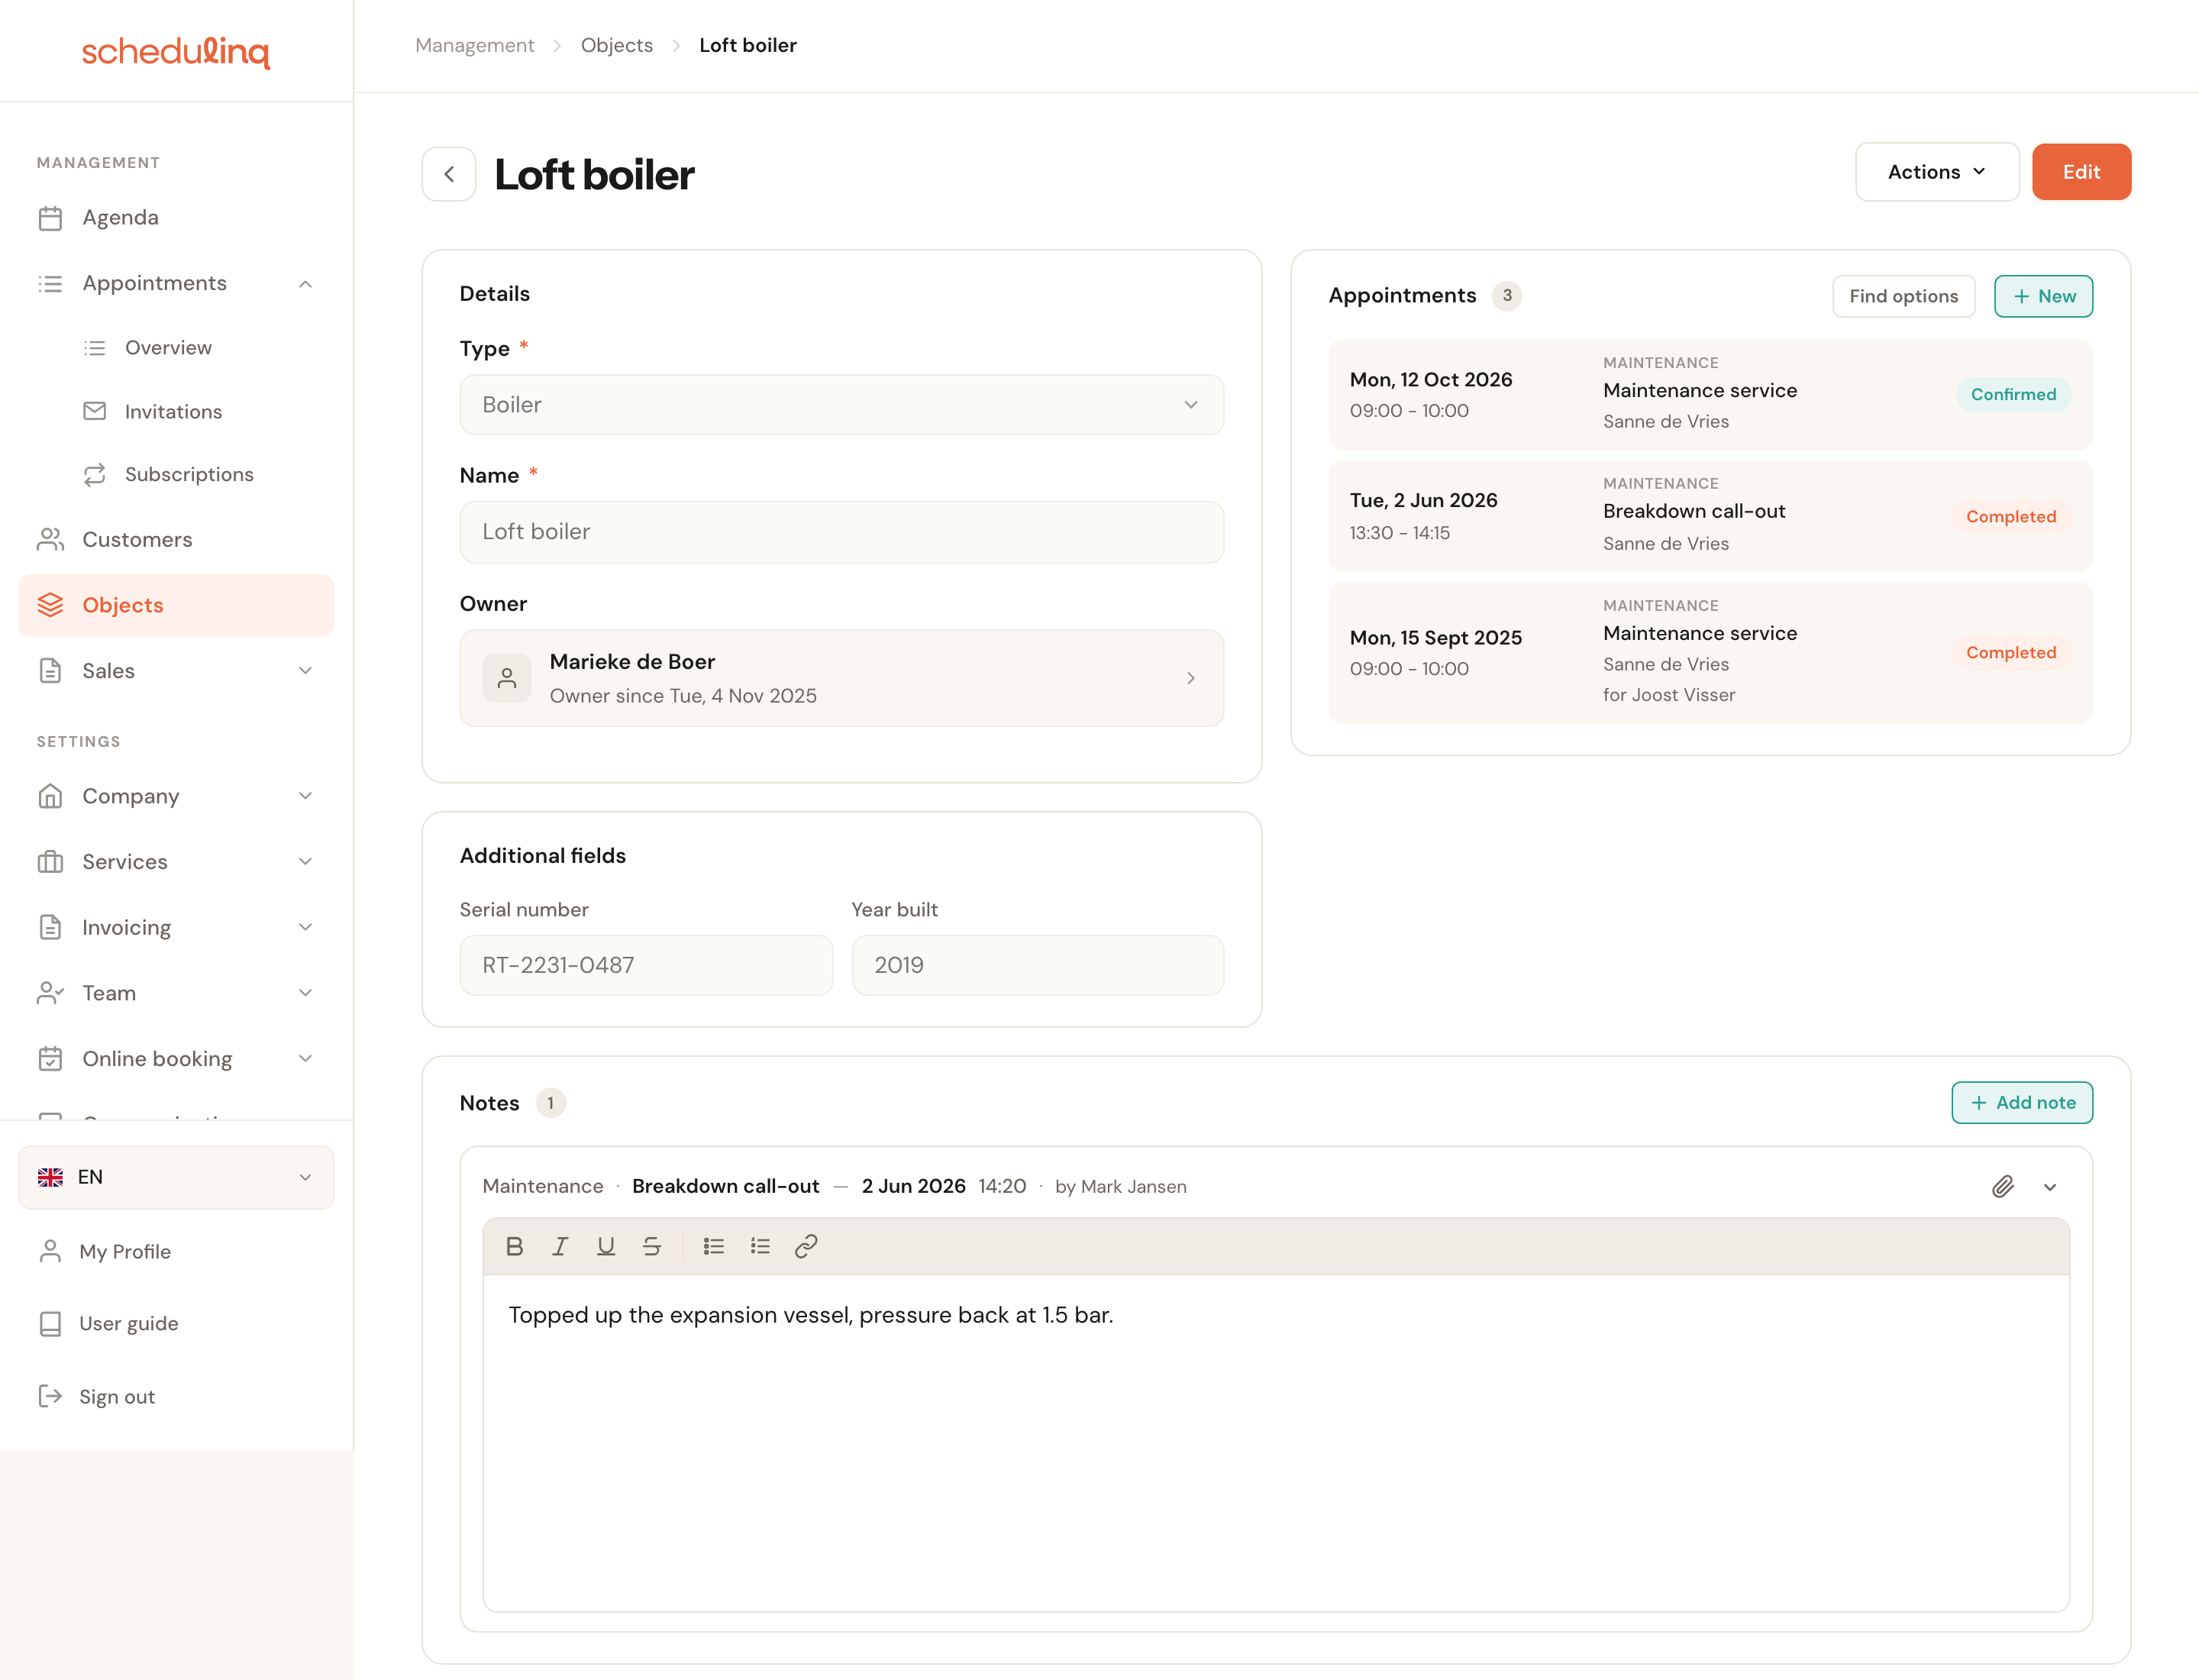
- Details — type, name and owner, with the date that owner took it over. Click the owner to open the customer record.
- Additional fields and Picture.
- Appointments — every appointment that was for this object, across all its owners. An appointment of an earlier owner says whose it was: for Joost Visser. New schedules an appointment with the customer and the object already filled in; Find options opens the planner for this customer.
- Notes — every note about this object, including those in an earlier owner's dossier. A note you write here goes into the current owner's dossier, tagged with the object.
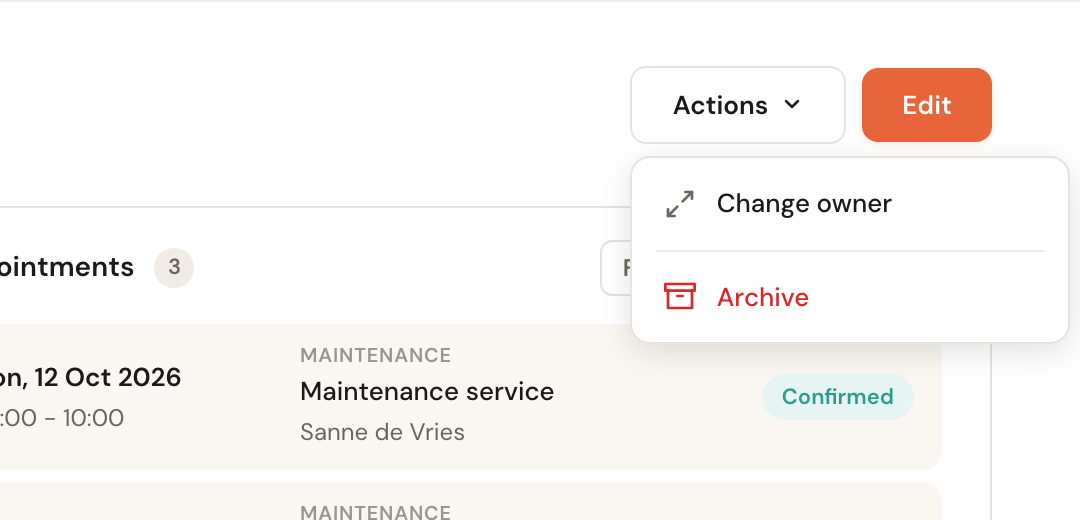
Click Edit to change something. Under Actions you find Change owner and Archive.
Changing the owner
The horse has been sold, the car has a new owner. Choose Actions → Change owner, search for the new owner and click Change owner.
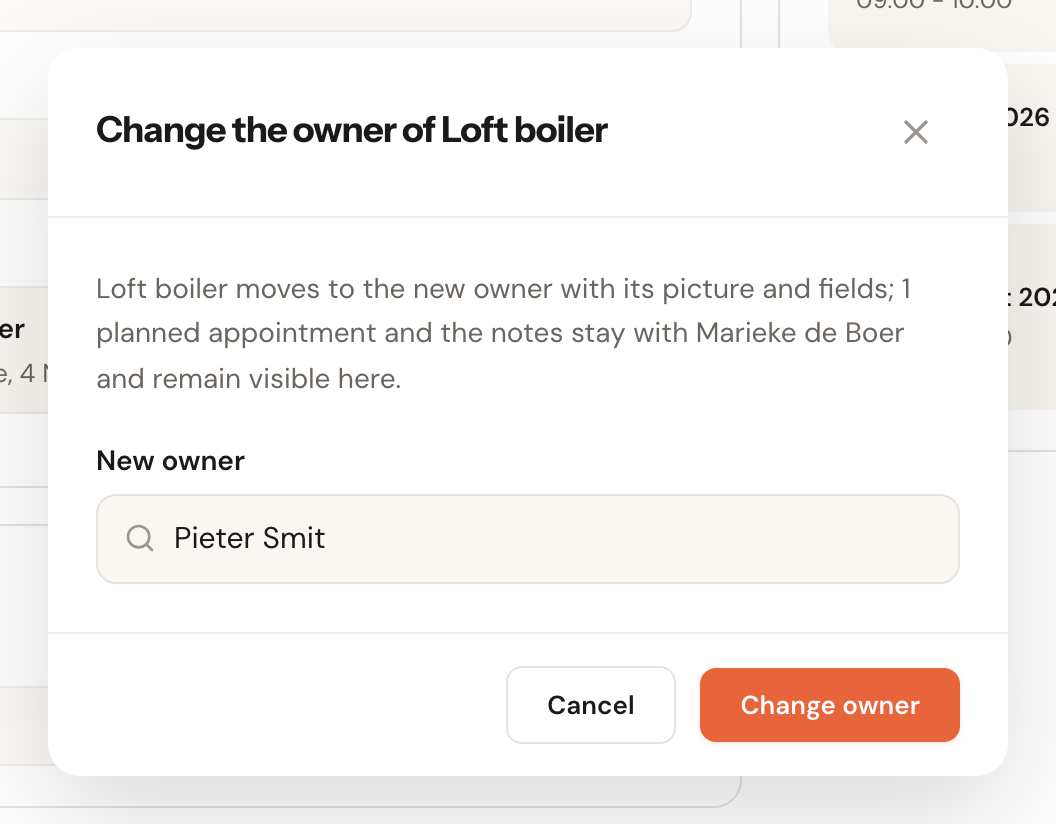
The object moves to the new owner with its picture and fields. Its history does not move: appointments, invitations and notes stay with the customer they were for, and stay visible on the object's page. The dialog says beforehand how many planned appointments stay with the old owner.
Only someone who may edit customers and see all customers can change an owner. Restore an archived object first.
An appointment for an object
On an appointment, an invitation and a subscription, the Object field sits under the customer. It lists that customer's objects with their type after them; None means the appointment is not about any particular object.
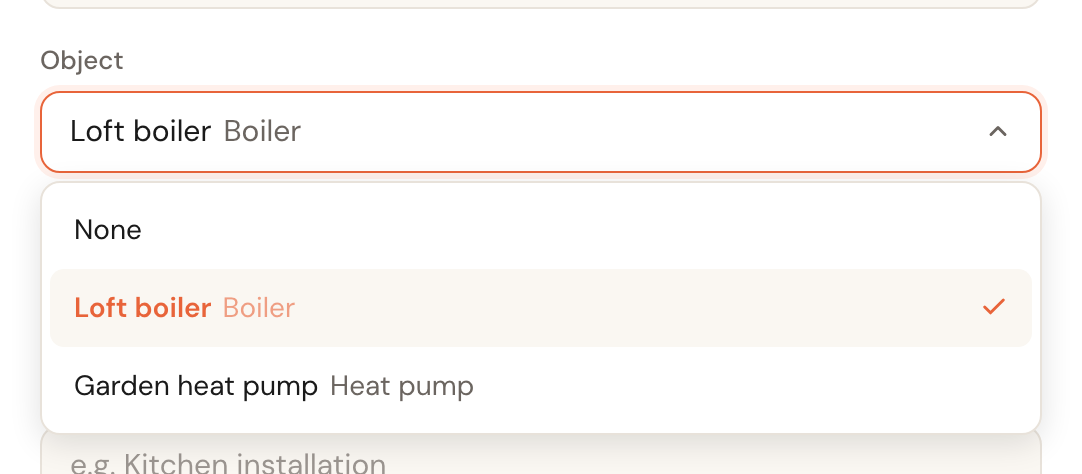
- If the customer has no objects, the field is not there.
- If the customer has more than six objects, you can search the list by name or type.
- Choose another customer and the object is cleared.
- In an invitation for several services, you choose the object per service.
- A subscription passes its object on to every invitation it sends, for as long as the customer owns it.
Where the object then shows:
- In the calendar, after the customer's name: Marieke de Boer · Loft boiler.
- On the customer record, after the service: Maintenance service · Loft boiler.
- In the appointments overview, as the Object column — switch it on via Configure columns.
- In the emails to your customer: the confirmation and the invitation carry a line
Object: Loft boiler (Boiler), with the word your company chose. In your own texts, use
the variables
{{objectName}}and{{objectType}}. - In the calendar you connected to Google or Outlook, in the event description.
Changing the object of an existing appointment counts as a change to the appointment, just like another service would.
The Objects overview
Under Management → Objects you find every object of your company, across all customers.
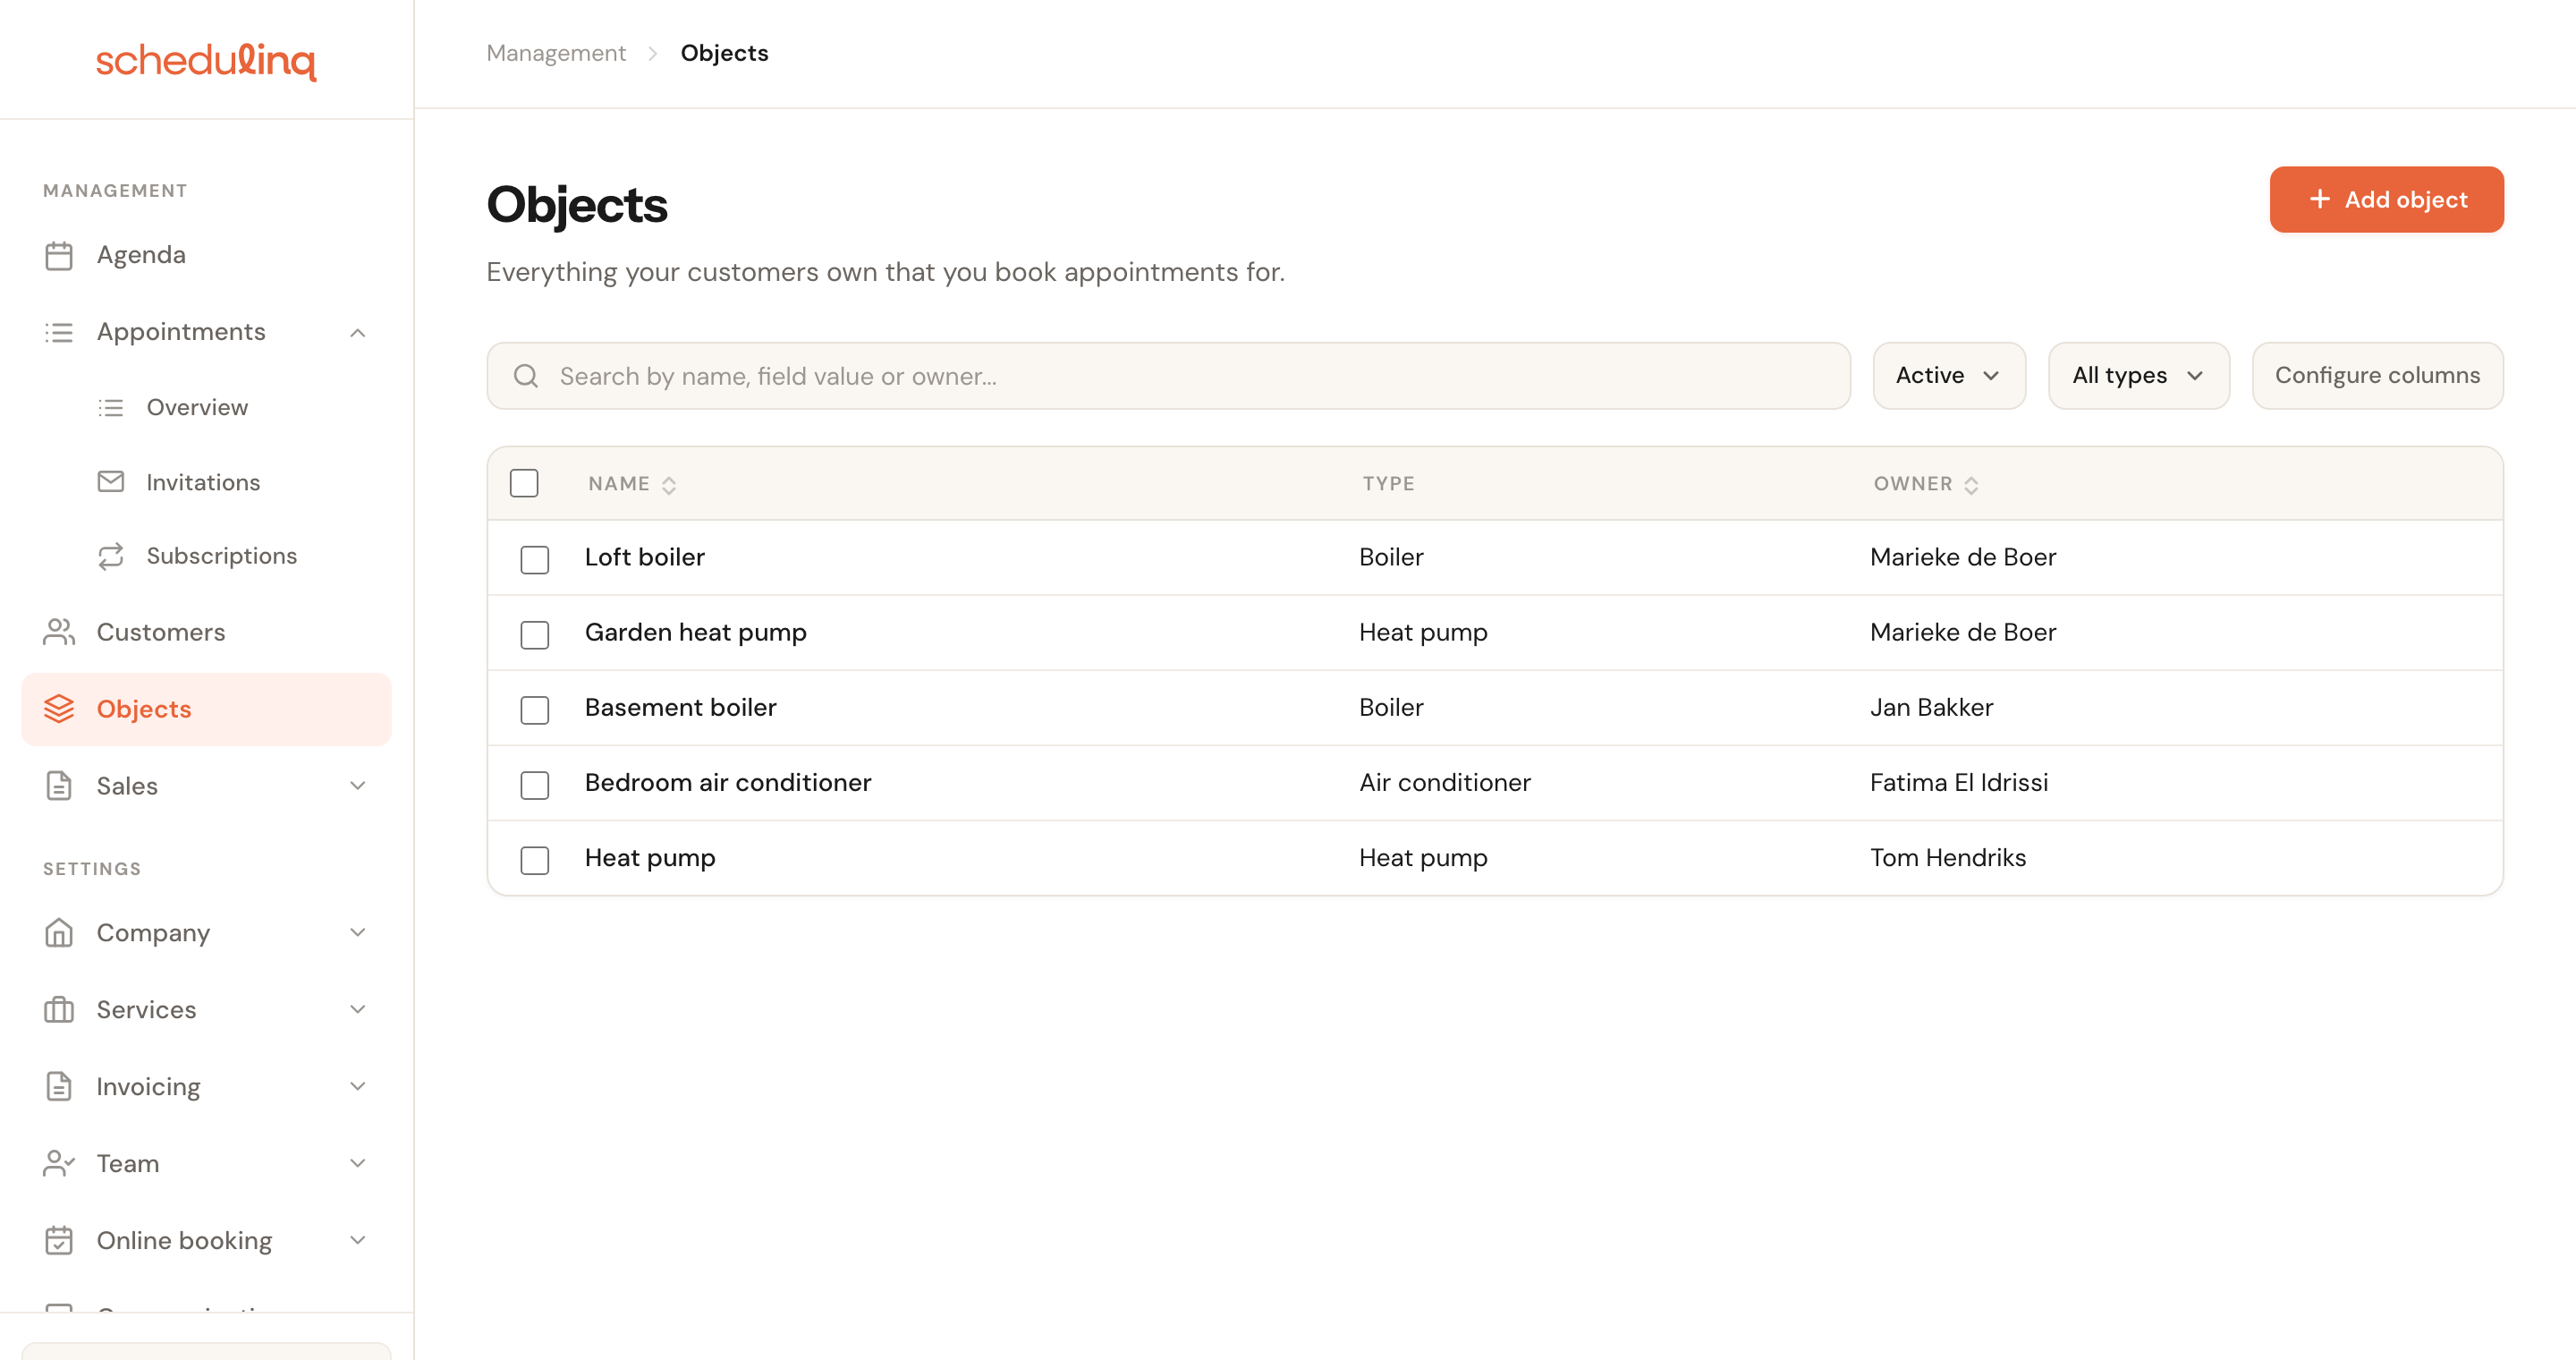
- Search looks at the object's name, the values of its custom fields (a serial number, a licence plate) and the owner's name.
- The first filter chooses Active, Archived or All. With more than one object type, the second filters by type.
- Configure columns also lets you add your own object fields as columns — see Configure columns.
- Select rows to archive several objects at once.
You only see this menu item when your company has an object type and you may see all customers.
Archiving and restoring
You do not delete an object, you archive it, via Actions → Archive. An archived object:
- is no longer offered for new appointments;
- stays named in the appointments and notes that already name it;
- sits at the bottom of the customer record's list, labelled Archived;
- cannot be edited. Click Restore to use it again.
Who can do what
- Object types and the name of your objects fall under the organisation settings: view them with view organisation settings, change them with edit organisation settings.
- Objects fall under customers. Whoever may see a customer sees their objects; whoever may edit customers can add, edit and archive objects. A colleague who only sees their own customers also only sees those customers' objects.
Frequently asked questions
I cannot see objects anywhere. Your company has no object type yet. Create one under Company → Object types; the tab on the customer record, the menu item and the field on an appointment then appear.
I cannot see the Objects menu item, but I do see the tab on the customer record. The overview shows the objects of all customers, so it is only there for people who may see all customers.
Can I delete an object? No, only archive it. That keeps the appointments and notes that name it readable.
What happens to objects when I merge two customers? The duplicate's objects move to the customer that stays. If both had the same object recorded, it is there twice afterwards; archive one.
Can my customer see their objects or choose one when booking? Not yet. The booking page does not ask about objects. Your customer does read the object back in the confirmation.