
Your booking page
Change the wording, text size and layout of your public booking page — per step and per language, with a preview that keeps up as you type.
Your booking page is what a customer sees when they book an appointment themselves. Under Online booking → Public page you decide what it says: the headings, the supporting lines and the labels on every step, how large that text is, and whether your services are shown as a list or a grid.
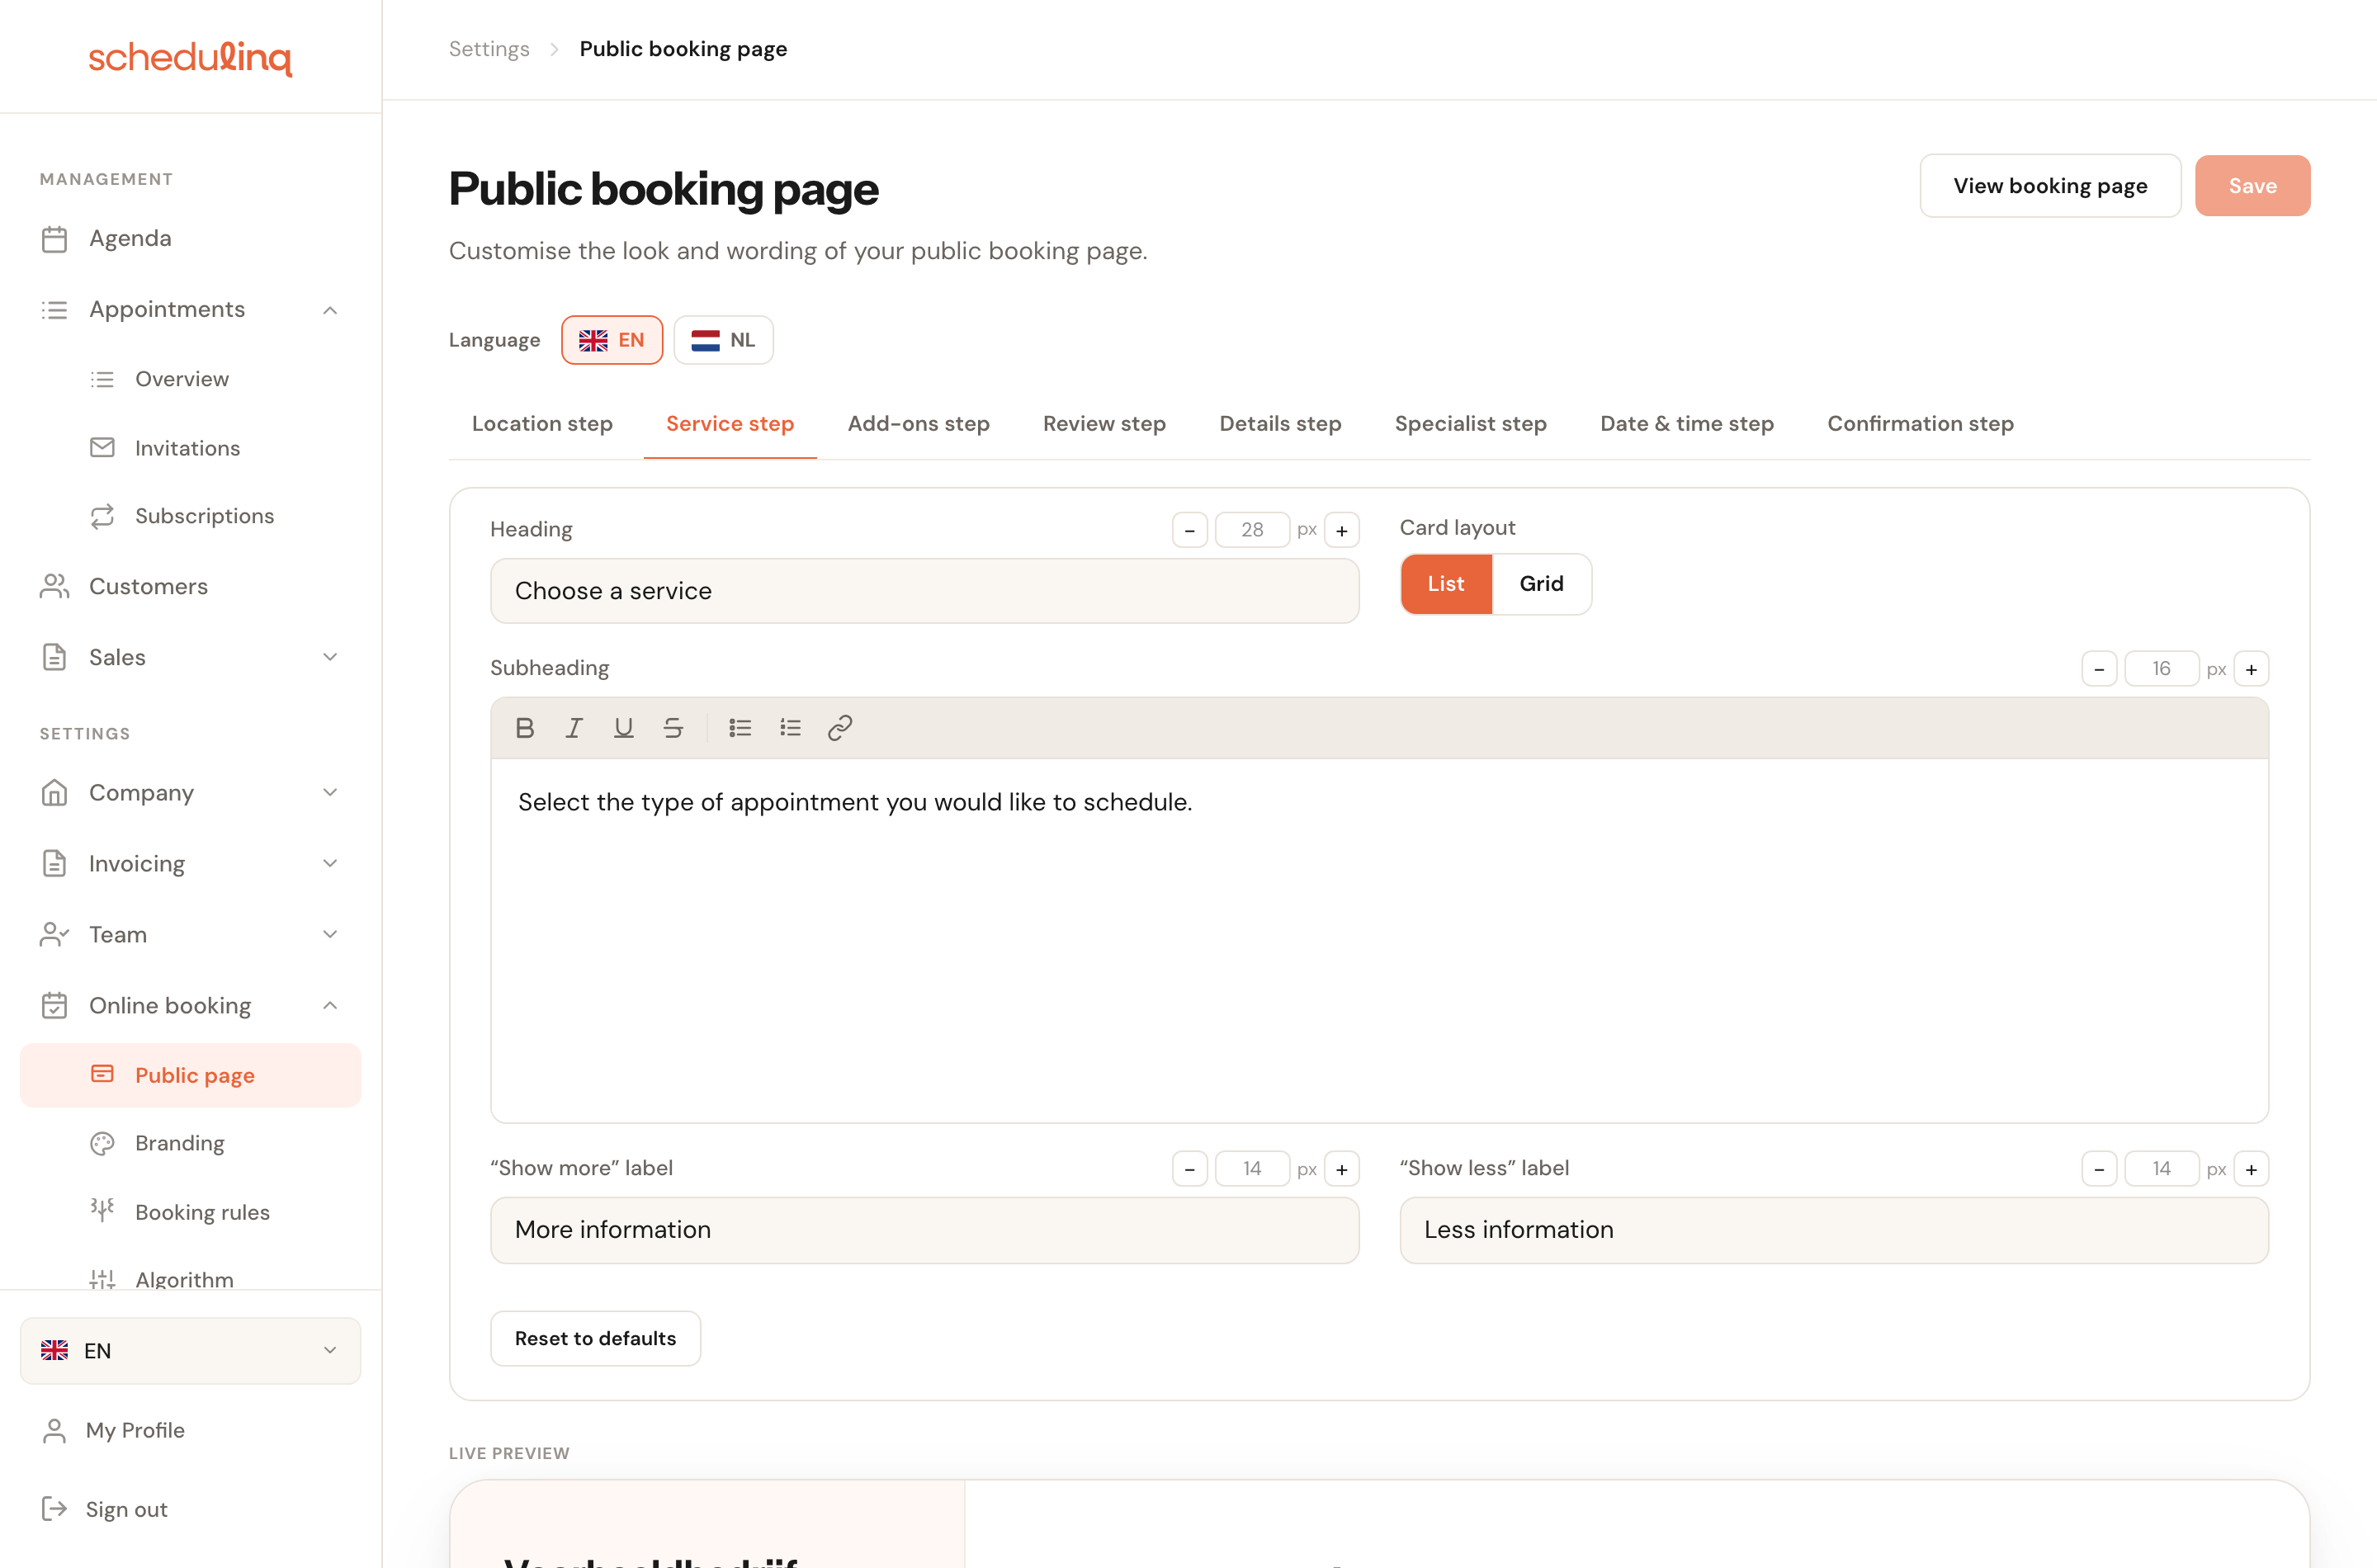
The screen in four parts
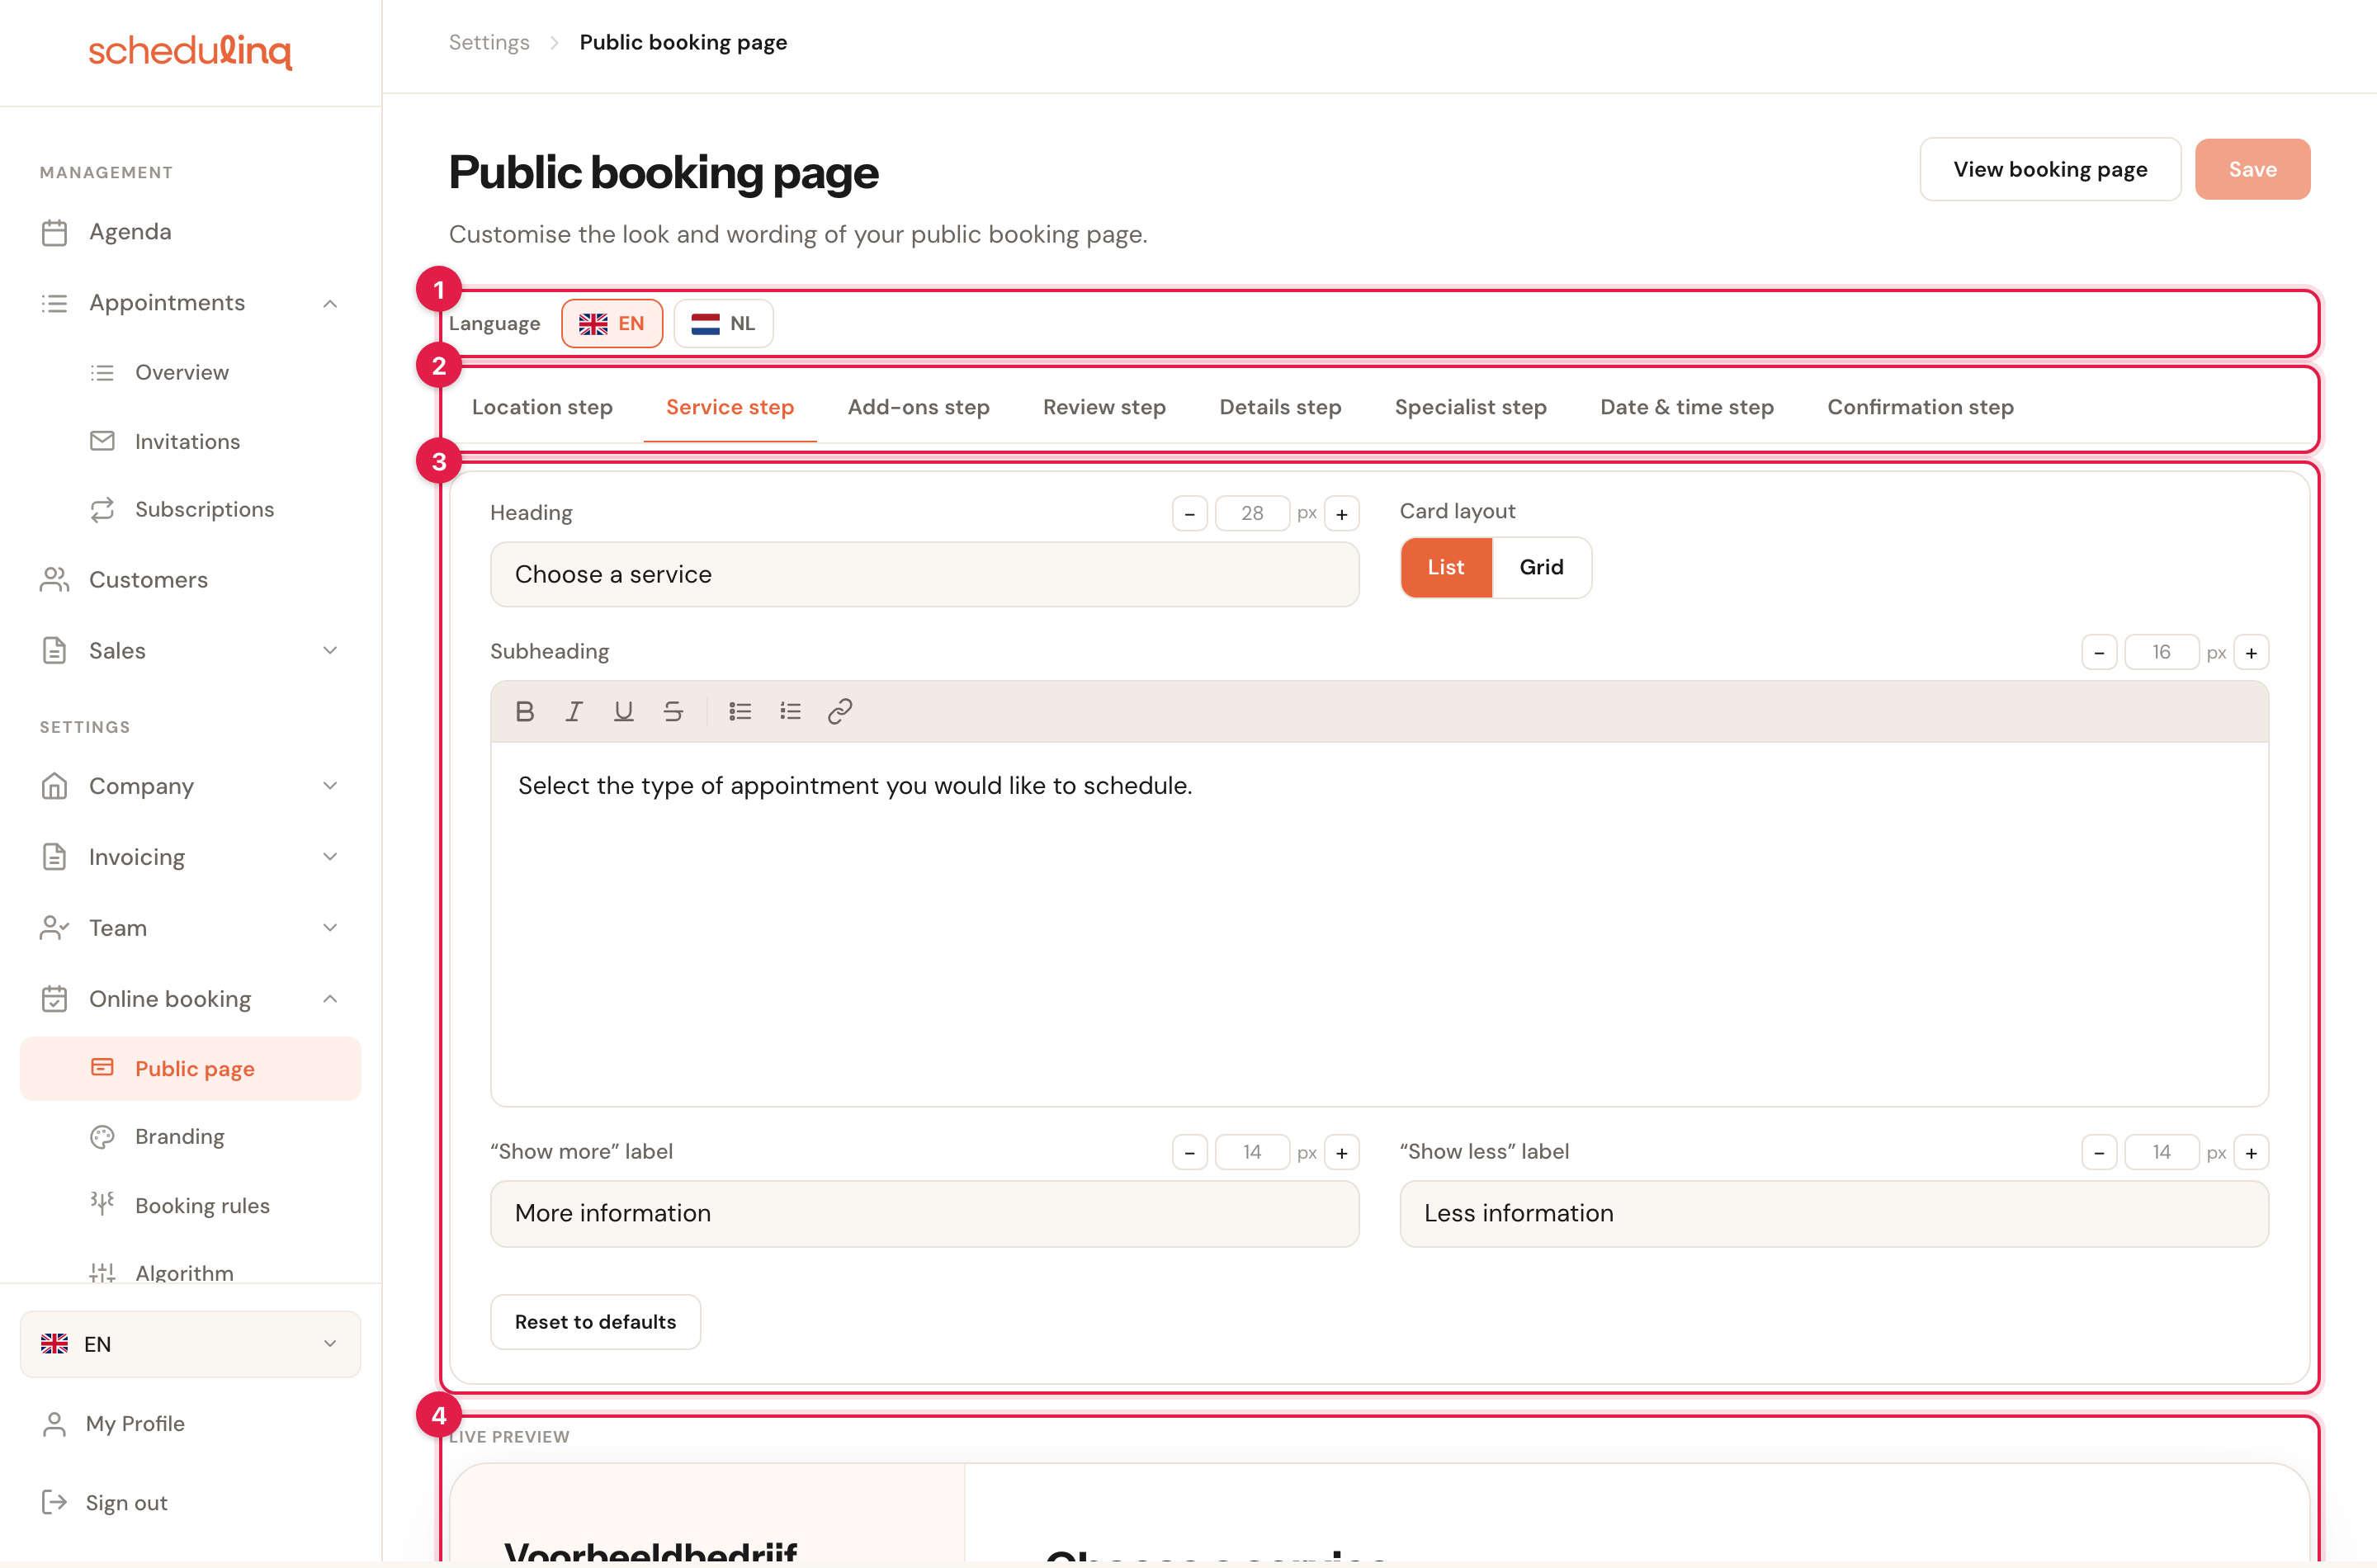
- Language — you edit one language at a time. This bar only appears when your organisation supports more than one.
- Steps — every step of the booking flow is a tab.
- Editing panel — the wording and settings for the step you picked.
- Live preview — the real booking page, updating as you type.
The preview sits below the editing panel, not beside it. On a long step you scroll down a little to see the result.
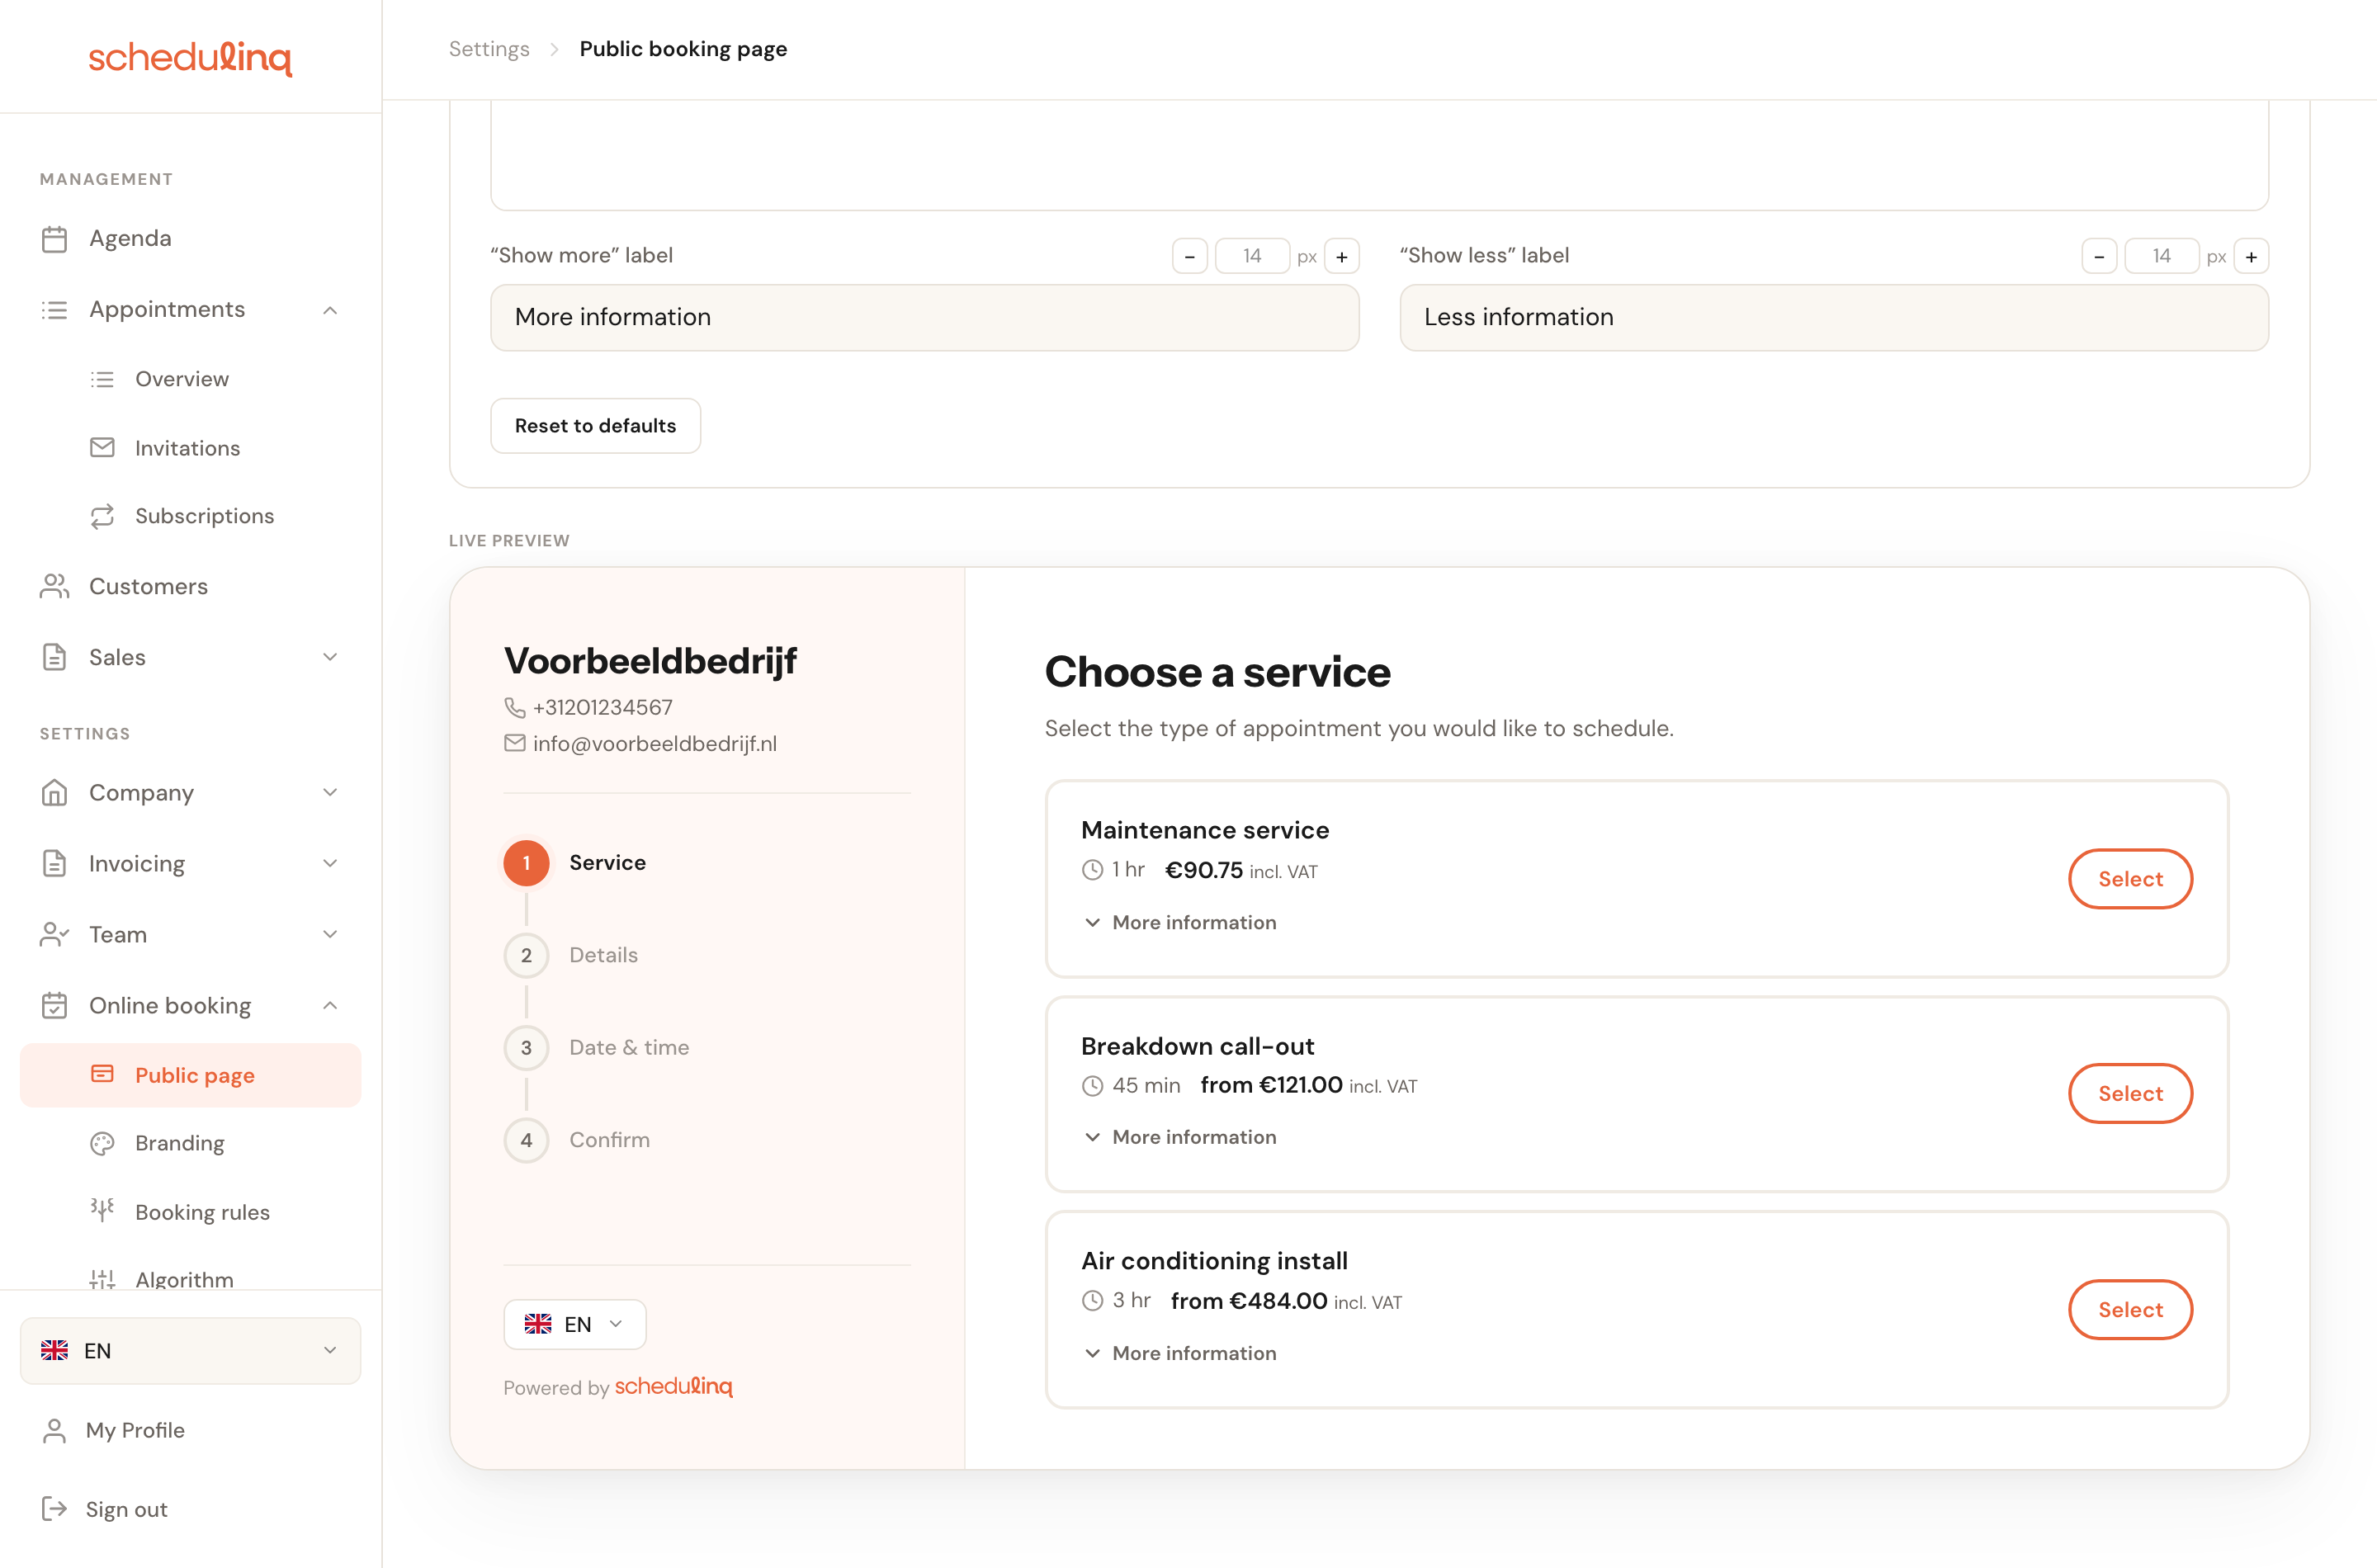
This is not a mock-up: the preview runs the same booking page your customers use, with your own services and prices in it.
Step by step
Pick the language you are editing
Click the chip for the language you want to change. Each language has its own wording; what you type in English does not appear in Dutch by itself.

Pick the step you want to change
The tabs follow the order your customer walks through. You only see the steps your booking flow actually shows — more on that below.

Change the wording
Every field is pre-filled with the default text, so you edit the real sentence rather than an empty box. Type over it to use your own words.

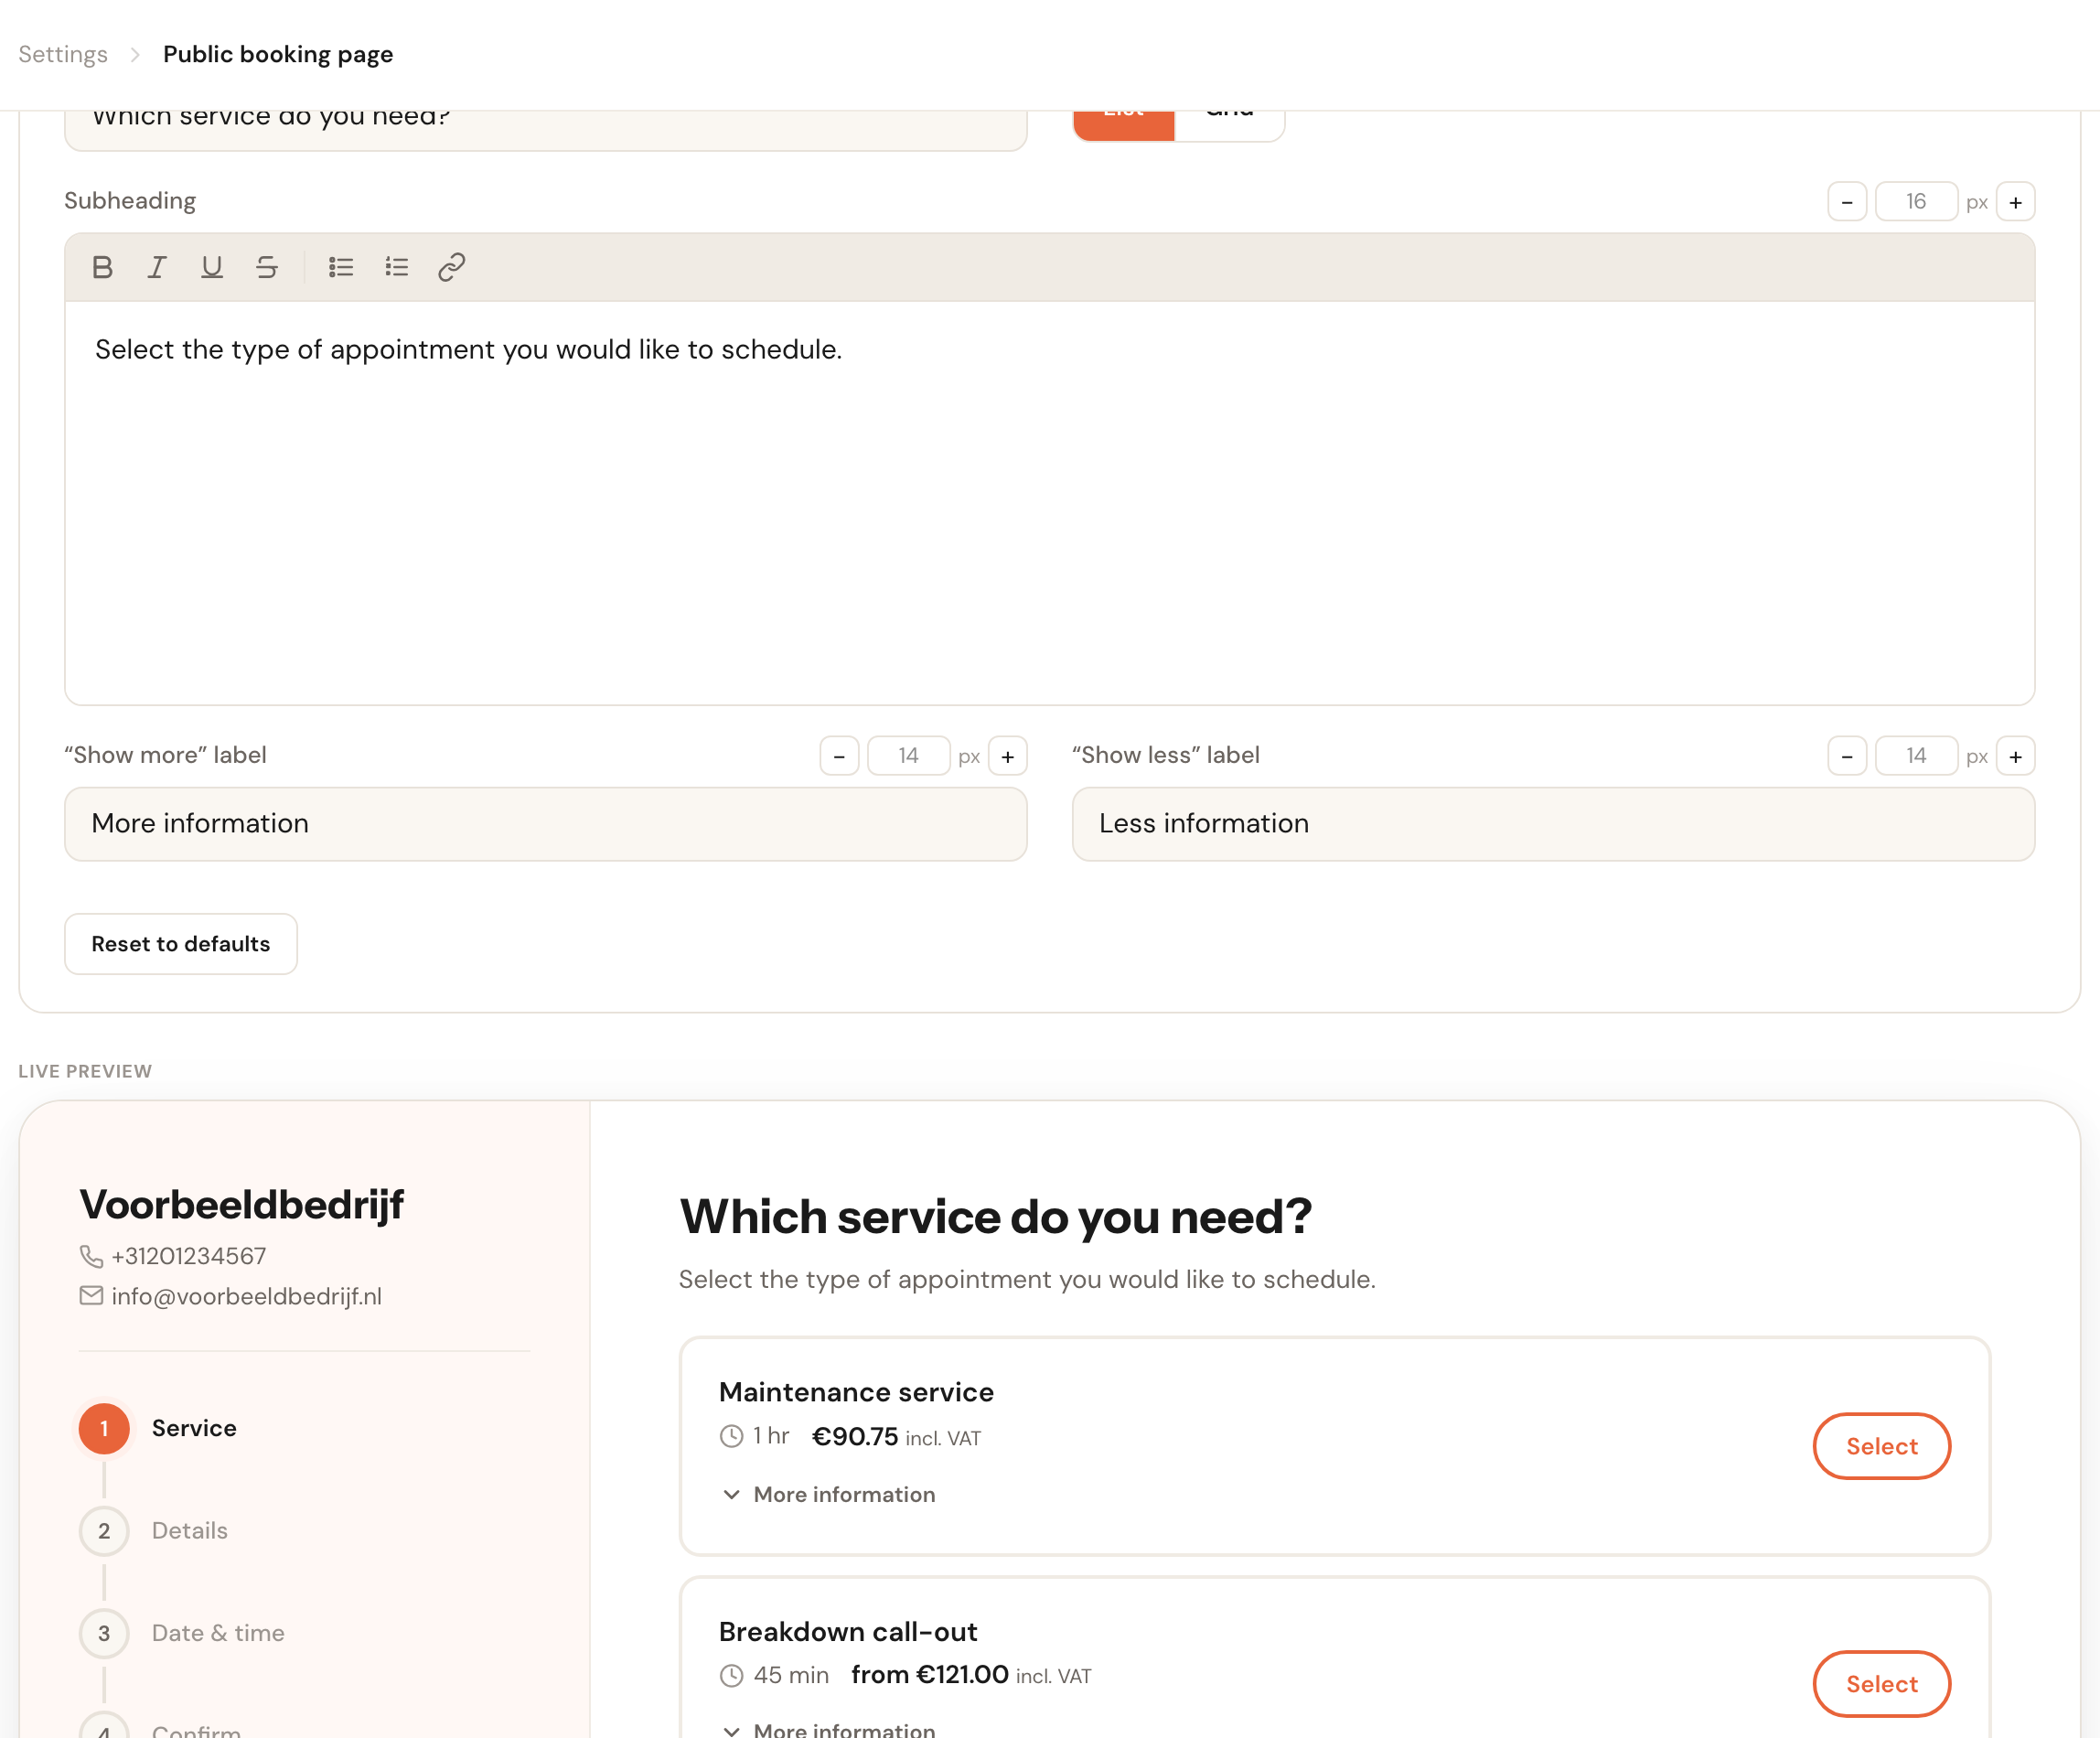
Check the preview
The preview changes as you type — you do not have to save to see what it does.
Save
The Save button at the top right only becomes active once you have changed something. Until you save, nothing about your real page has changed — leaving this screen discards your edits.

The fields
Heading
Per languageThe large title at the top of the step, for example Choose a service.
This is the sentence your customer bases their choice on. A heading that asks a question — Which service do you need? — often reads more naturally than an instruction, and your own tone of voice is welcome here.
Subheading
Per languageFormatting allowedThe line under the heading. This field has a small formatting bar: you can use bold, italics, a list and a link.
The link is the most useful part. It lets you point from the booking page to your own pricing page or terms without the customer having to leave the flow to look something up.
Other labels
Per languageEach step carries a few smaller texts too, such as the More information and Less information labels under a service, the Add another appointment button, or the Any available label on the specialist step.
These words are small but they are everywhere. If your business consistently calls something else — treatment rather than service, say — these are the places where the old word keeps showing through.
Text size
All languagesAbove each field there is a small stepper in pixels. Click − or + or type a number to make that one element larger or smaller.
Useful when your heading wraps to two lines in German while fitting on one in English, or when you deliberately want a calmer page. Leave the field empty and the element simply keeps its standard size.

Card layout
All languagesOn the steps with choice cards — location, service, add-ons and specialist — you pick between List and Grid.
List gives every card the full width and stays calm with a handful of services. Grid puts two side by side and saves scrolling once you have ten or more. Try both in the preview; the difference is immediately visible.

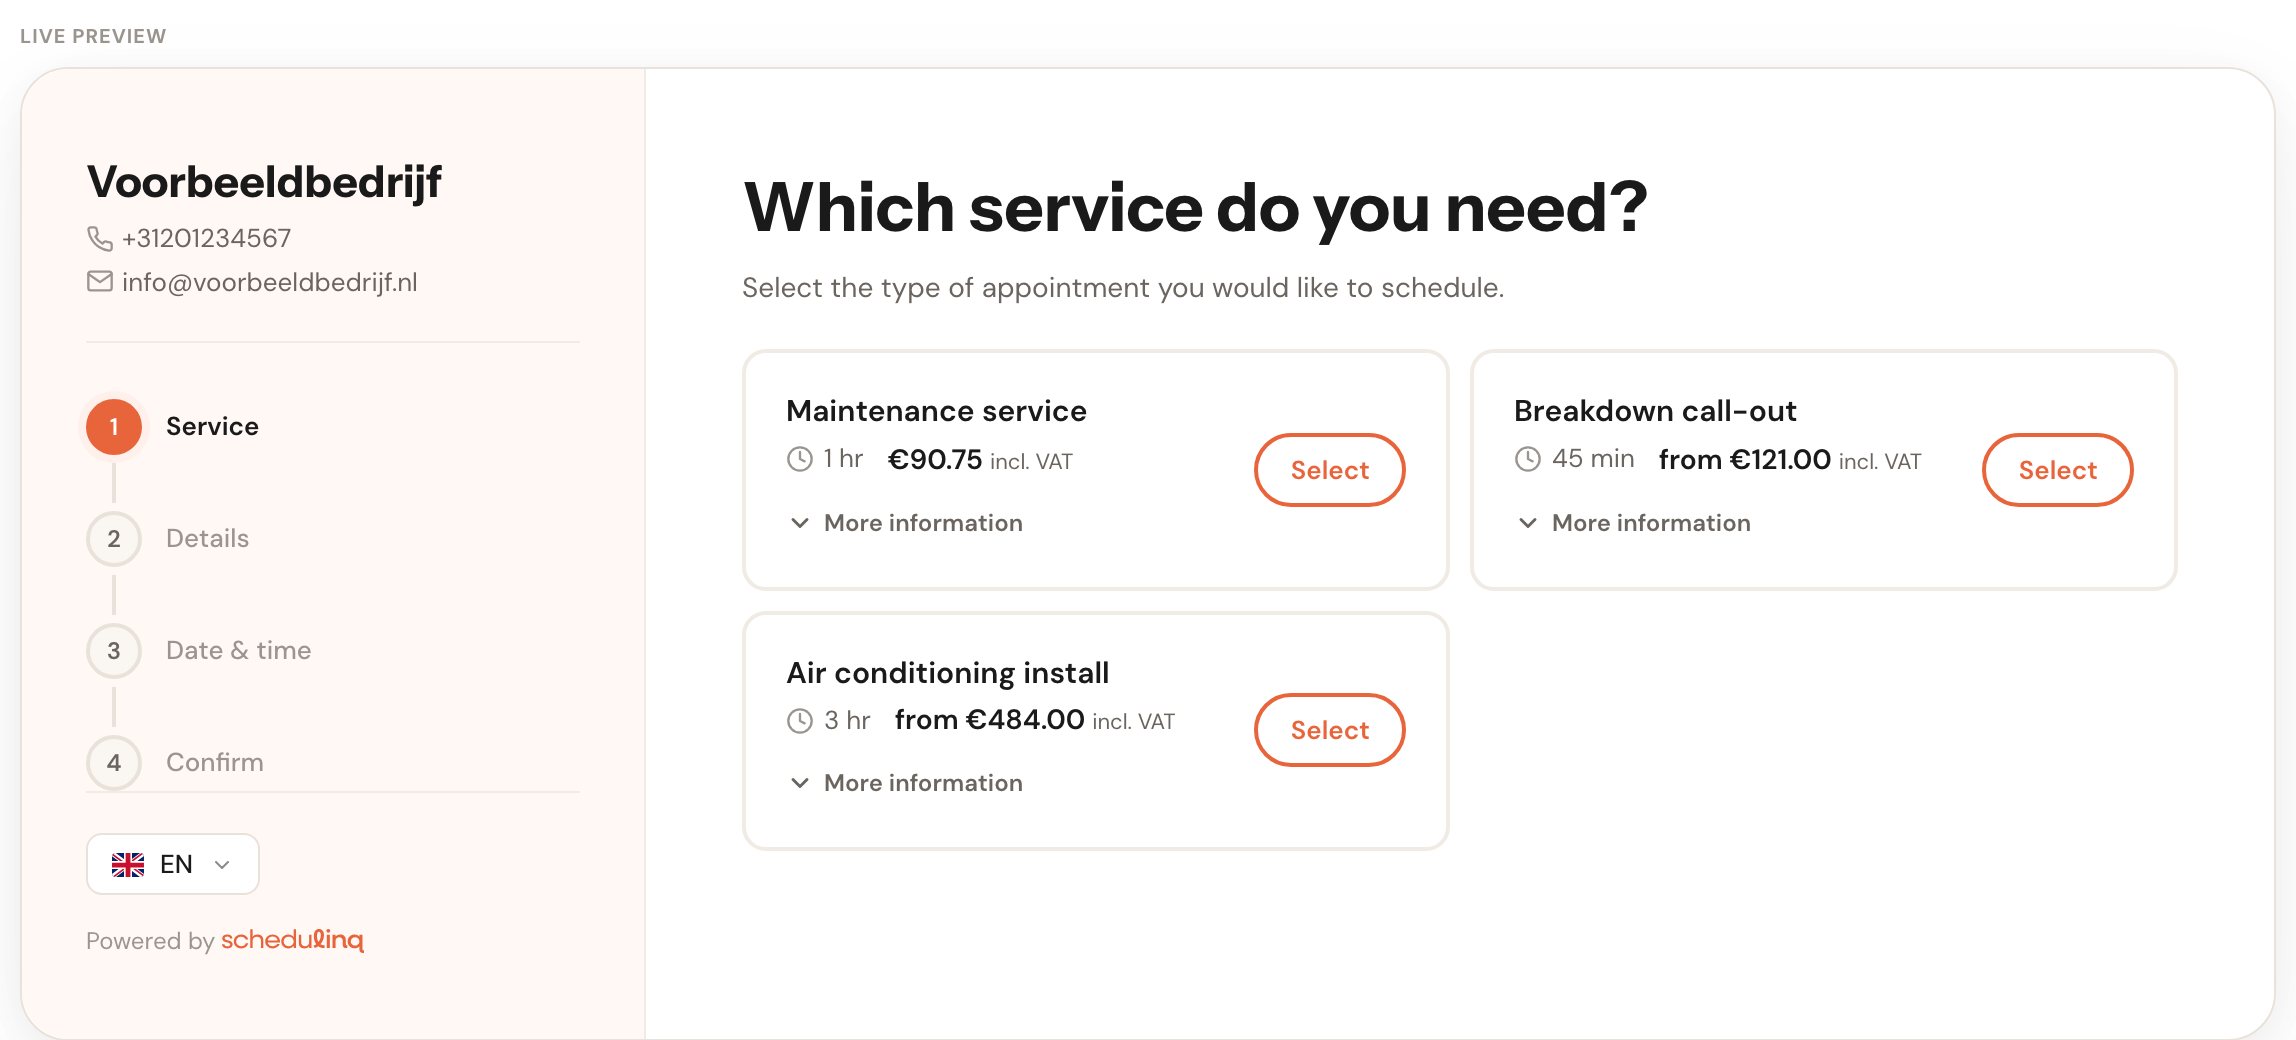
The same services in grid layout, with the edited heading above them.
Show staff photos
Specialist step onlyChoose whether your customer sees your team's profile photos when picking someone.
Photos make the choice feel more personal, but only when everyone has one. A list where half the team has a photo and half has a letter looks scruffier than a list with no photos at all.
Show location icons
Location step onlyTurn the small icons beside the location options on or off.
Not every step is always there
Which tabs you see depends on how your organisation is set up:
| Step | Only appears when… |
|---|---|
| Location step | you have at least one location customers can book at |
| Add-ons step | you have created add-ons |
| Specialist step | customers are allowed to pick a team member |
Two things that can confuse
Back to the default wording
At the bottom of every editing panel there is Reset to defaults. It applies only to the step you are editing, so an afternoon's work on six steps is not lost when you want to start the seventh over.

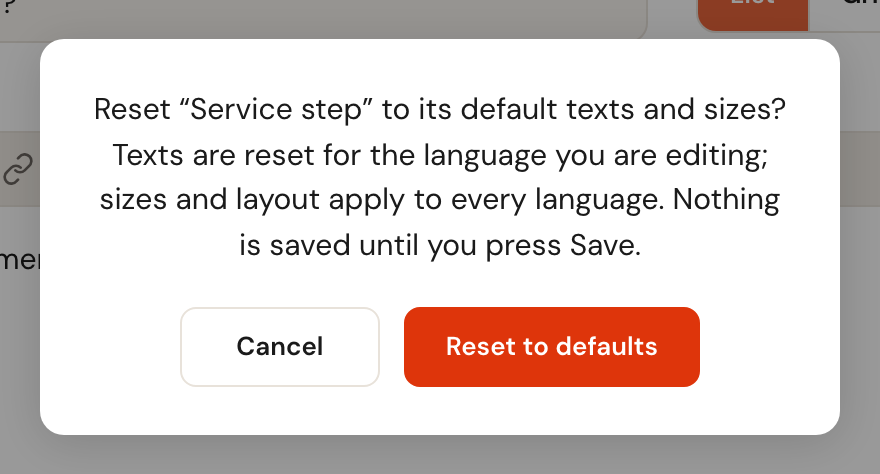
Note the distinction the dialog makes: texts are reset for the language you are editing, but sizes and layout apply to every language and therefore go back to default everywhere. And here too, nothing is saved until you press Save.
Viewing your page
View booking page at the top right opens your real page in a new tab, exactly as your customer sees it. That is also the link you put on your website or share in an email.
Frequently asked questions
Do I have to fill in every field? No. Every field already holds the default text. Leave something as it is and Schedulinq uses that default — which also improves when we improve it. Only what you change yourself is stored.
I changed something but do not see it on my page. Check that you saved, and that you edited the right language. The texts are per language; an English visitor does not see your Dutch edit.
Can I change the colours and font here? No, those live under Online booking → Branding. This page is about the words and the layout.
What happens to my wording when I add a language? That language starts from the defaults. Your changes in other languages stay as they are.