
Offer add-ons
Optional extras customers can add to their appointment — each with its own price and, if you want, its own extra time.
An add-on is something a customer can add to an appointment: a filter you replace while you are there, a detailed report afterwards, a product to take home. They pick these themselves while booking, and every selected add-on is added to the price — and, if you give it a duration, to the length of the appointment too.
What differs from an appointment type
| Appointment type | Add-on | |
|---|---|---|
| Colour | Yes | No |
| Category | Yes | No |
| Location | Yes | No — follows the appointment |
| Duration | 15m to 2h, default 30m | 5m to 1h, default 15m — or none at all |
| Linked appointment types | — | Decides where the add-on is offered |
An add-on never stands on its own: it always hangs off one or more appointment types, and inherits the location and time of the appointment it belongs to.
Step by step
Open the add-ons overview
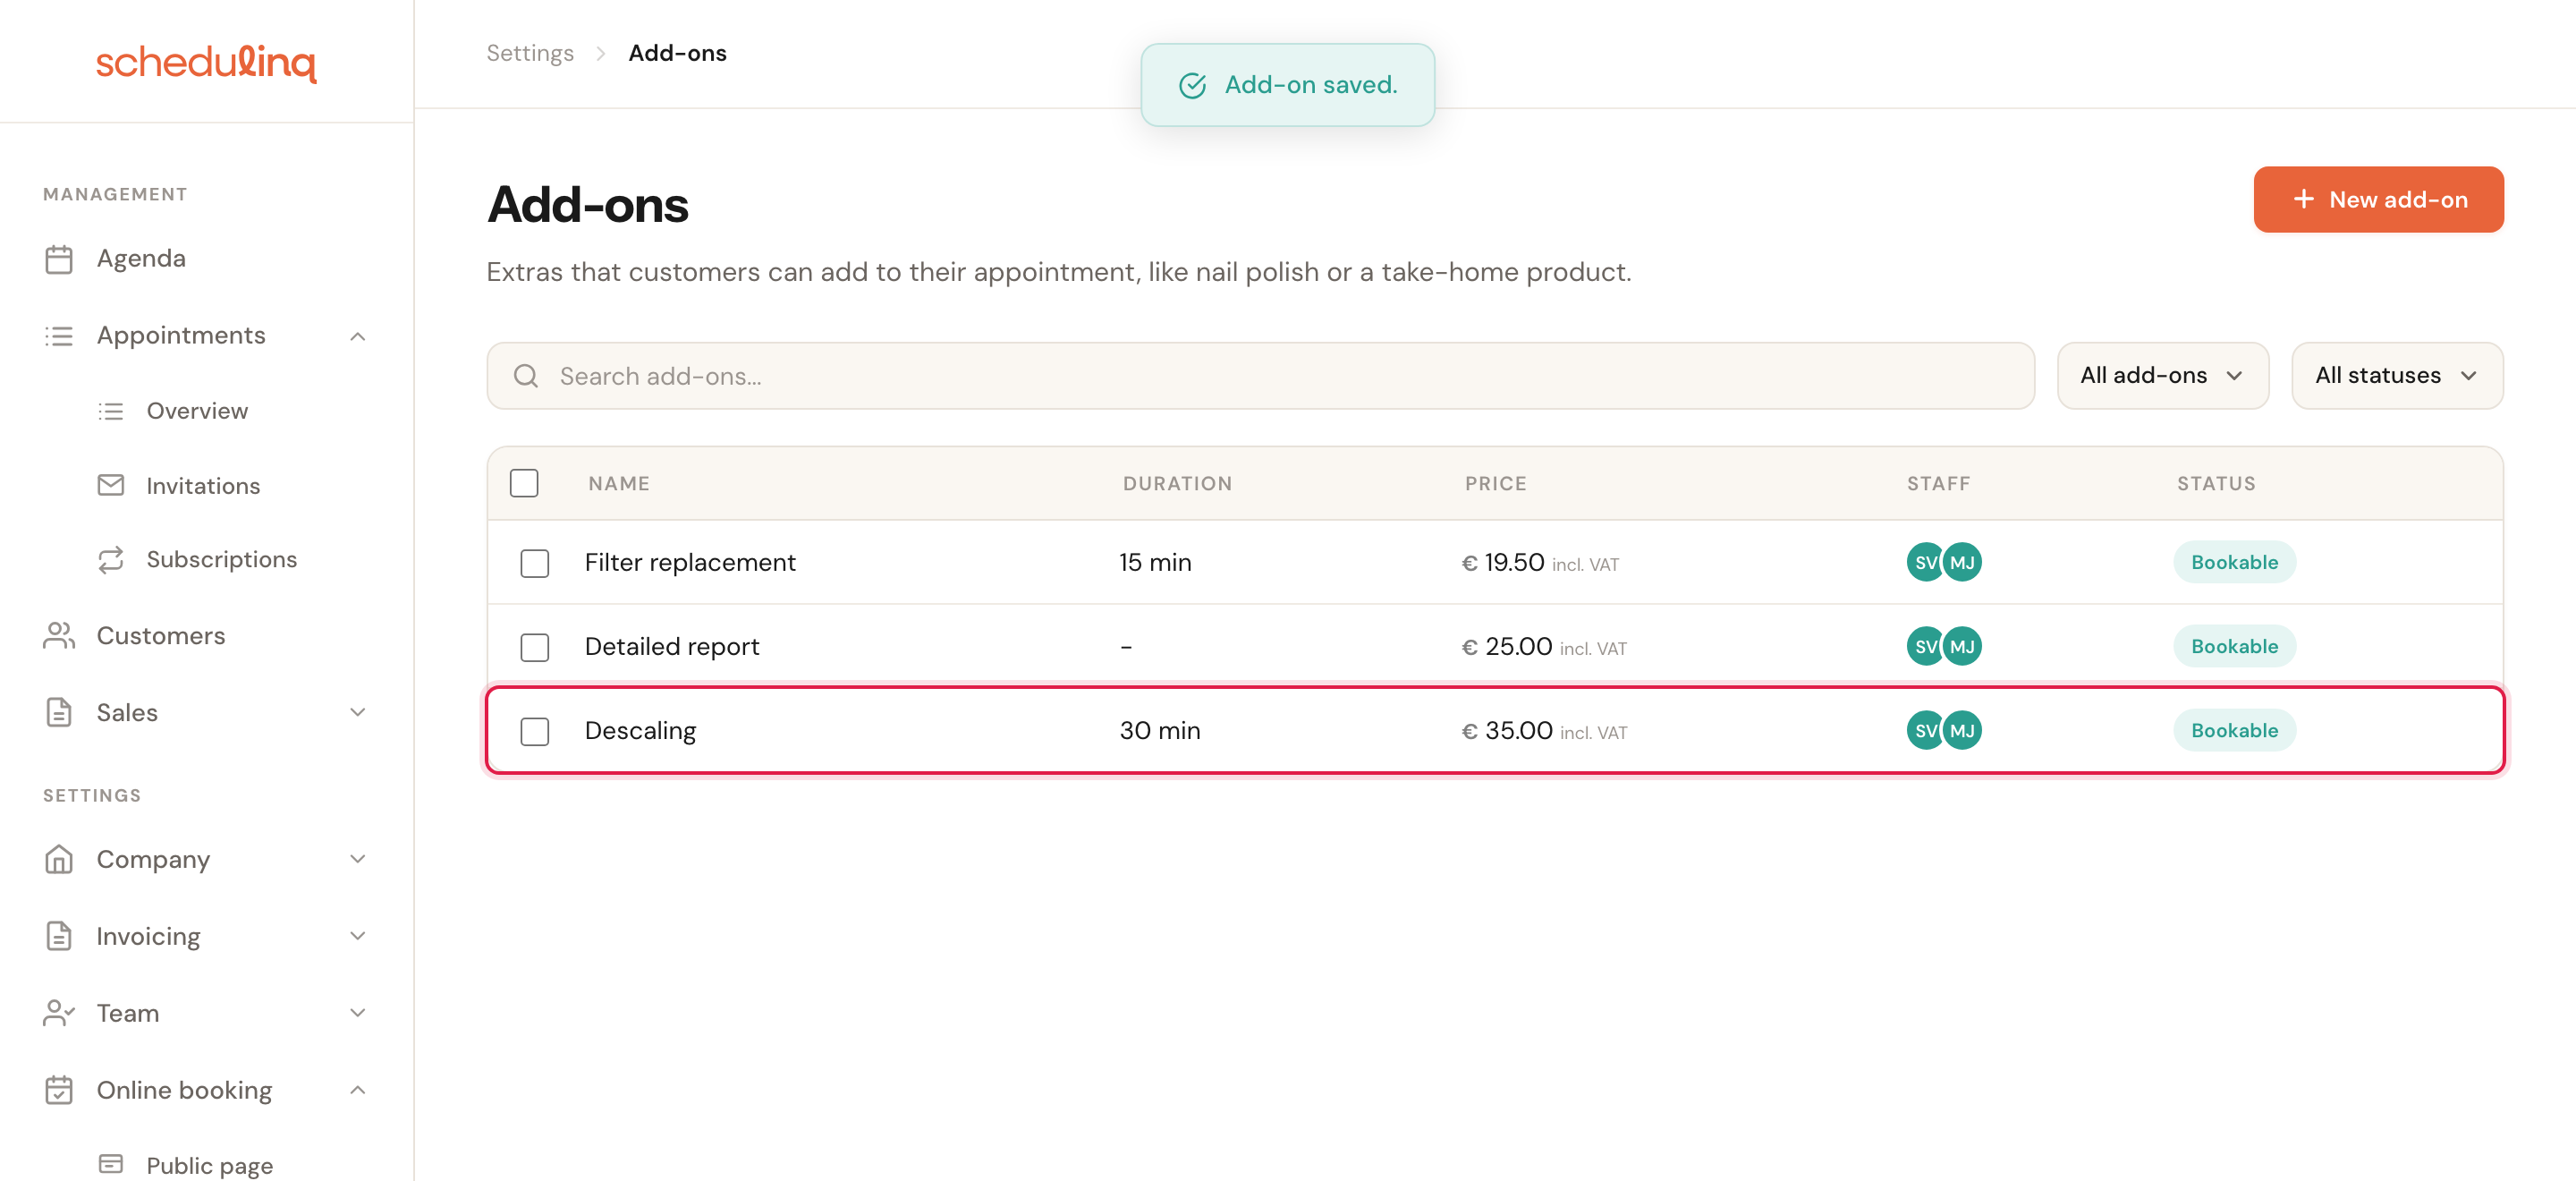
In the left-hand menu, click Online booking → Appointment types → Add-ons. Each row shows the duration, the price, the staff and whether the add-on is bookable.
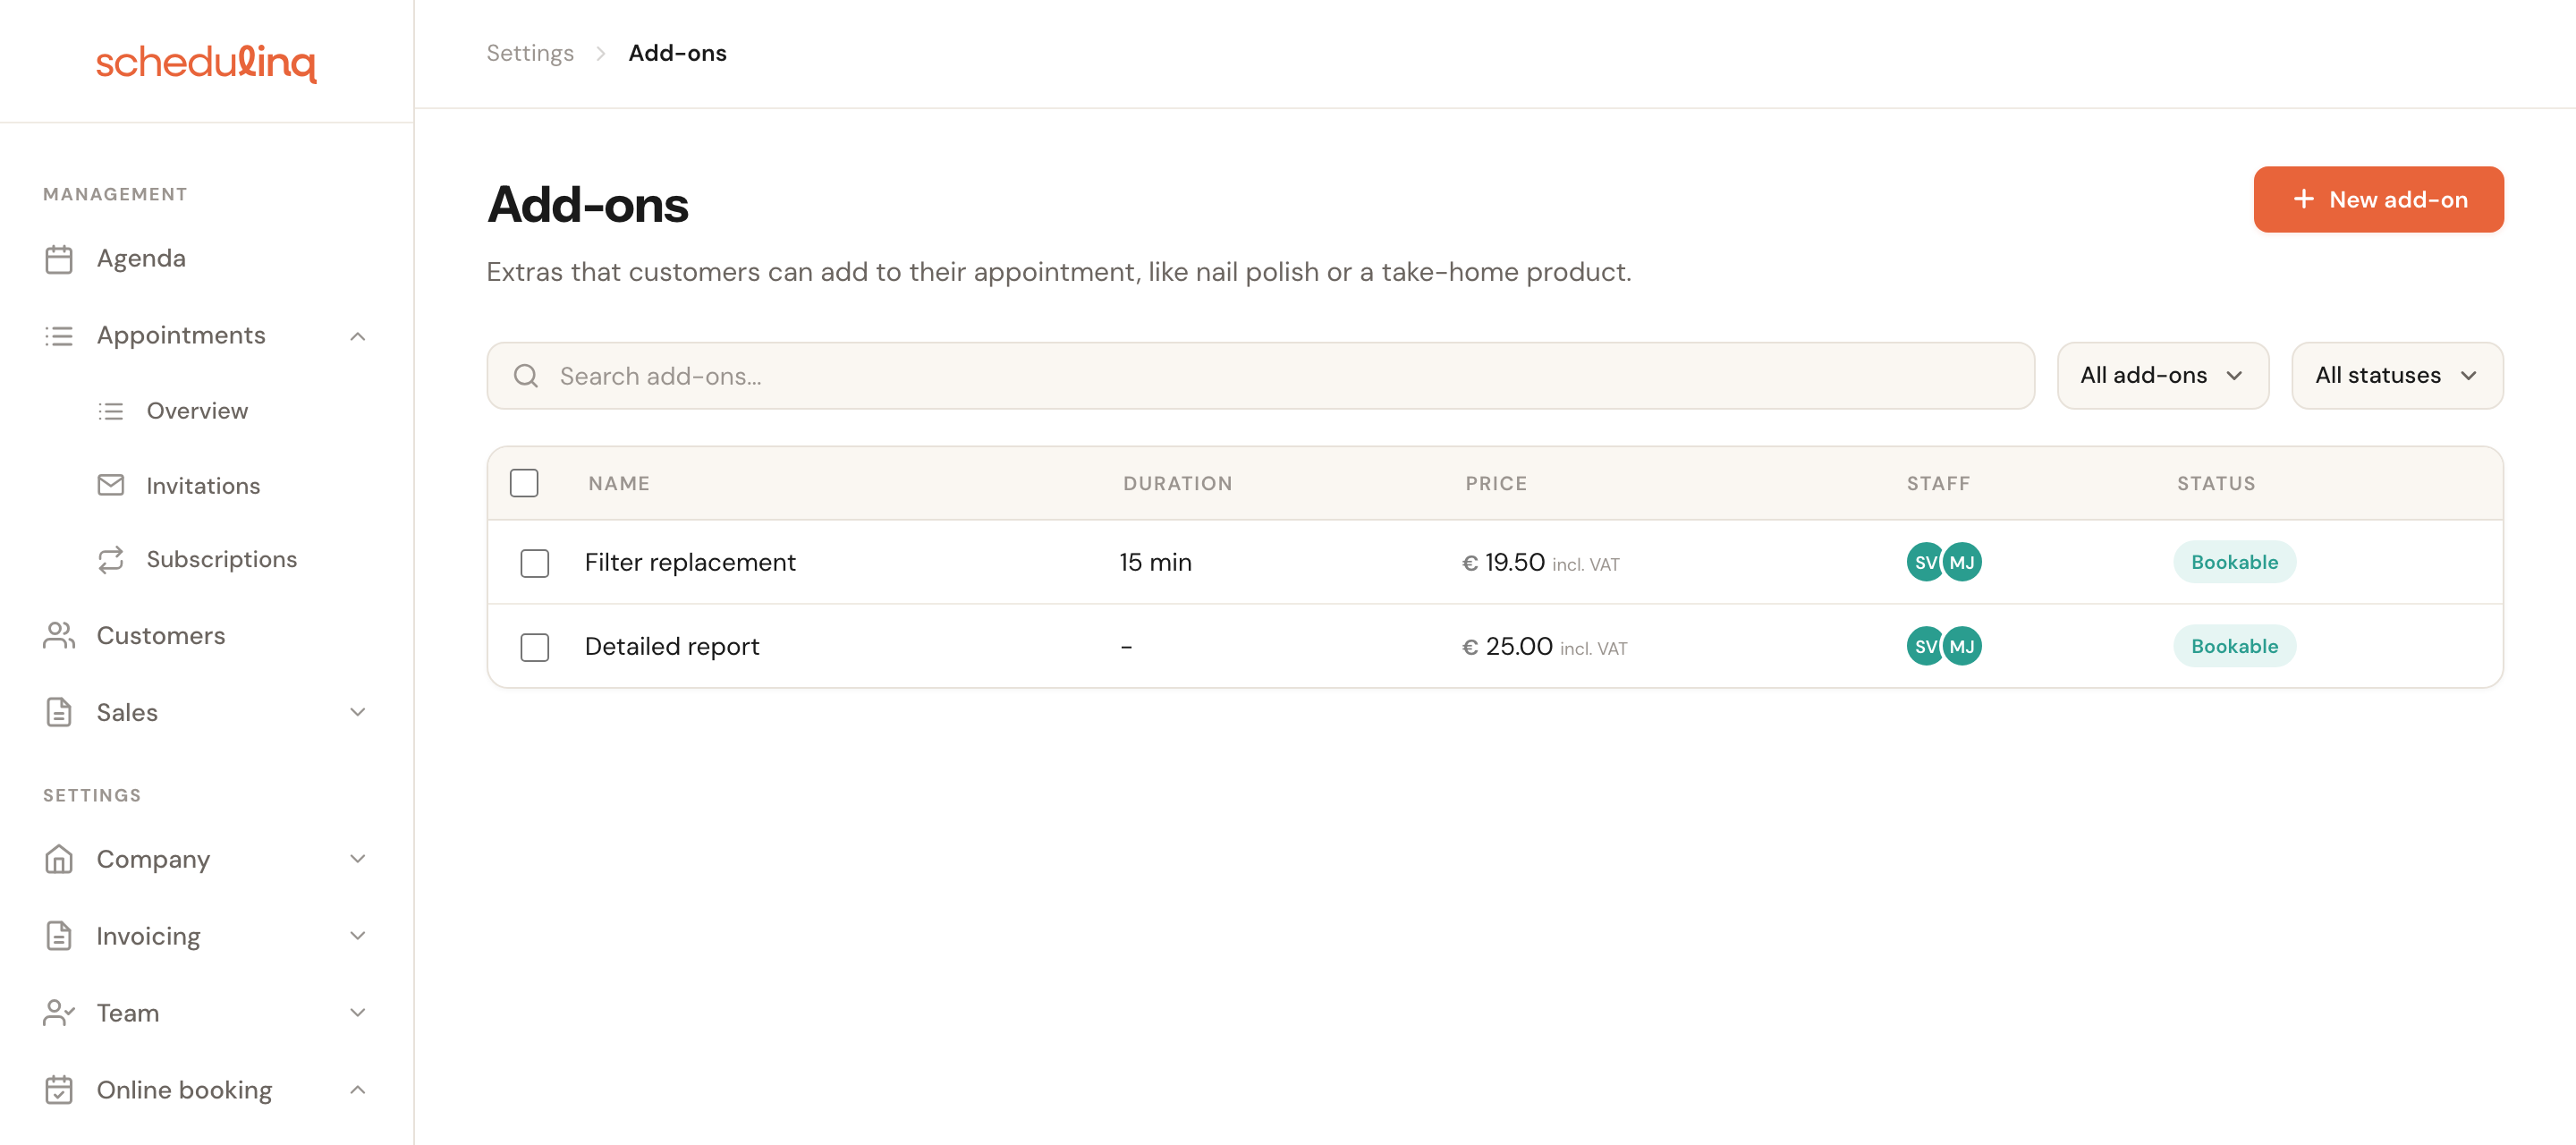
A dash in the Duration column means this add-on adds no time — only money.
Create a new add-on
Click New add-on at the top right.
Fill in the form
Six blocks, two of which exist only for add-ons. Only the Id and one name are required.
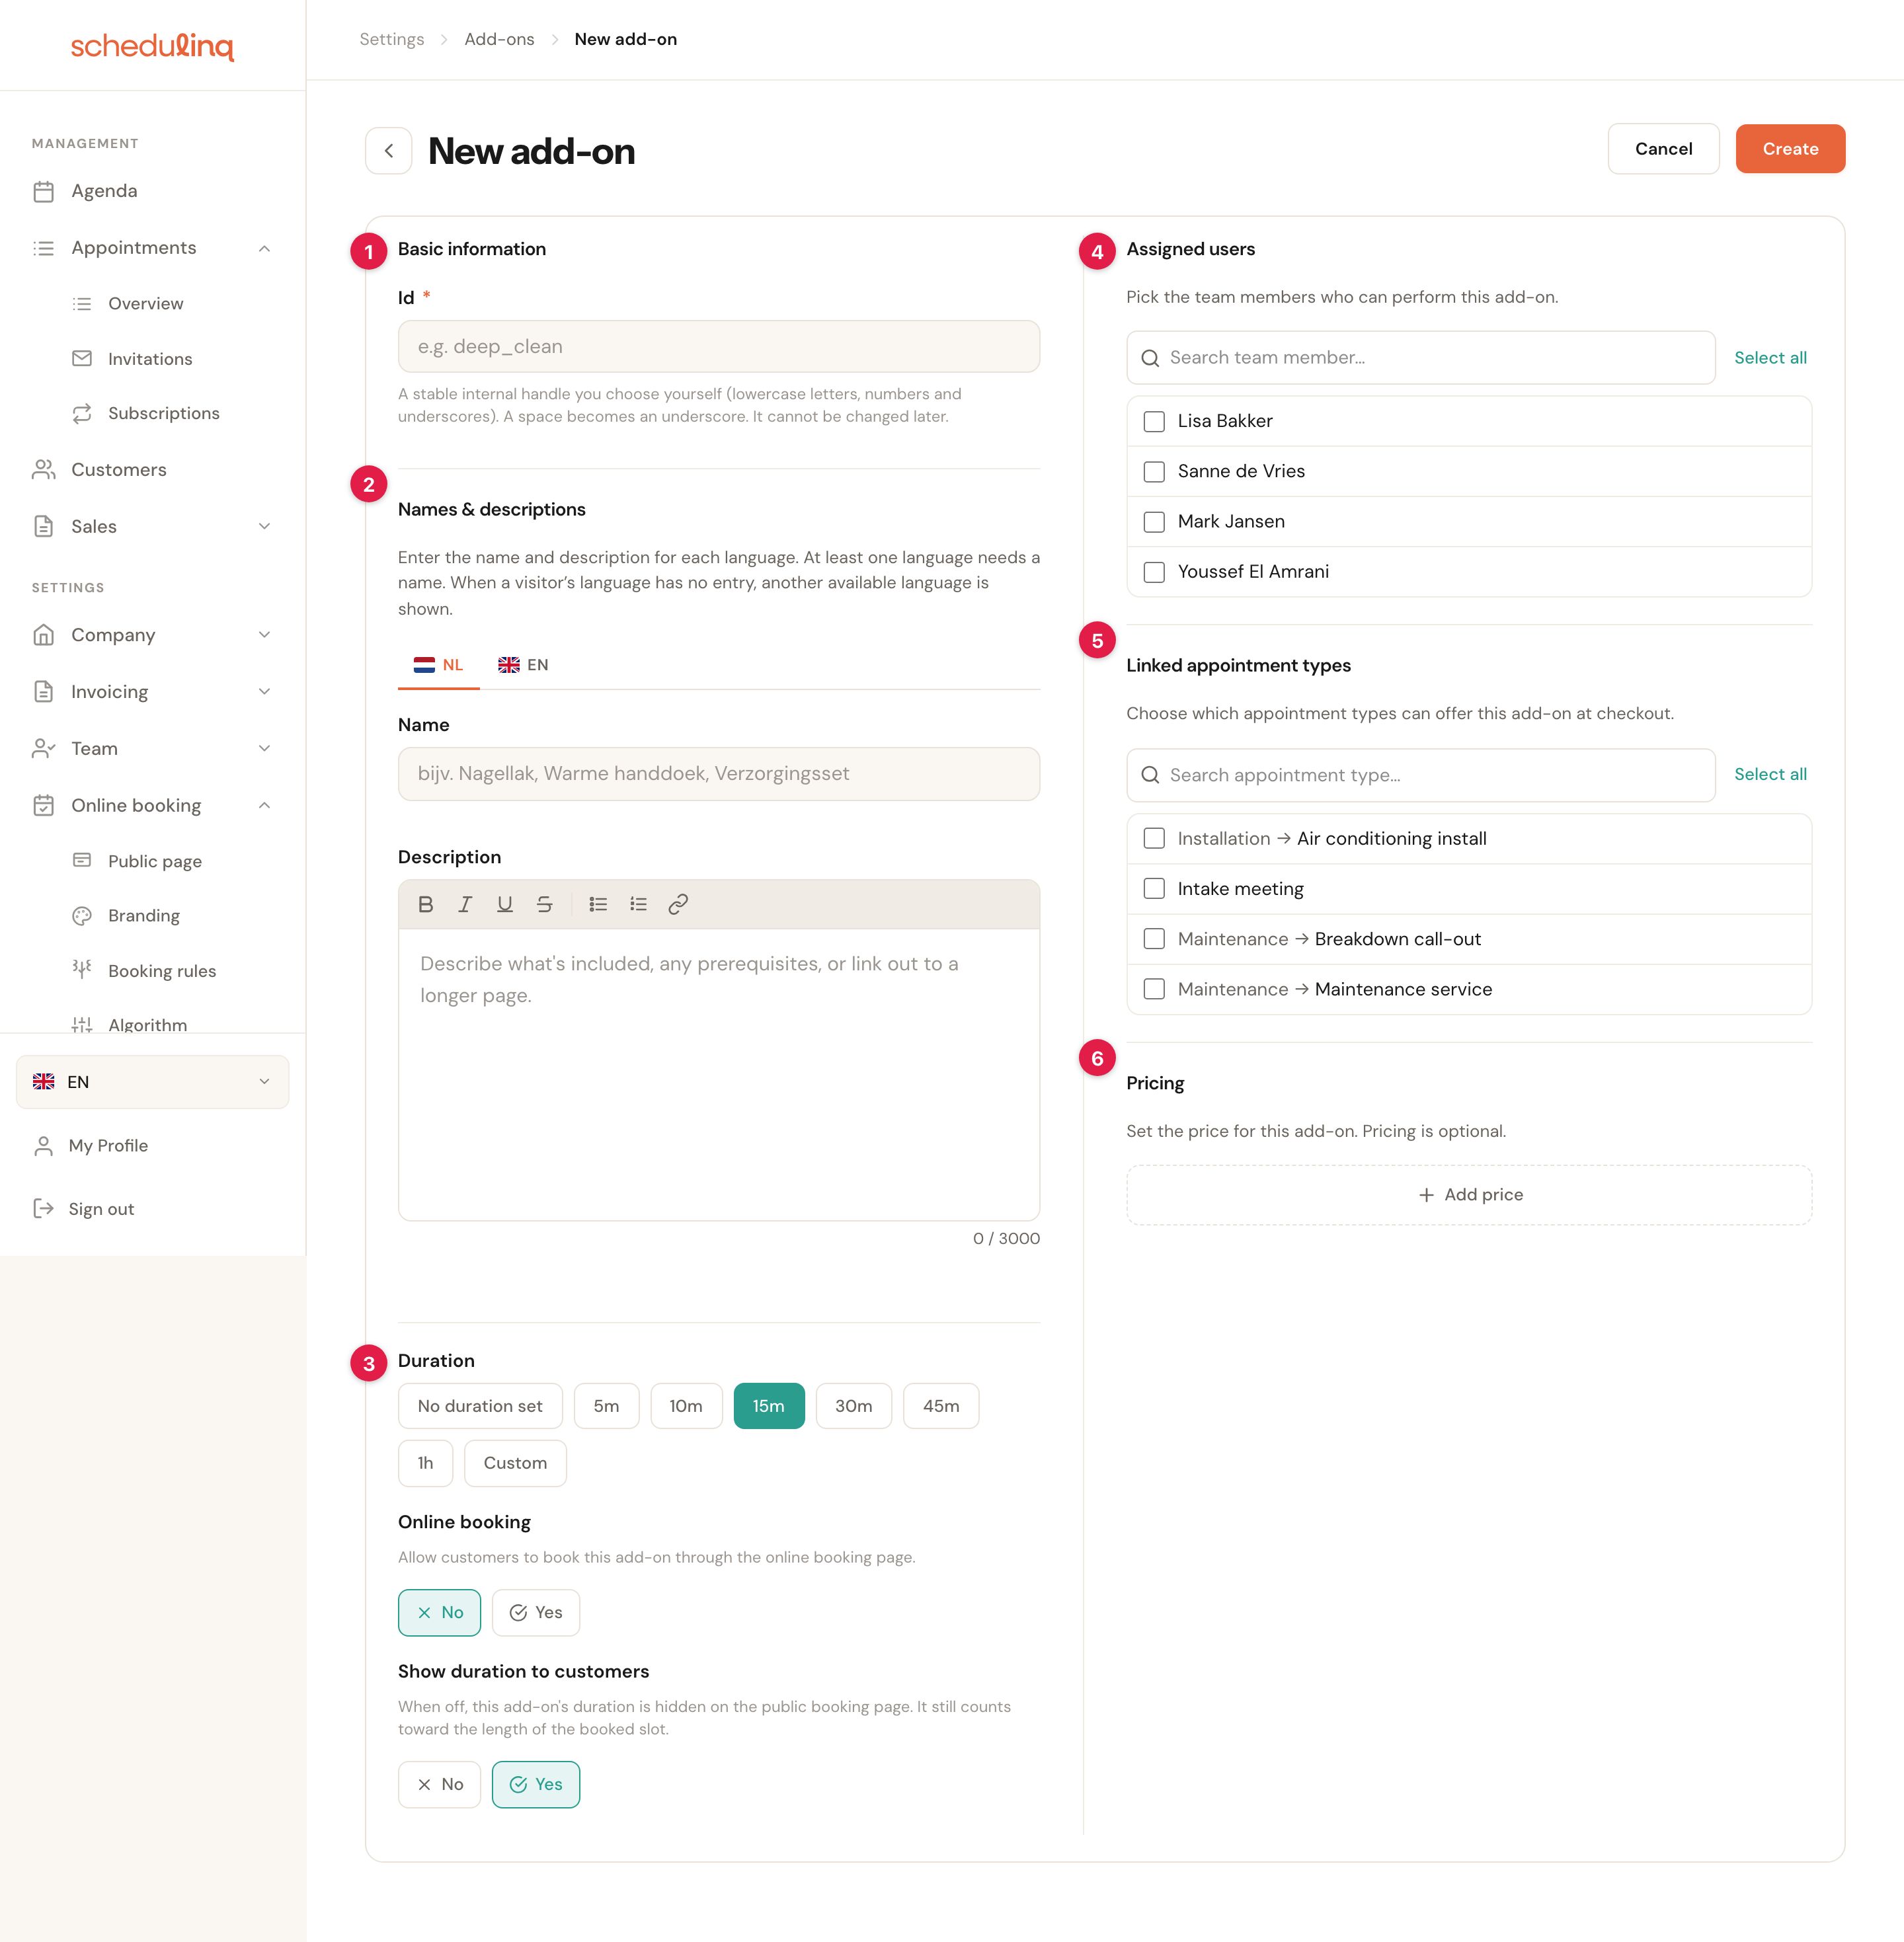
- Basic information — the internal Id
- Names & descriptions — what the customer reads, per language
- Duration, online booking and show duration
- Assigned staff
- Linked appointment types — where the add-on appears
- Pricing
Save the add-on
Click Create at the top right. The add-on then sits in your overview and is offered with every appointment type you ticked.
Blocks 1 and 2 · Id, name and description
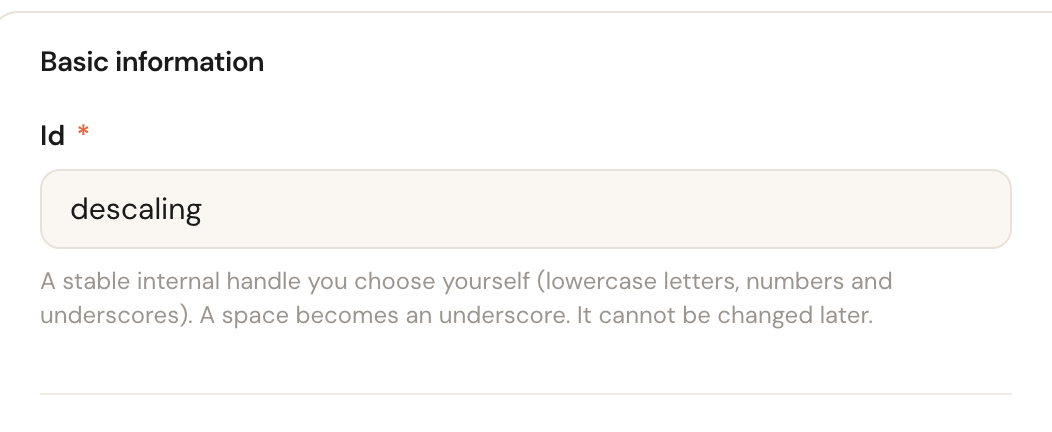
These two work exactly as they do for an appointment type: the Id is the fixed internal reference you choose yourself and cannot change later, and the name and description are filled in per language your company supports.
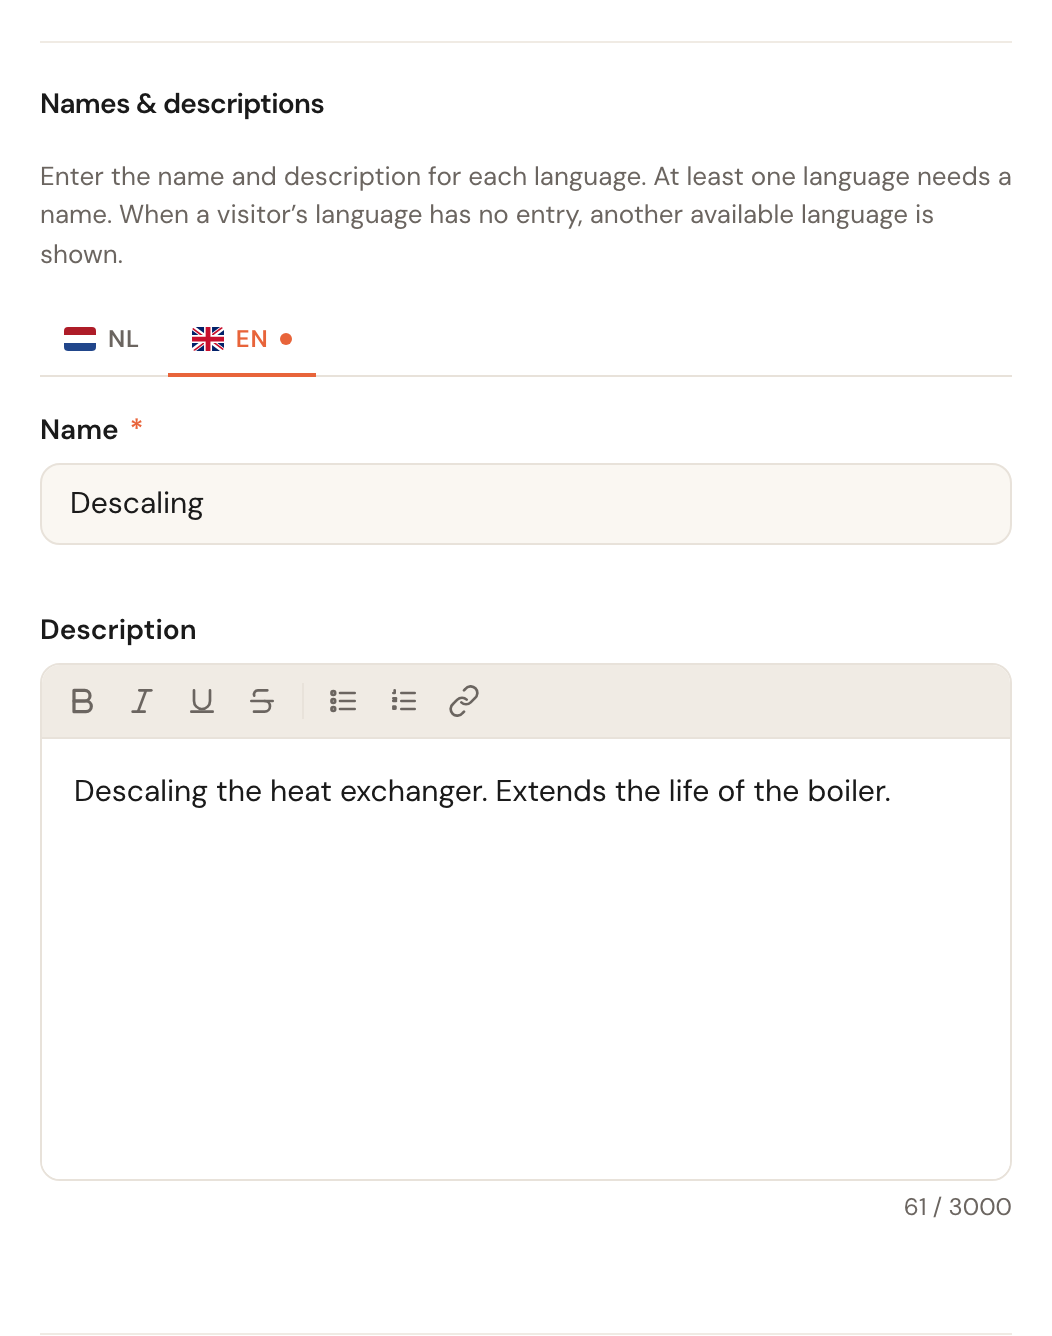
See Create an appointment type for the full explanation of these fields. Two things differ here:
- An add-on has no colour. It gets no block of its own in your calendar — it belongs to the appointment and sits inside it.
- The description earns its keep sooner than an appointment type's: on the booking page it is collapsed behind the name, and a customer only opens it if they are unsure.
Block 3 · Duration
Duration
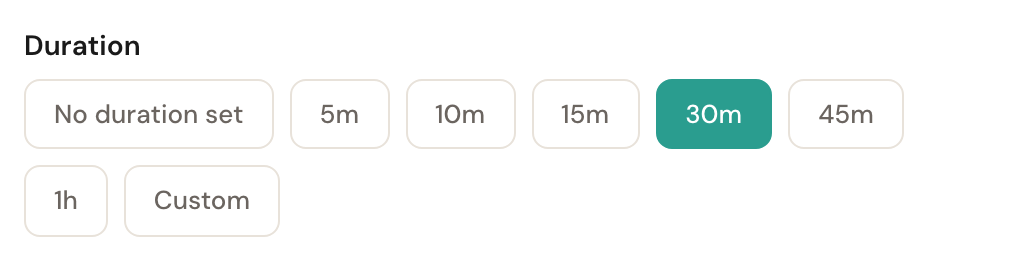
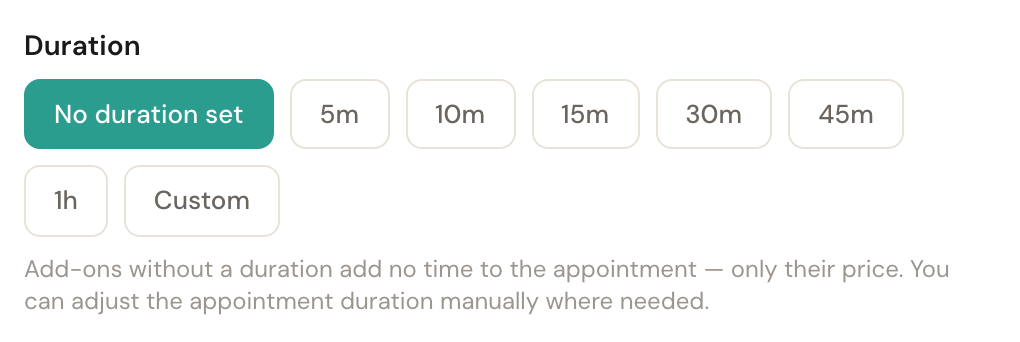
Default: 15 minutesHow much time this add-on adds to the appointment. The buttons run from five minutes to an hour — a shorter scale than appointment types use, because an add-on is usually a few minutes of work. Custom lets you set your own.
This time really is added to the booked slot. A one-hour maintenance visit with a 30-minute descaling blocks an hour and a half in the calendar, and the customer is only offered times where that whole block fits.
No duration set
Price onlyChoose No duration set when the add-on costs money but no time — a product you hand over, or a report you send later.
Without a duration nothing about the planning changes: only the amount is added. That is exactly what you want for something you do not have to do on site — and it keeps your calendar from looking fuller than your working day really is.
Online booking
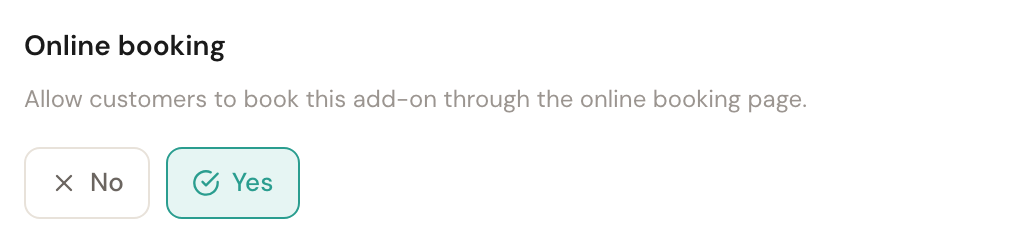
Default: NoDecides whether customers can tick this add-on themselves while booking.
As with an appointment type, this deliberately starts at No while you are still setting things up. Leave it at No for add-ons you only add yourself — they stay available to you and your team without the customer seeing them.
Show duration to customers
Default: YesDecides whether this add-on's minutes are visible on the booking page. The time counts towards the slot length either way.
There is a catch here: the booking page only shows a total duration when the appointment type and every selected add-on show theirs. Turn this off for one add-on and the time disappears for the whole appointment the moment the customer ticks it. So only turn it off when that is what you mean.
Block 4 · Assigned staff
Staff
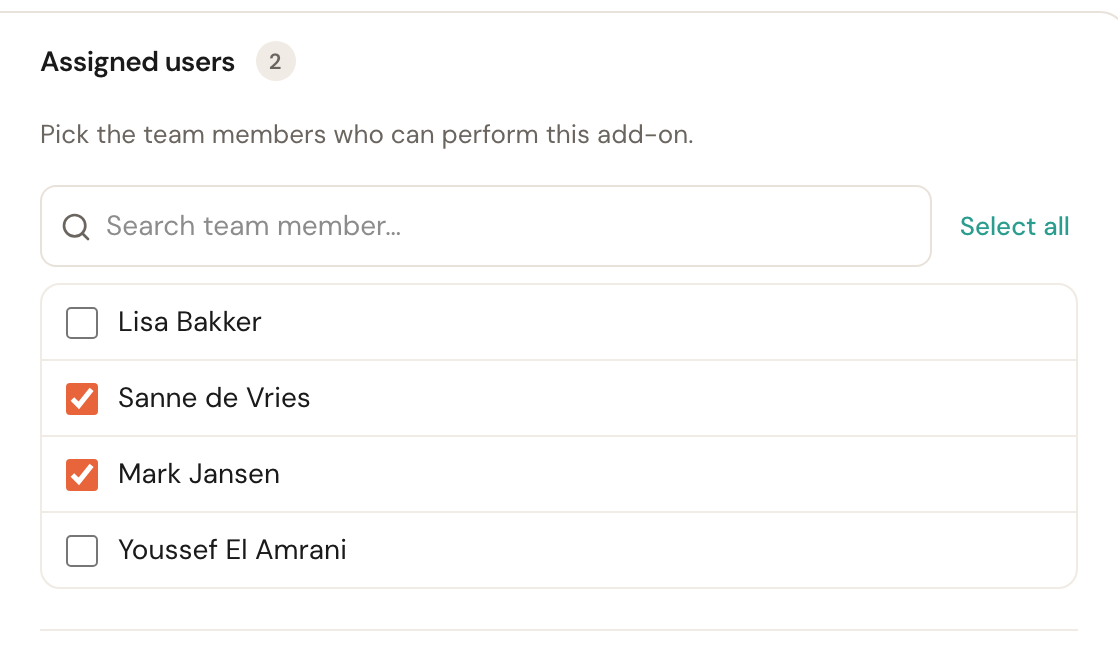
Required for online bookingWho can perform this add-on. Often the same list as the appointment type, but not always.
Only tick people who actually do the work. An add-on nobody can perform gets the status No staff and is not offered — same as an appointment type.
Block 5 · Linked appointment types
Linked appointment types
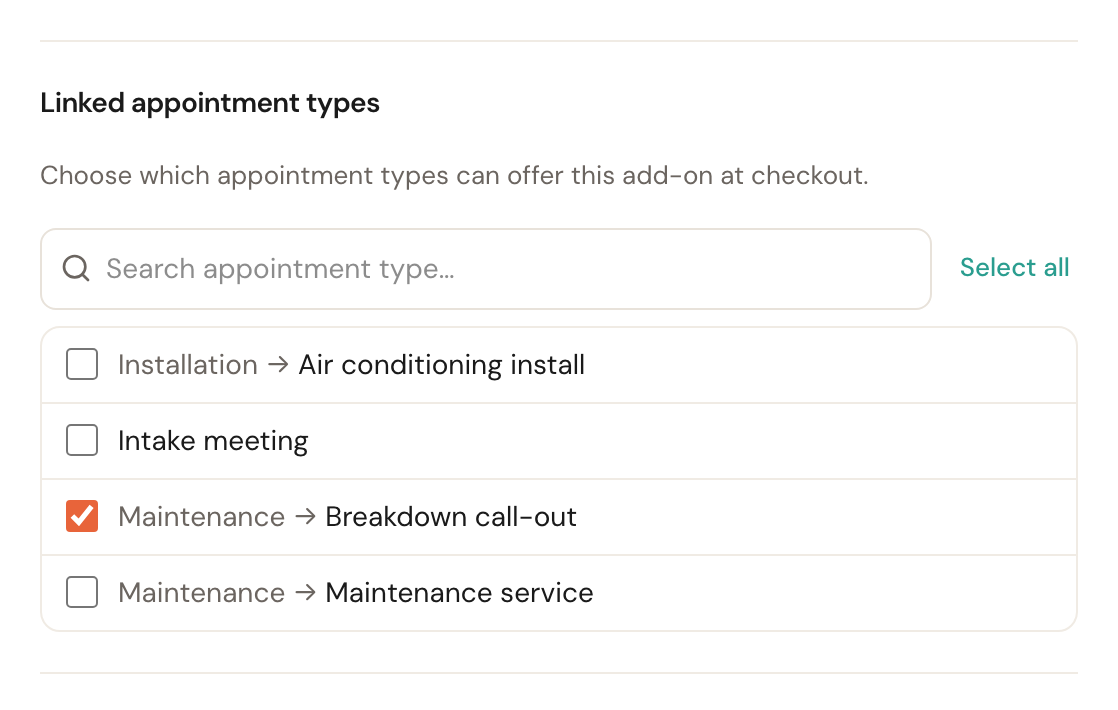
Decides where the add-on appearsTick the appointment types this add-on can be booked with. The list shows the full path, so Maintenance → Maintenance service when the type sits in a category.
This is the field that gives an add-on its place. A customer booking a breakdown call-out only sees the add-ons attached to that type. Tick nothing and the add-on appears nowhere — it exists, but nobody ever meets it.
Block 6 · Pricing
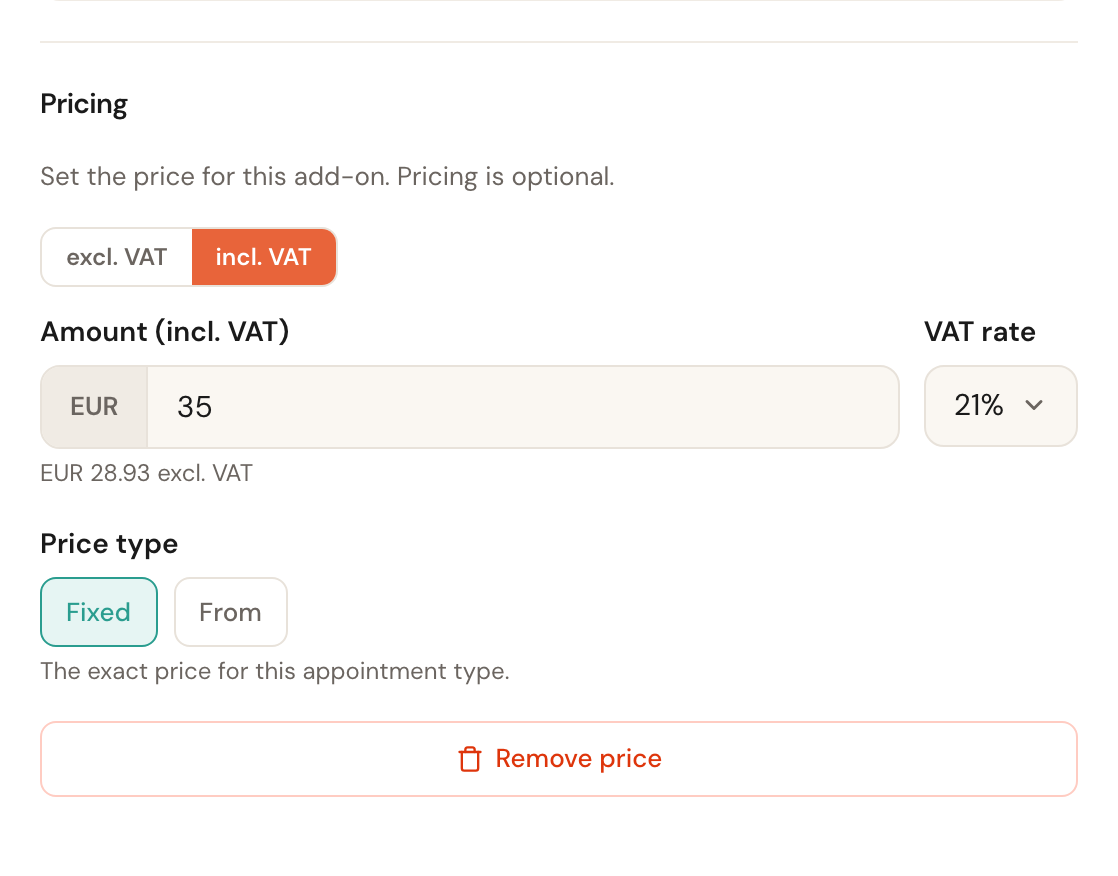
The pricing block is identical to an appointment type's: you choose whether you type incl. or excl. VAT, enter the amount and the VAT rate, and pick between a Fixed price and a From price. See Create an appointment type for the full explanation.
One difference in how it lands: an add-on's amount is added on top of the appointment's price. A customer booking a € 90.75 maintenance service with a € 35.00 descaling sees € 125.75 in the confirmation and on the invoice.
Setting the order per appointment type
Customers see add-ons in the order you choose — and that order is per appointment type. "Filter replacement" can sit at the top for a maintenance service and somewhere else entirely for an installation.
Filter to a single appointment type
At the top of the overview, pick the appointment type whose order you want to set. Make sure the search box is empty and the status filter is on All statuses.
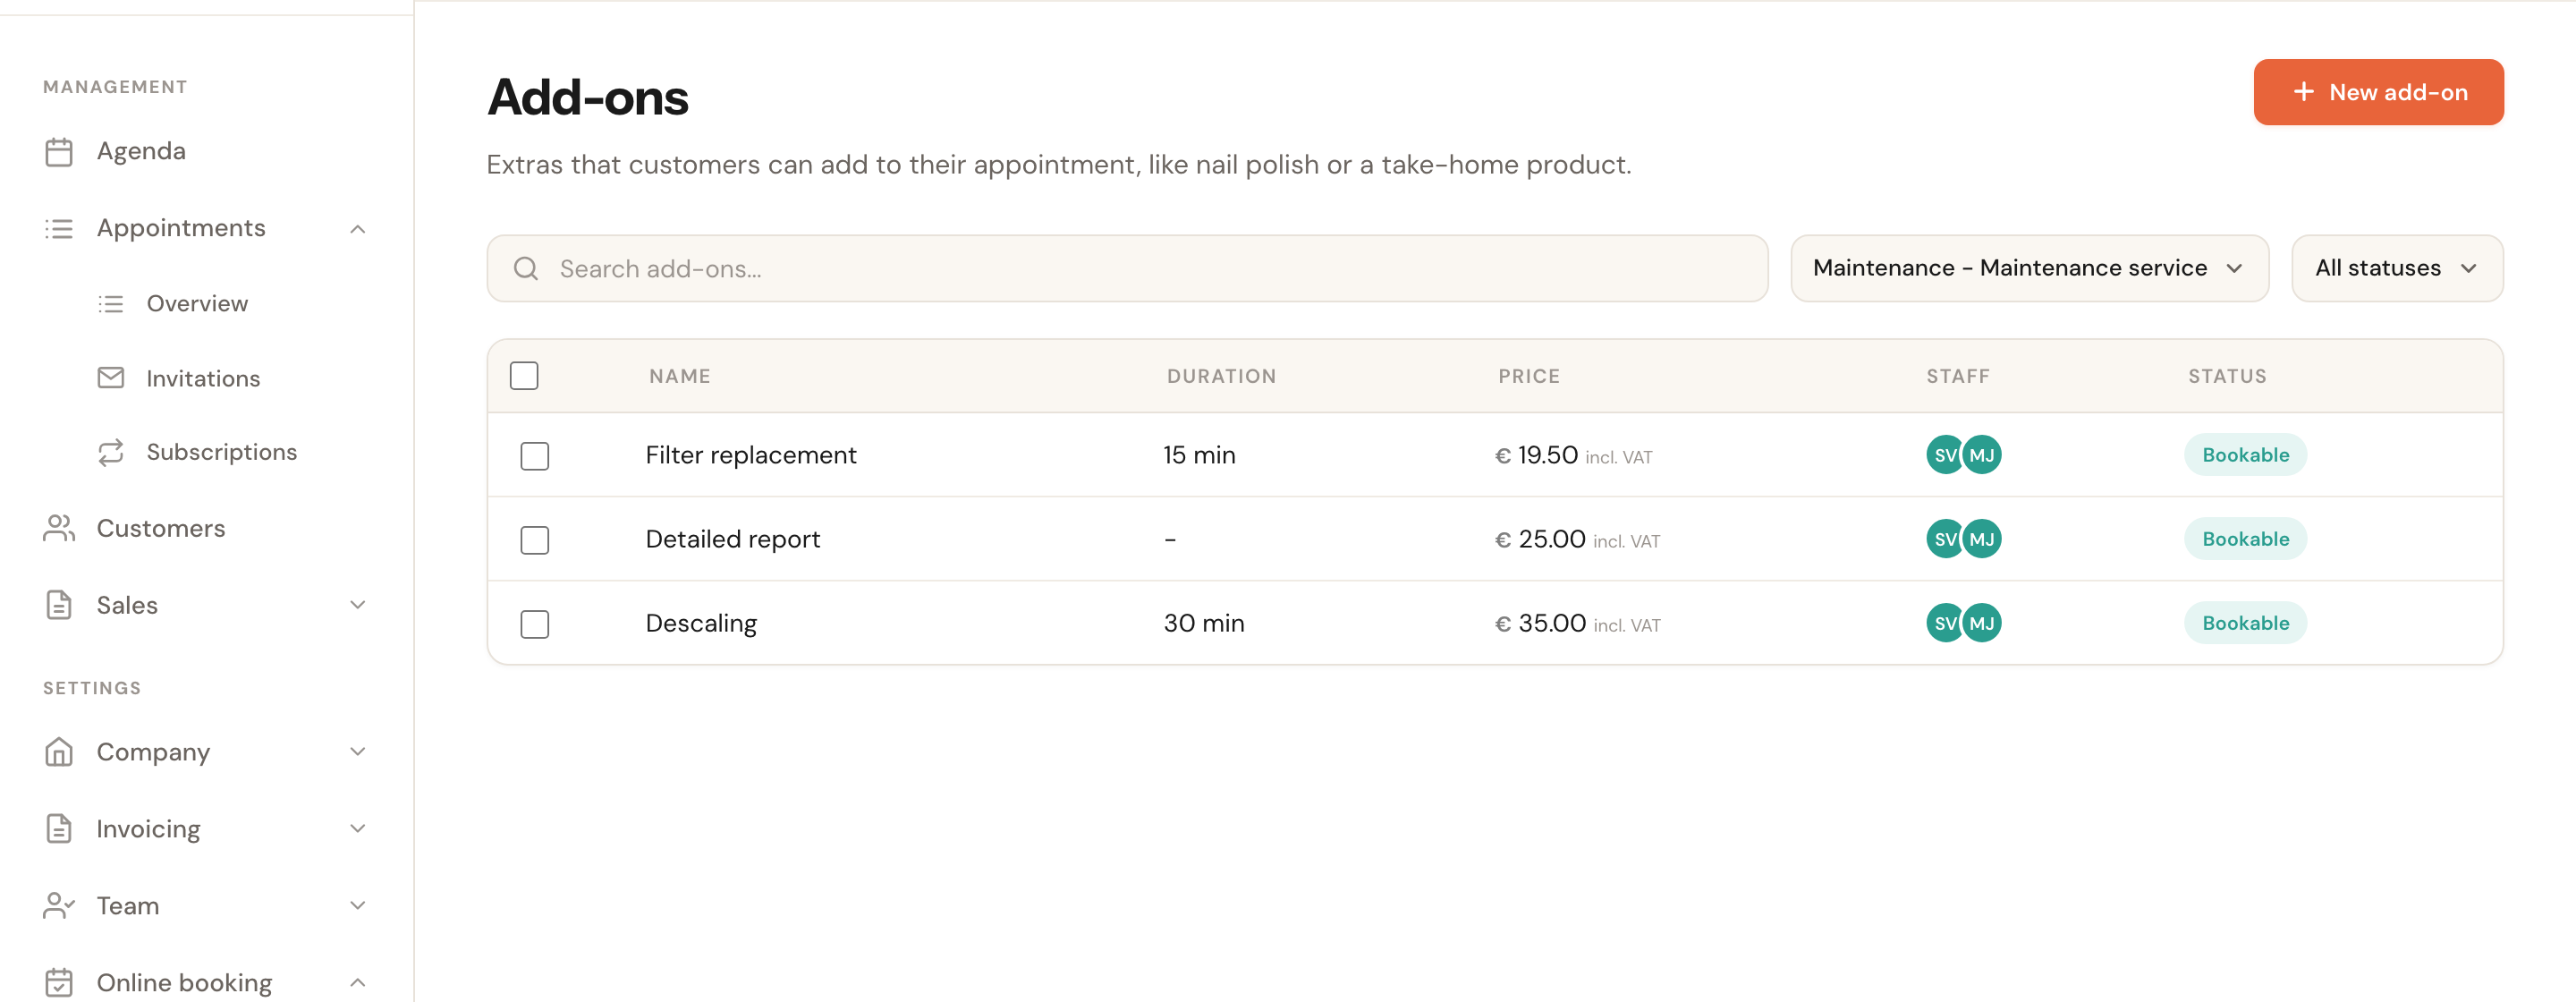
Drag the rows into the order you want
Grab a row by the handle on the left and drag it up or down. The new order is saved straight away and applies to this one appointment type.
What the customer sees
While booking, the customer gets a separate step with the add-ons belonging to the appointment type they chose. They tick as many as they like — there is no quantity, only on or off — and see at the bottom what that adds up to in money and time. The chosen add-ons then appear in the summary, in the confirmation email and on the invoice, underneath the appointment they belong to.
Frequently asked questions
Can I offer the same add-on with several appointment types? Yes. Just tick them all in block 5. You then set the order per type separately.
I created an add-on but the customer does not see it. Check three things: is Online booking set to Yes, is at least one staff member assigned, and is the appointment type the customer is booking ticked under Linked appointment types?
What happens to appointments that already have this add-on? Nothing. Edits and archiving apply from the next booking onwards; existing appointments keep what was booked at the time.
I want to stop offering an add-on. Archive it with the bin icon in the overview. It disappears from new bookings, existing appointments stay readable, and you can bring it back later using the archived filter.