
What to set up first
The order to set Schedulinq up in — what is required, what can wait, and what is already done for you.
Your account is ready. What now? Schedulinq sets a lot up for you, so the list is shorter than you would expect. This page walks the order: company details first, then your services, then everything else.
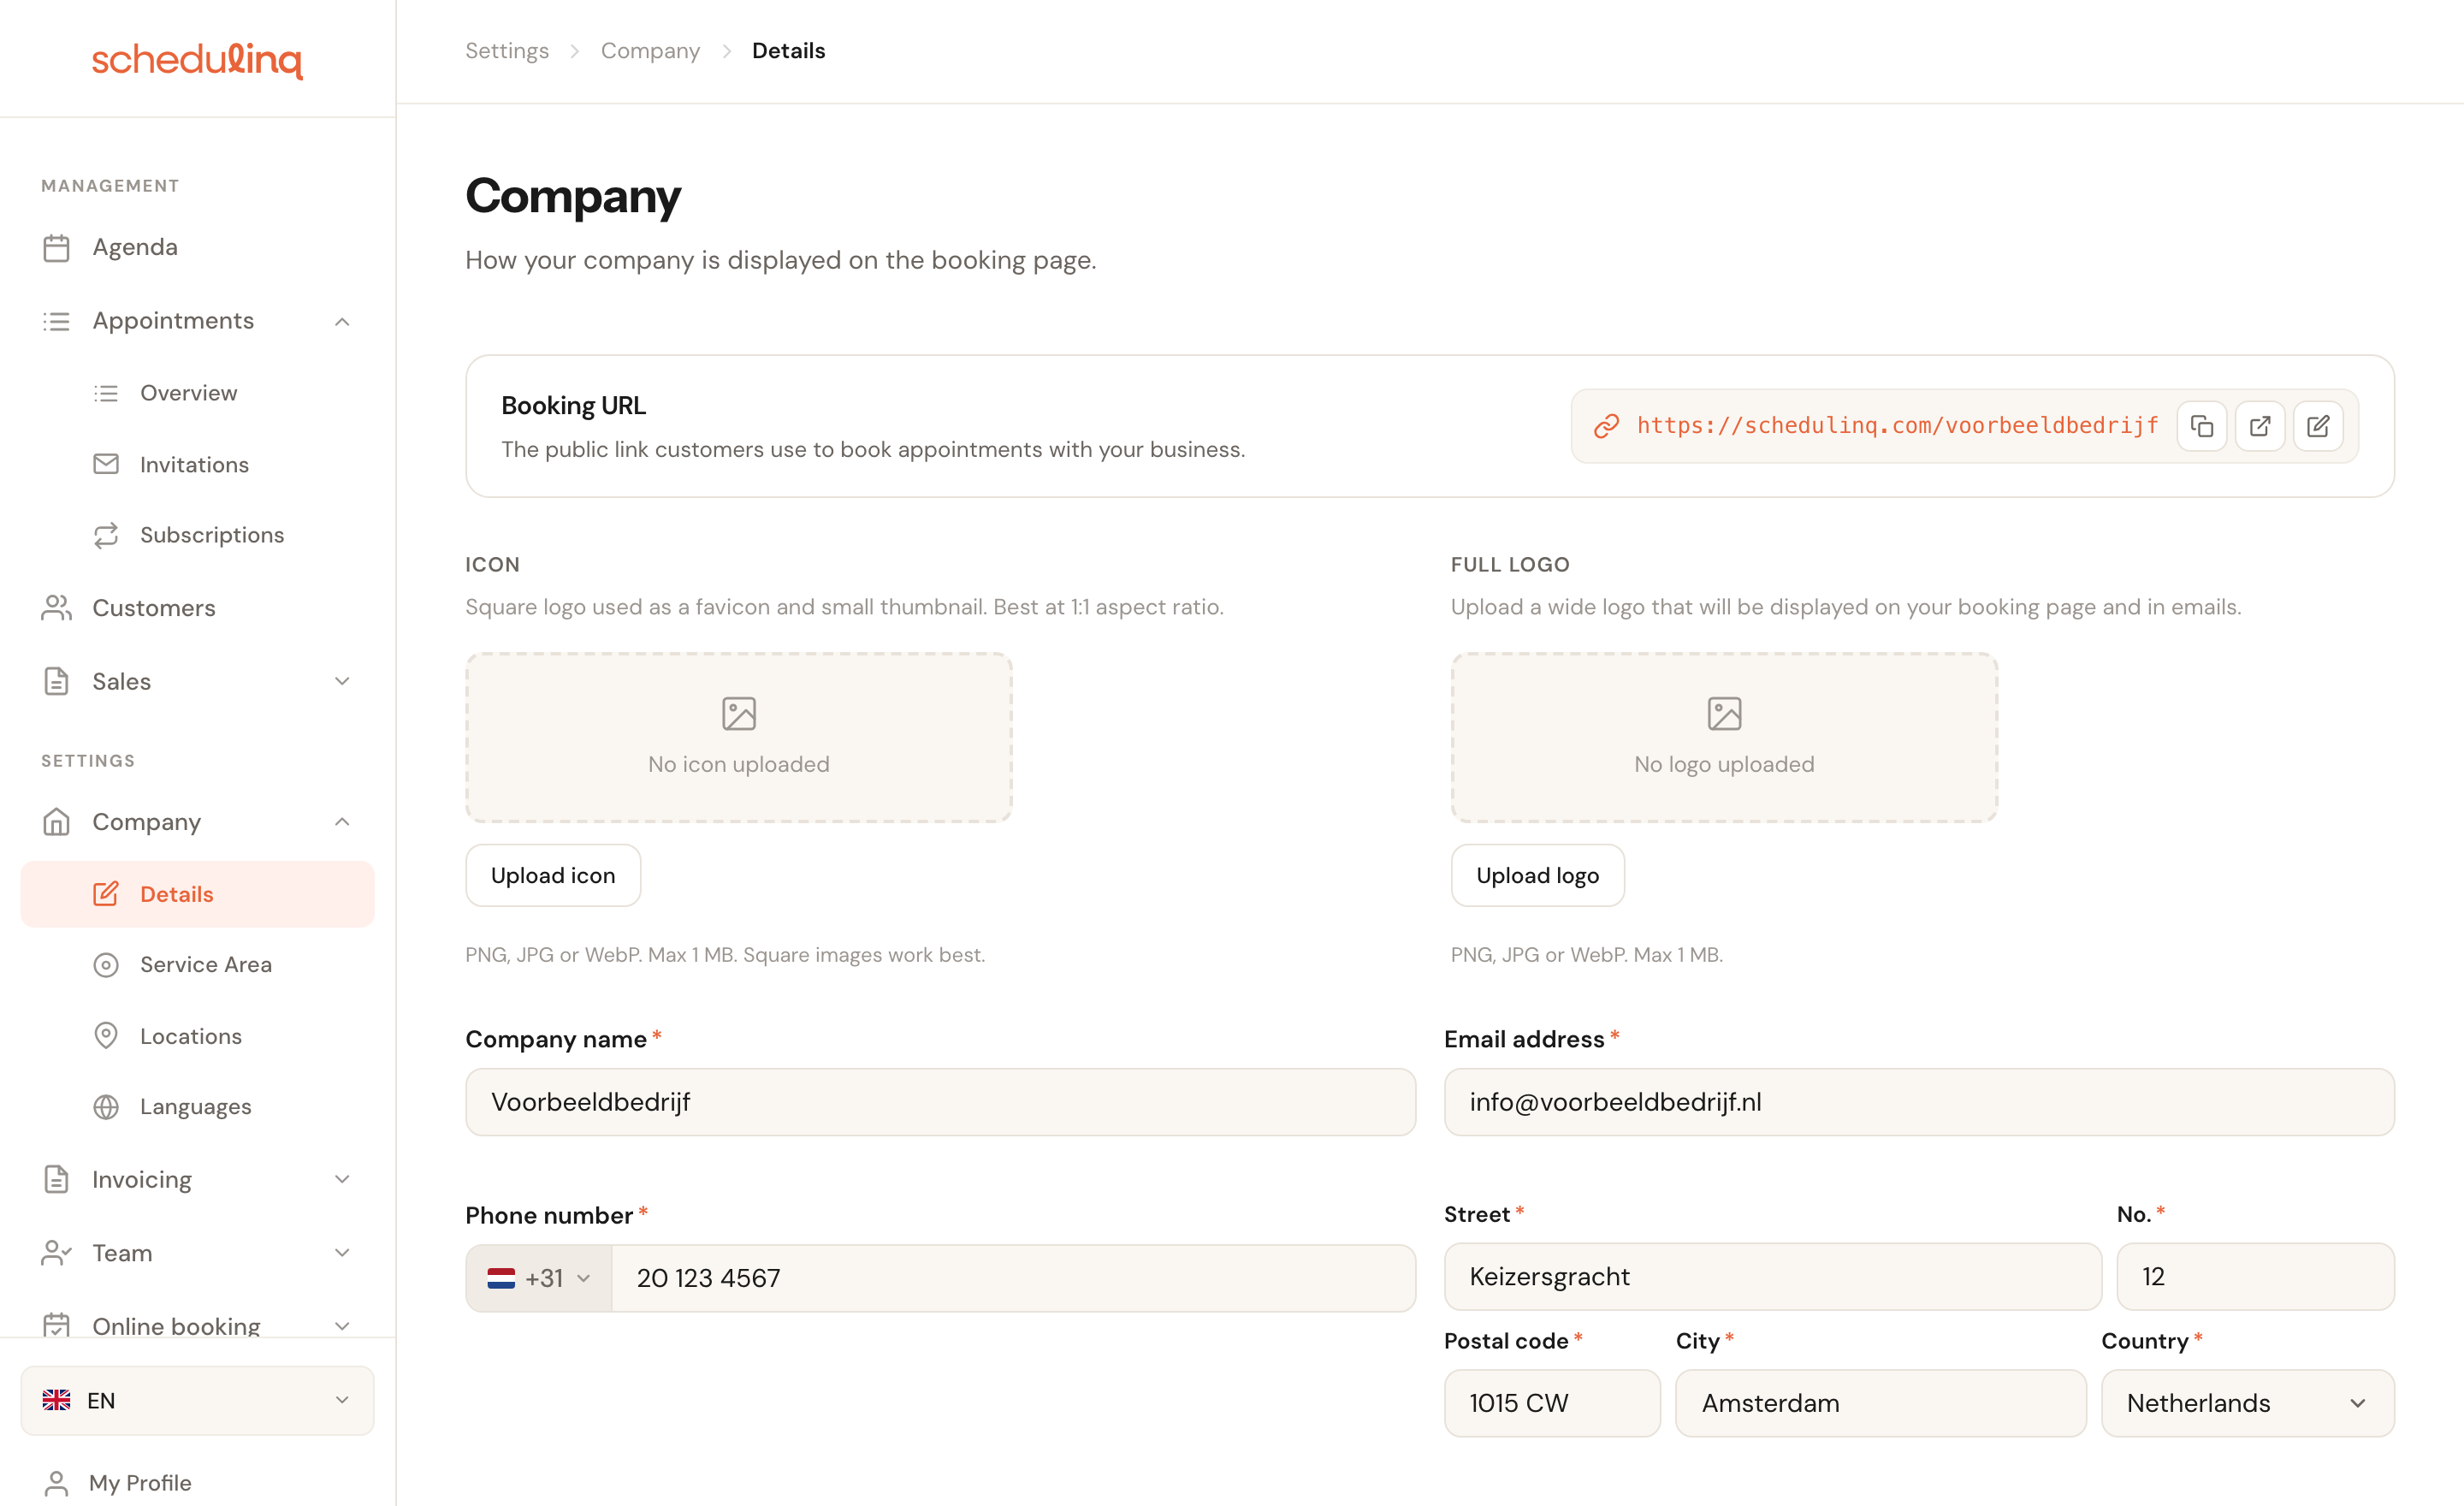
1Fill in your company details under Company → Details.
In short
- Company details — required, and everything else hangs off it.
- Working hours — already there, just check them.
- Locations or service area — only if you work on site or at customers.
- First appointment type — required, and the only thing that blocks bookings.
- Booking page and branding — can wait.
- Communication — already on, only needs polishing.
Steps 1 and 4 are the only ones you genuinely have to do before a customer can book. The rest can follow at your own pace.
Step by step
Fill in your company details
Go to Company → Details. This holds your company name, email address, phone number and address — exactly what customers will see on your booking page and in confirmation emails. If you have not created a company yet, this page offers that first.
At the top sits your booking URL: the public link customers use to book with you.
Choose your company name and booking URL carefully: the URL is what goes in emails, on your website and on business cards, so you do not want to change it a month later.
Check your working hours
Go to Team → Schedule. Your own working hours are already there: Monday to Friday, 09:00–17:00. Schedulinq set those up when your company was created, so you do not start with an empty schedule.
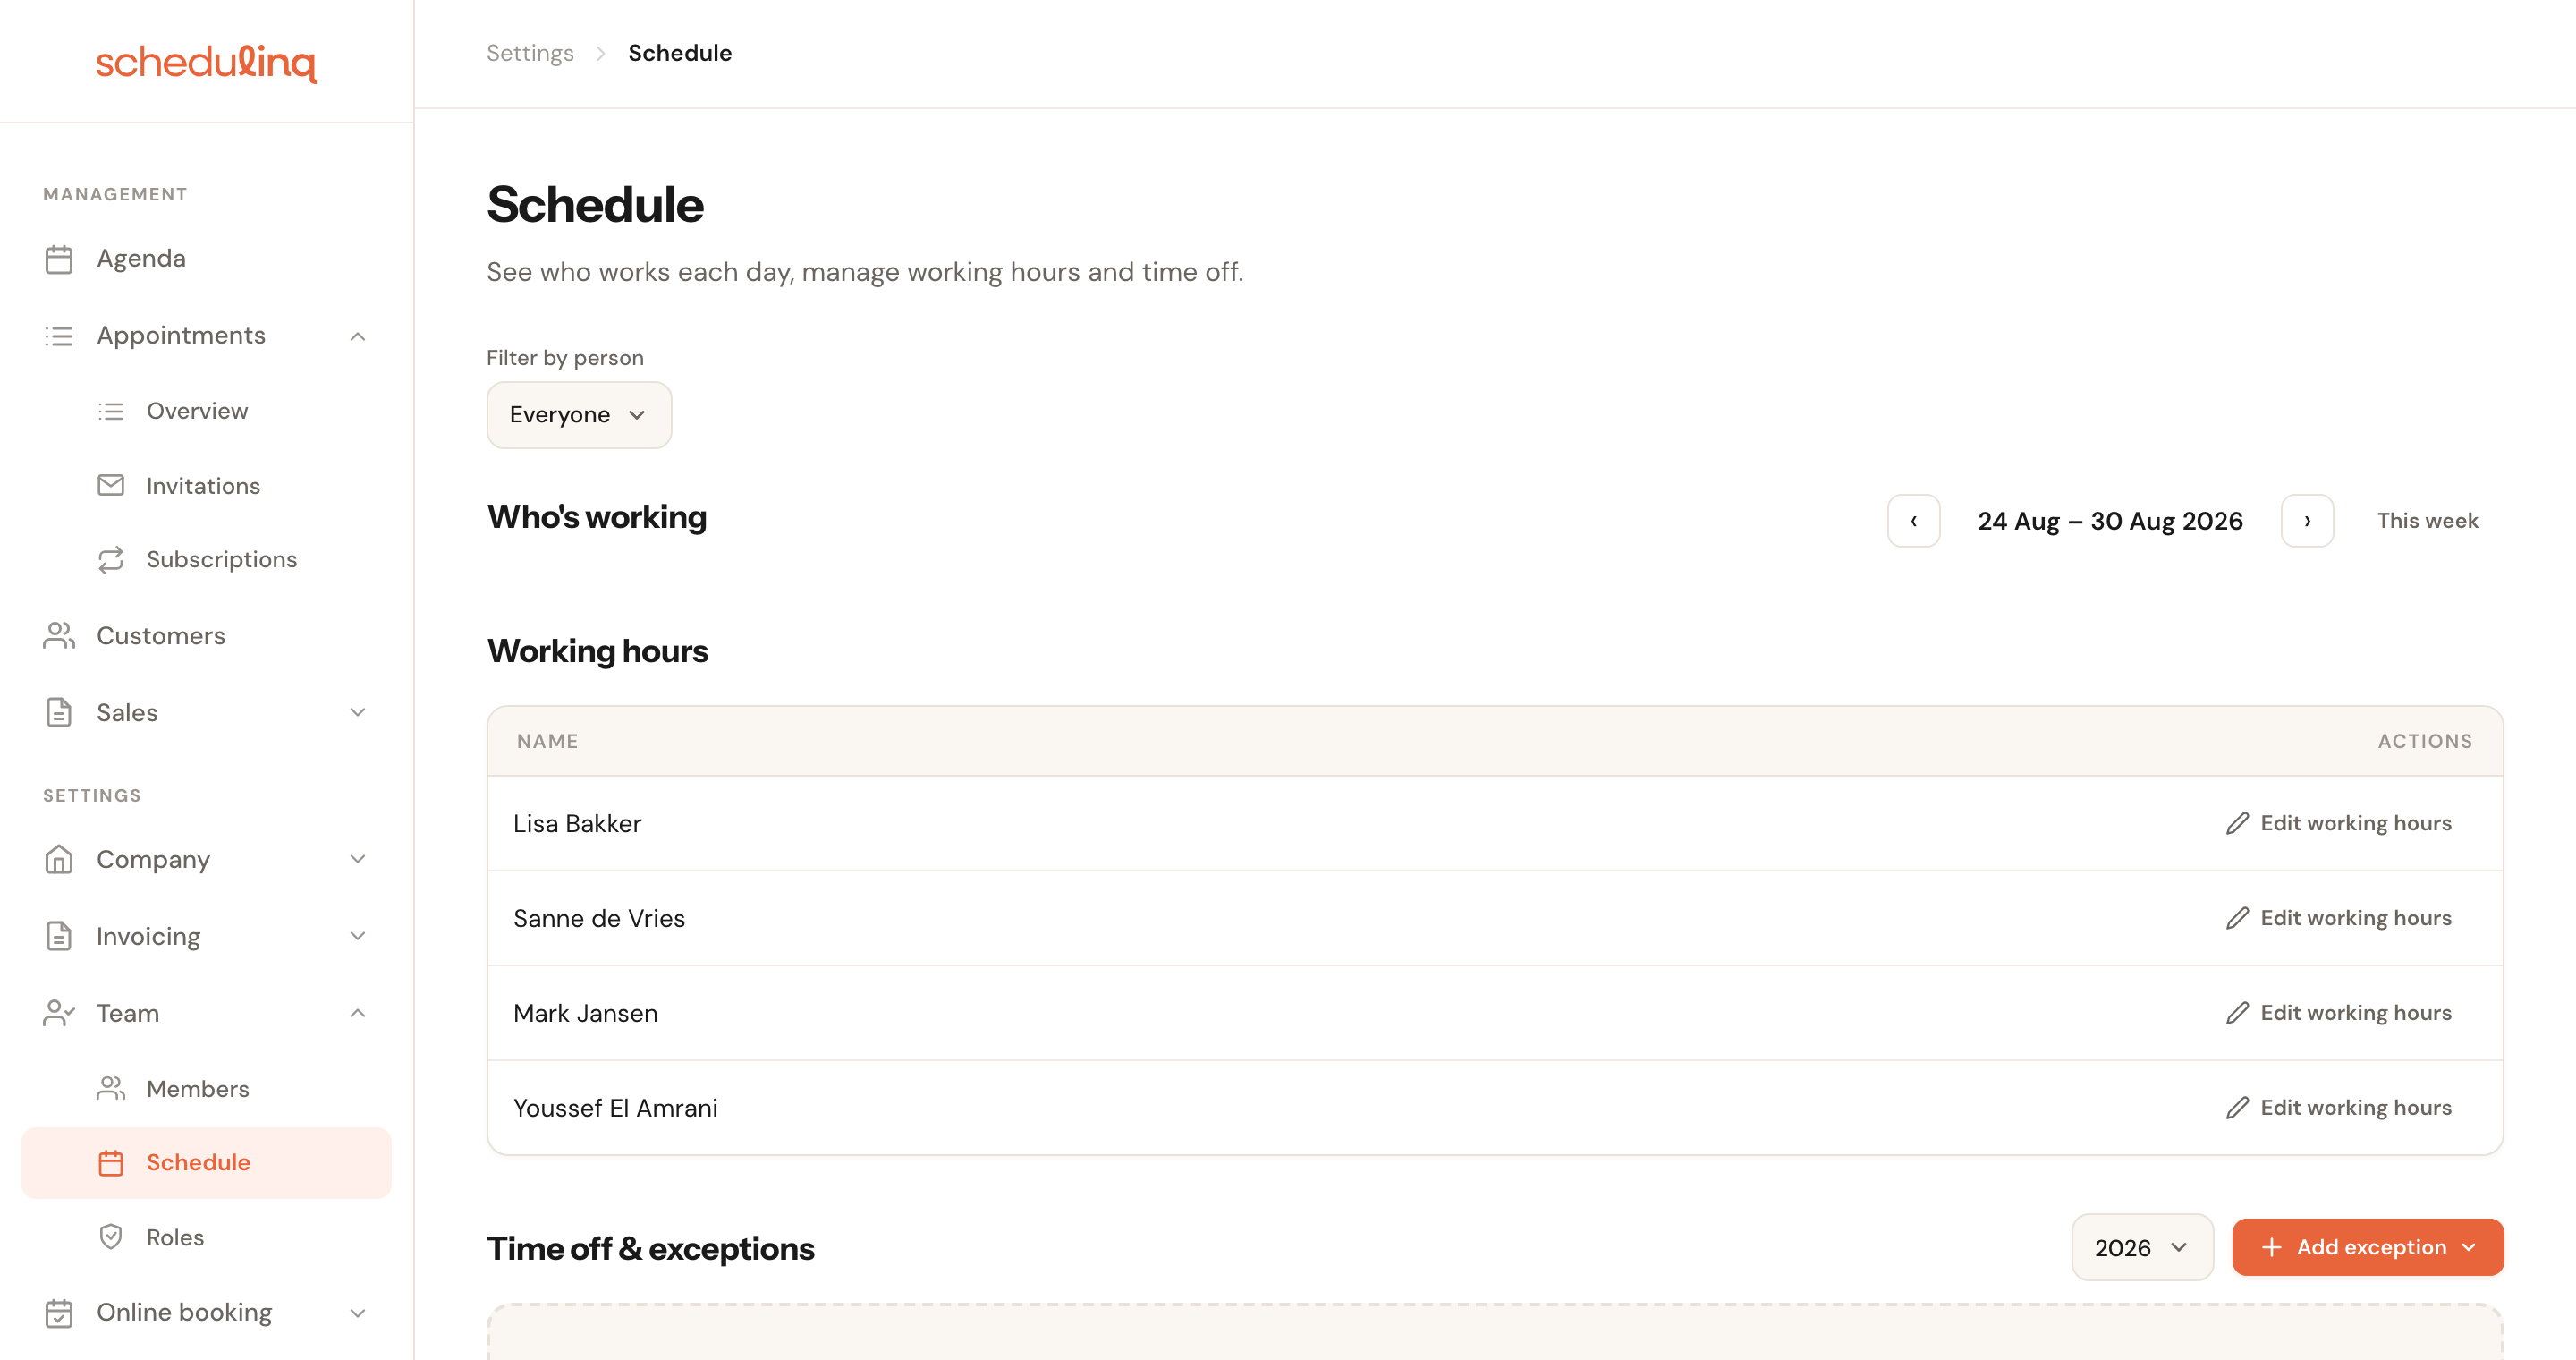
Click Edit working hours to adjust your own.
For a colleague to be bookable, three things have to be true: the invitation has been accepted, working hours are set, and the colleague is assigned to the appointment type in question. Miss any one of the three and their calendar stays empty as far as customers are concerned.
Add locations or a service area
This step only matters if you do not always work at the same address.
If you work at the customer's address, set how far you travel under Company → Service Area. If you work at one or more branches, add them under Company → Locations so you can link them to an appointment type later.
Always at the same address, with customers coming to you? Then you can skip this step.
Create your first appointment type
This is the one step that genuinely blocks you: without an appointment type a customer has nothing to choose and your booking page is empty.
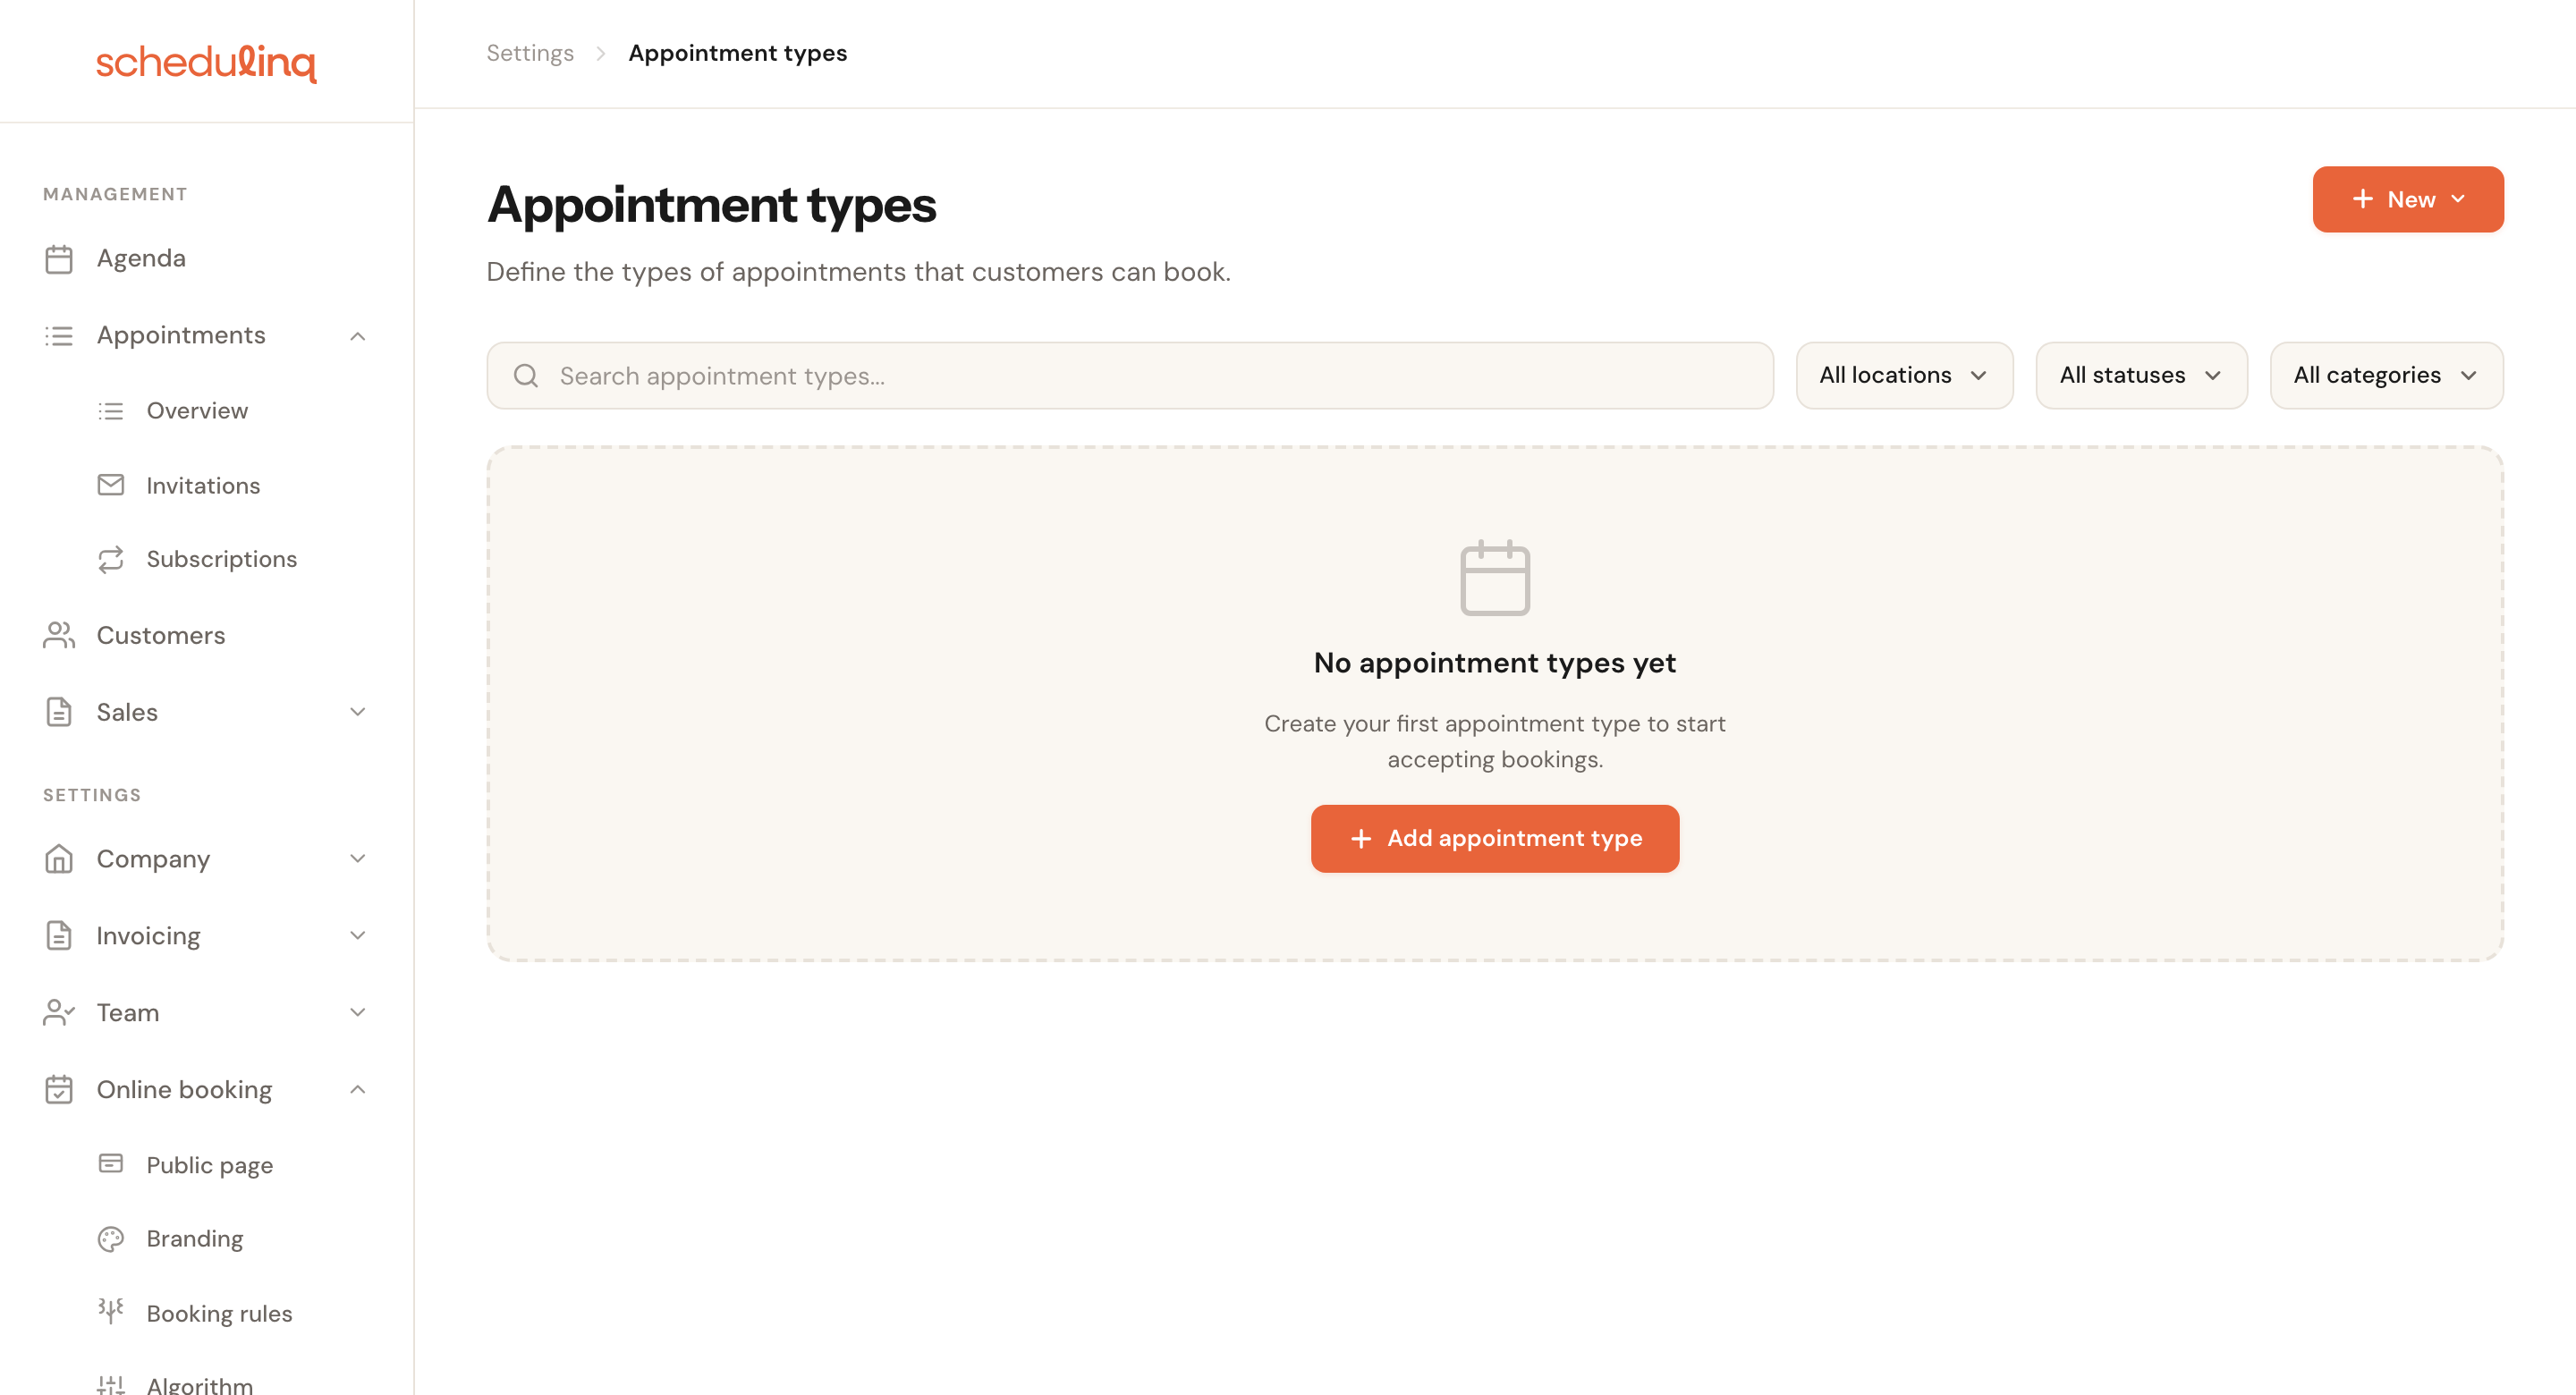
Click Add appointment type to create your first service.
An appointment type is one service you offer: how long it takes, who performs it, what it costs. Create an appointment type walks through every field.
Adjust your booking page and branding
Bookings work now. The rest is polish.
Under Online booking → Public page you adjust the text and layout of your booking page; under Online booking → Branding your colours, font and logo. Both ship with working defaults, so you do not have to touch either to go live.
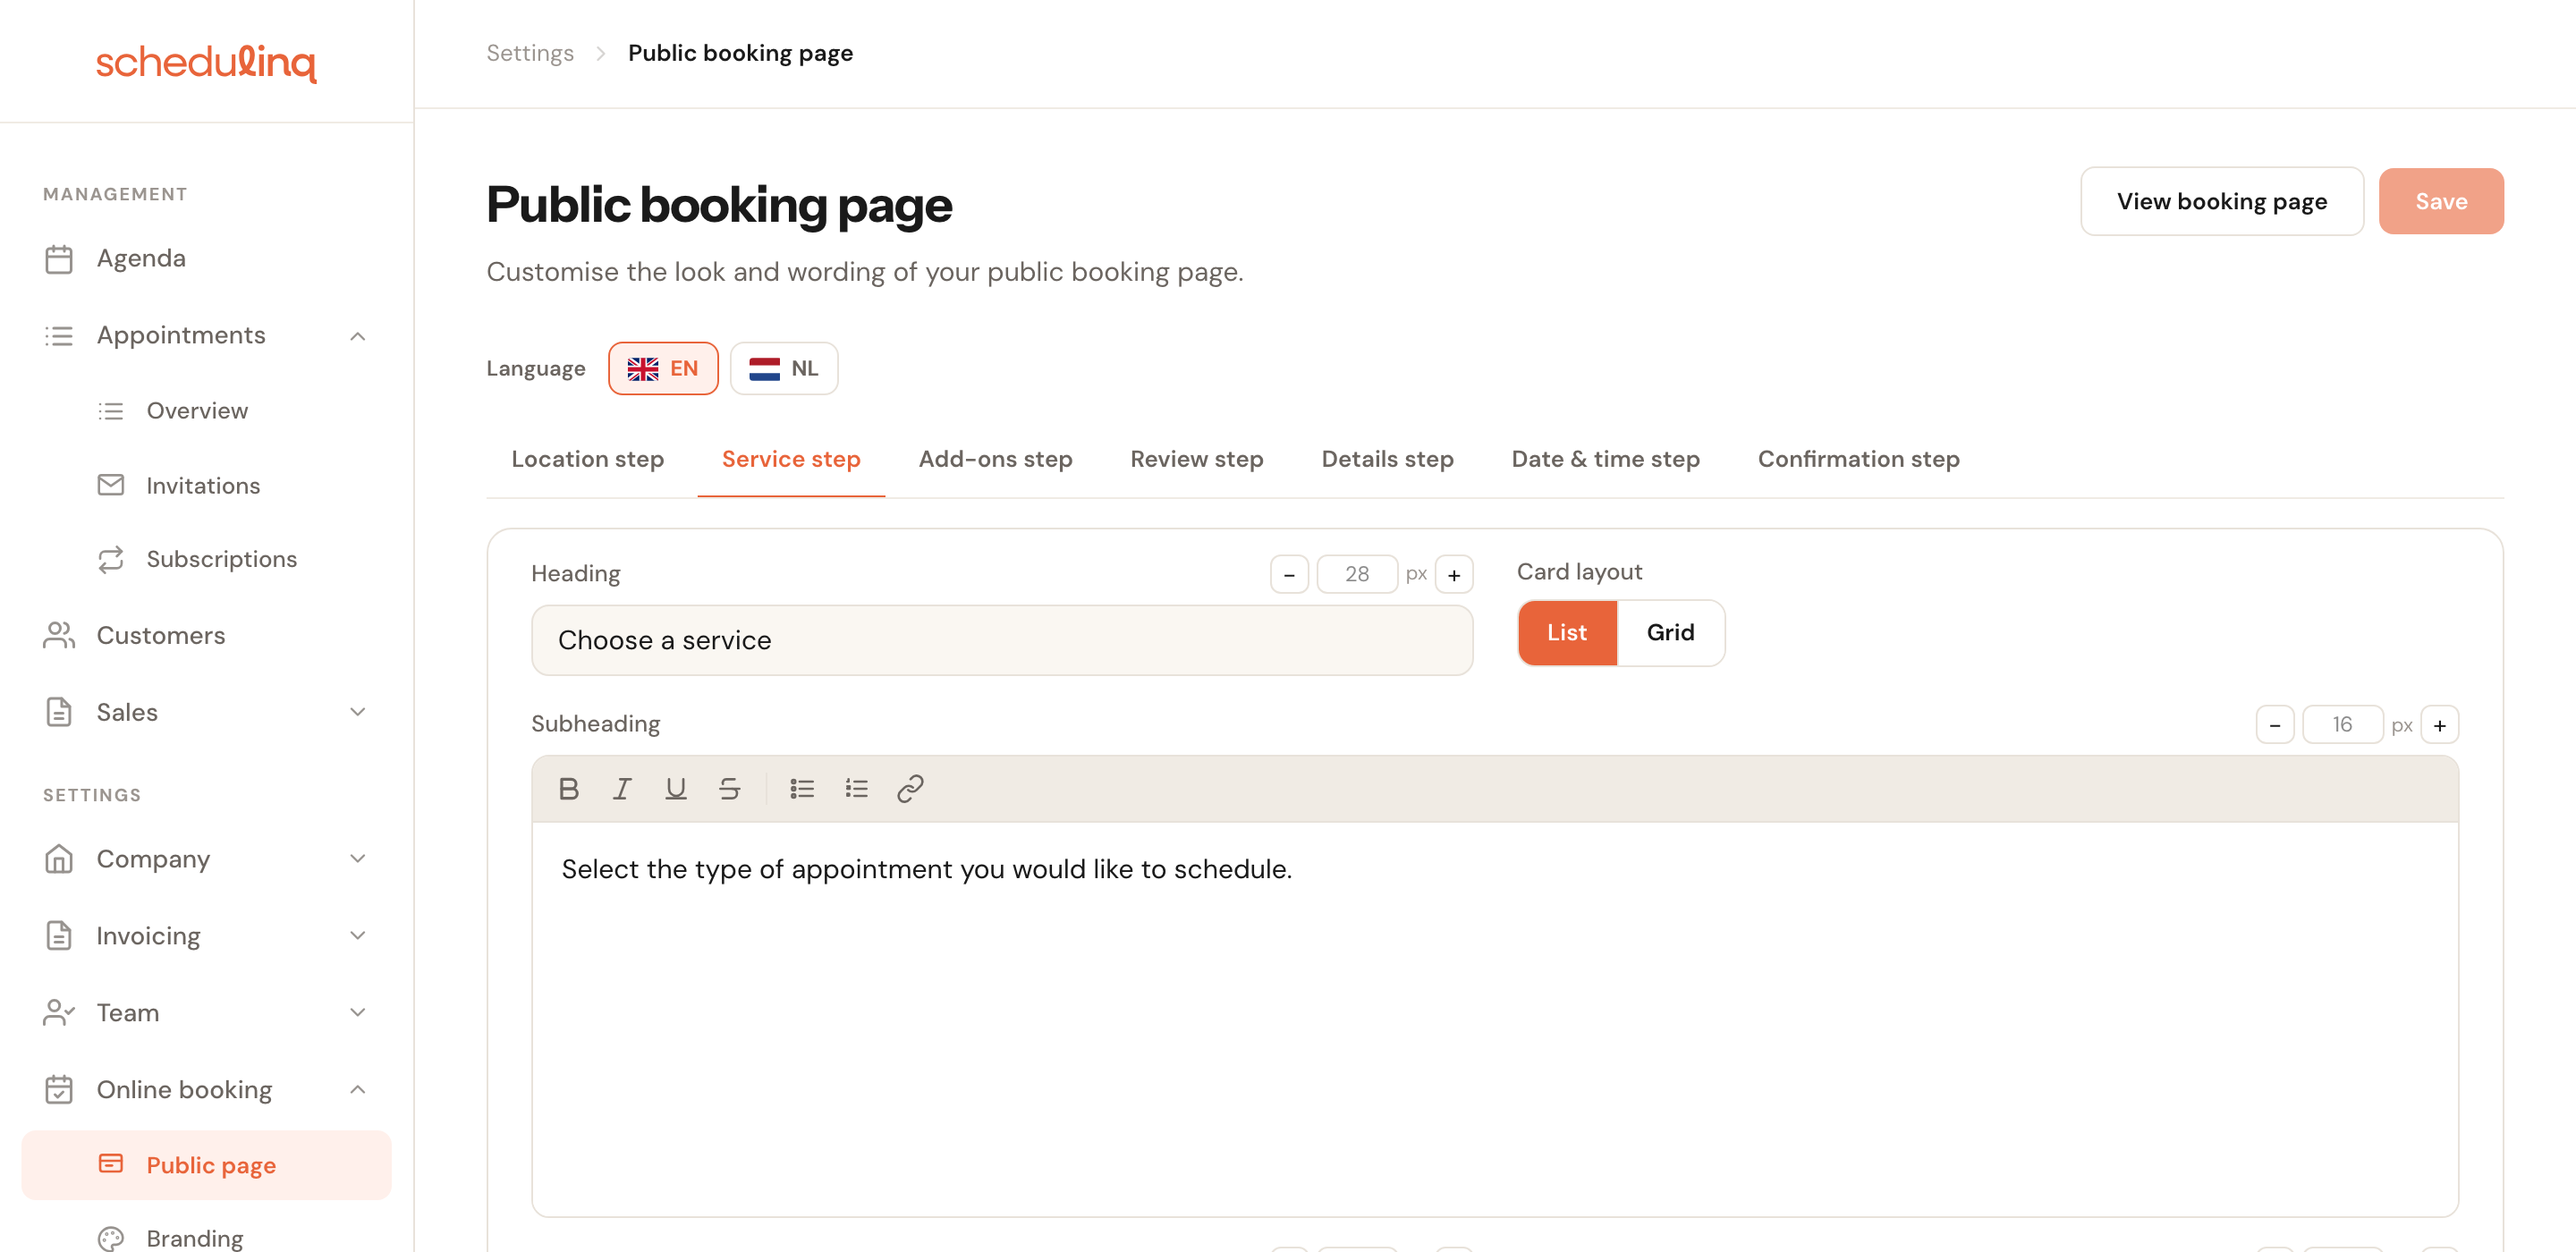
Every step of the booking process has its own heading and text, per language.
Review your communication
Nothing to switch on here either. Confirmations, reminders and messages for changes or cancellations are already in place and apply to all your appointment types.
To see exactly what your customers receive, or to change the tone, look under Communication → Steps. Same rule: adjust it if you want to, not because you have to.
What is already set up for you
When your company is created, Schedulinq puts a number of things in place. Worth knowing they exist, so you do not go looking for them:
- Your own working hours — Monday to Friday, 09:00–17:00.
- Messages to customers — confirmation, reminder, and messages for changes and cancellations, across all your appointment types.
- Roles and permissions — a default set, so you can invite colleagues right away.
- Branding, service area and scheduling settings — with working defaults.
What is not created for you: your appointment types. Those are too specific to your trade to guess, which is why they are the one step you have to take yourself.
Frequently asked questions
Do I have to do this in order? Only step 1 is fixed — without a company, none of the rest exists. After that the order is advice, not a rule.
My booking page is empty. You do not have an appointment type meeting all three conditions yet: online booking on, a duration set, and a staff member assigned who works on those days.
I invited a colleague but nothing can be booked with them. Check the three conditions: has the invitation been accepted, are working hours set under Team → Schedule, and is the colleague assigned to the appointment type?
Can I change my booking URL later? Yes, but old links stop working afterwards. Choose it carefully before you start sharing it.