
Add a location
Record an address customers come to — the one your roster and your booking page point at.
A location is a place you work from: your salon, your workshop, a second branch. You record it once and then use it in three places:
- A service that takes place on location uses the location's address instead of the customer's — in the appointment, in the confirmation and in the calendar.
- In the roster you can tie a work block to a location, so it is clear who works where.
- In the appointment types overview you can view your catalogue one location at a time.
Step by step
Open Company → Locations
You see your existing locations with their address and whether customers can pick them online.
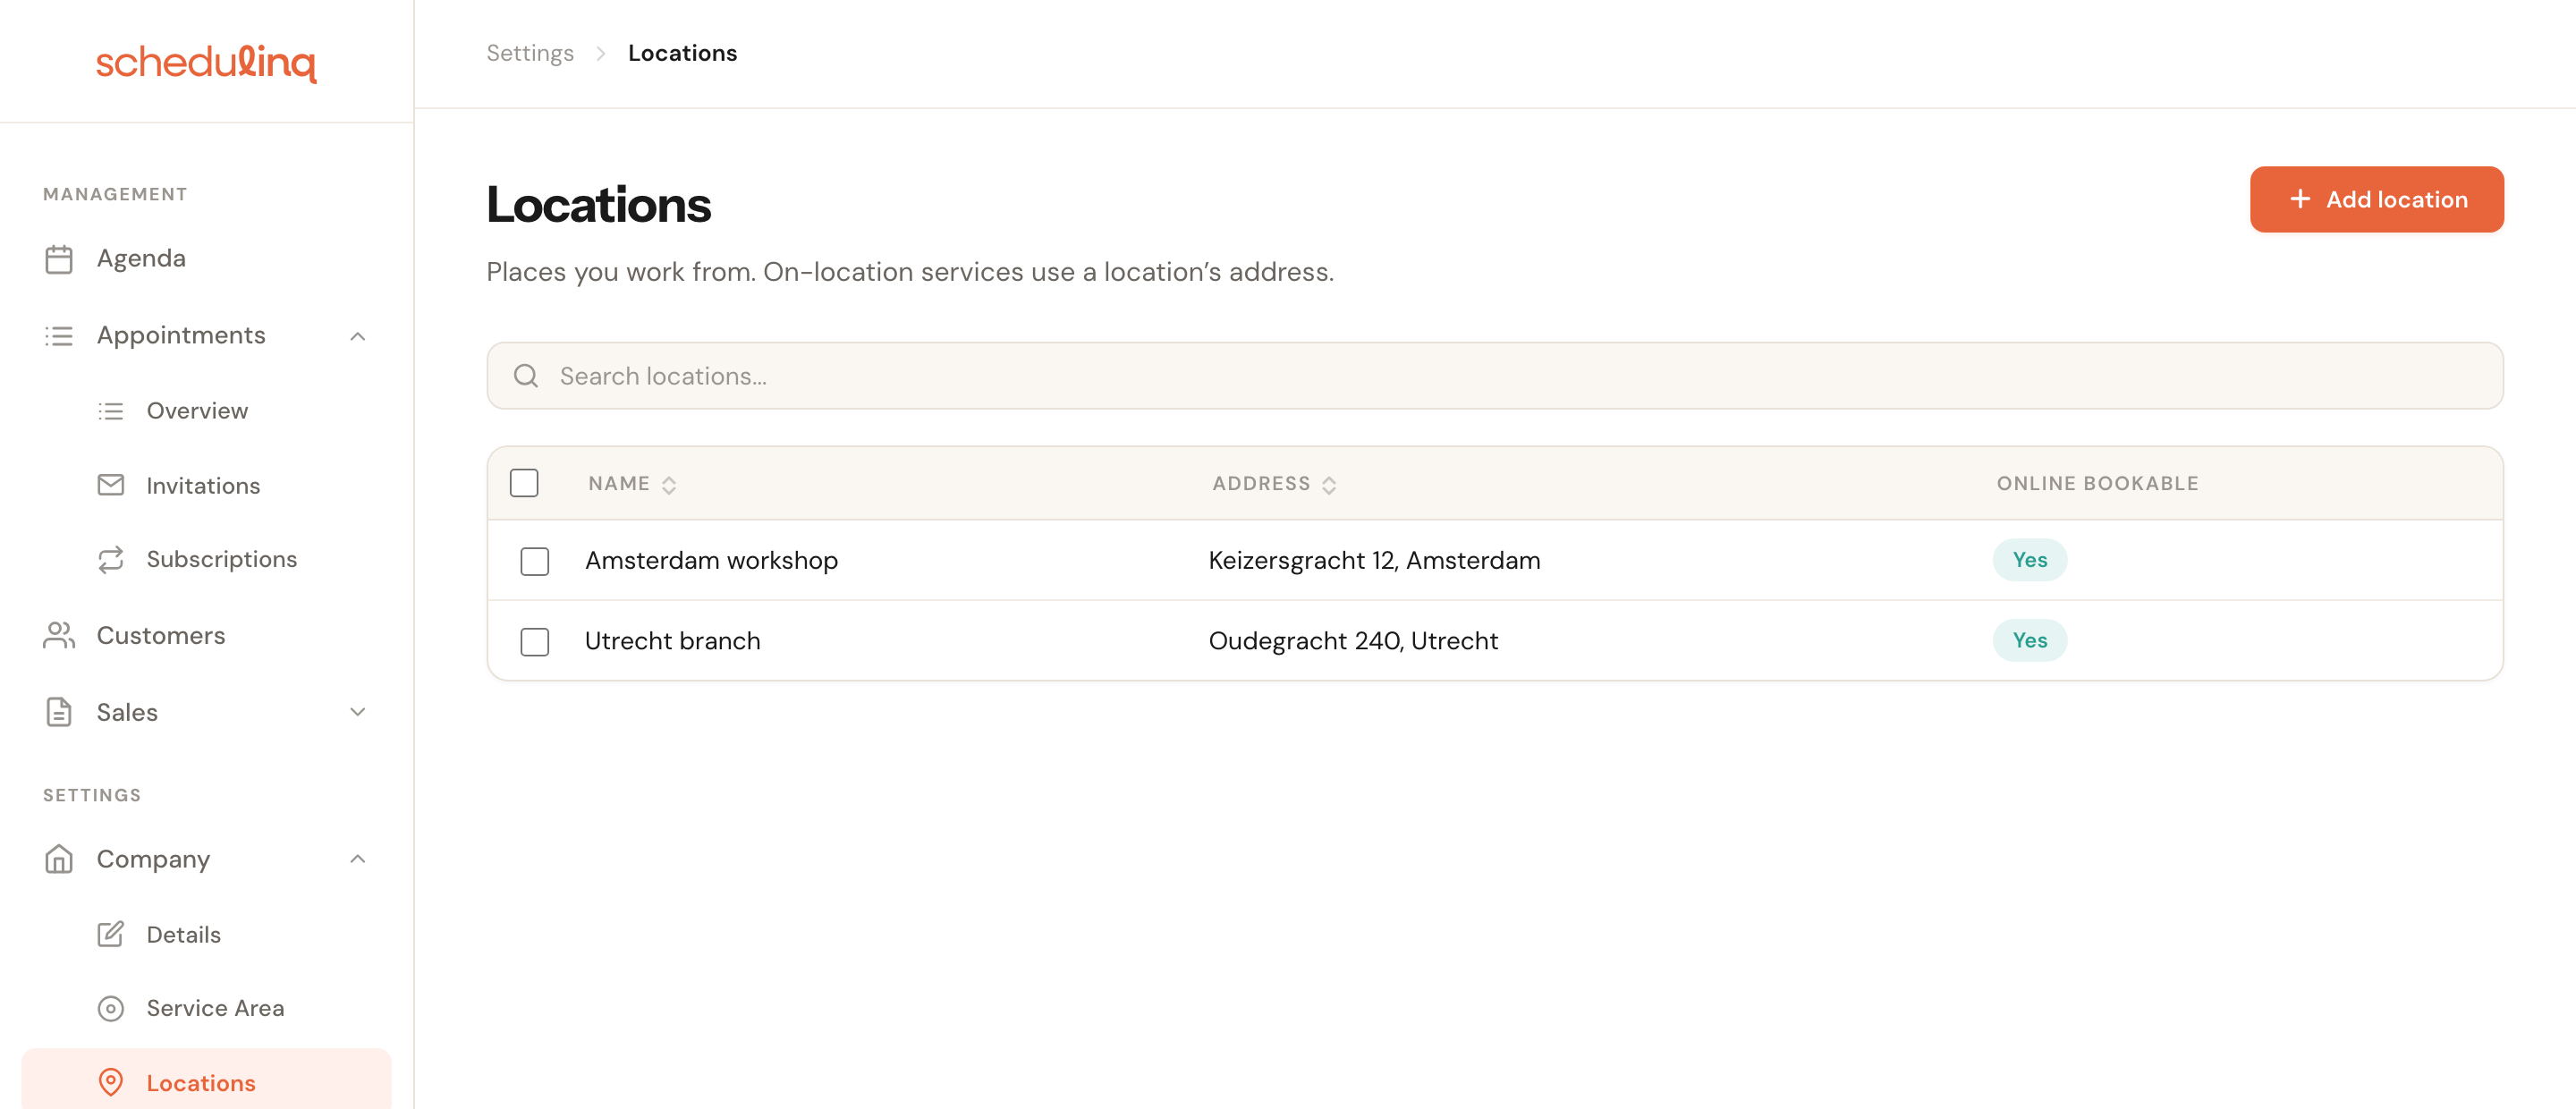
Click a row to open a location. Search filters on name and address.
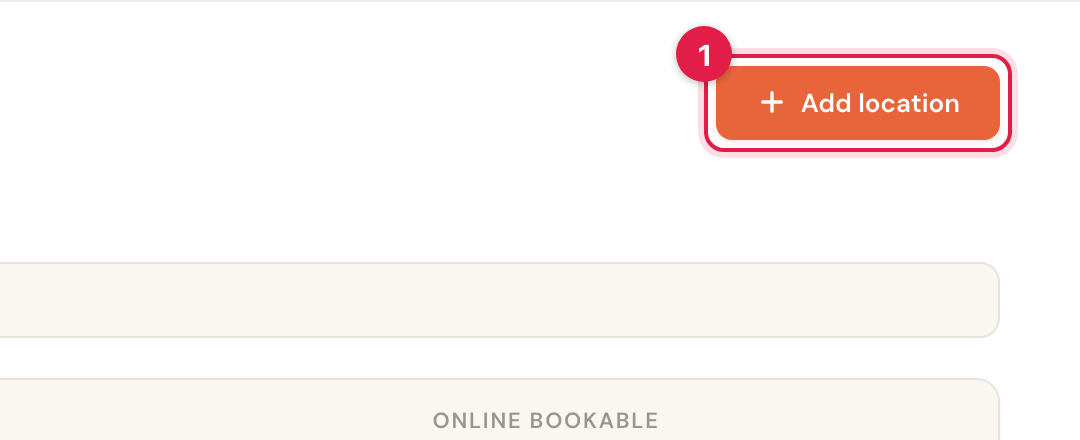
Click Add location
The button sits at the top right. If you have no locations yet, the same button appears in the middle of the empty screen.
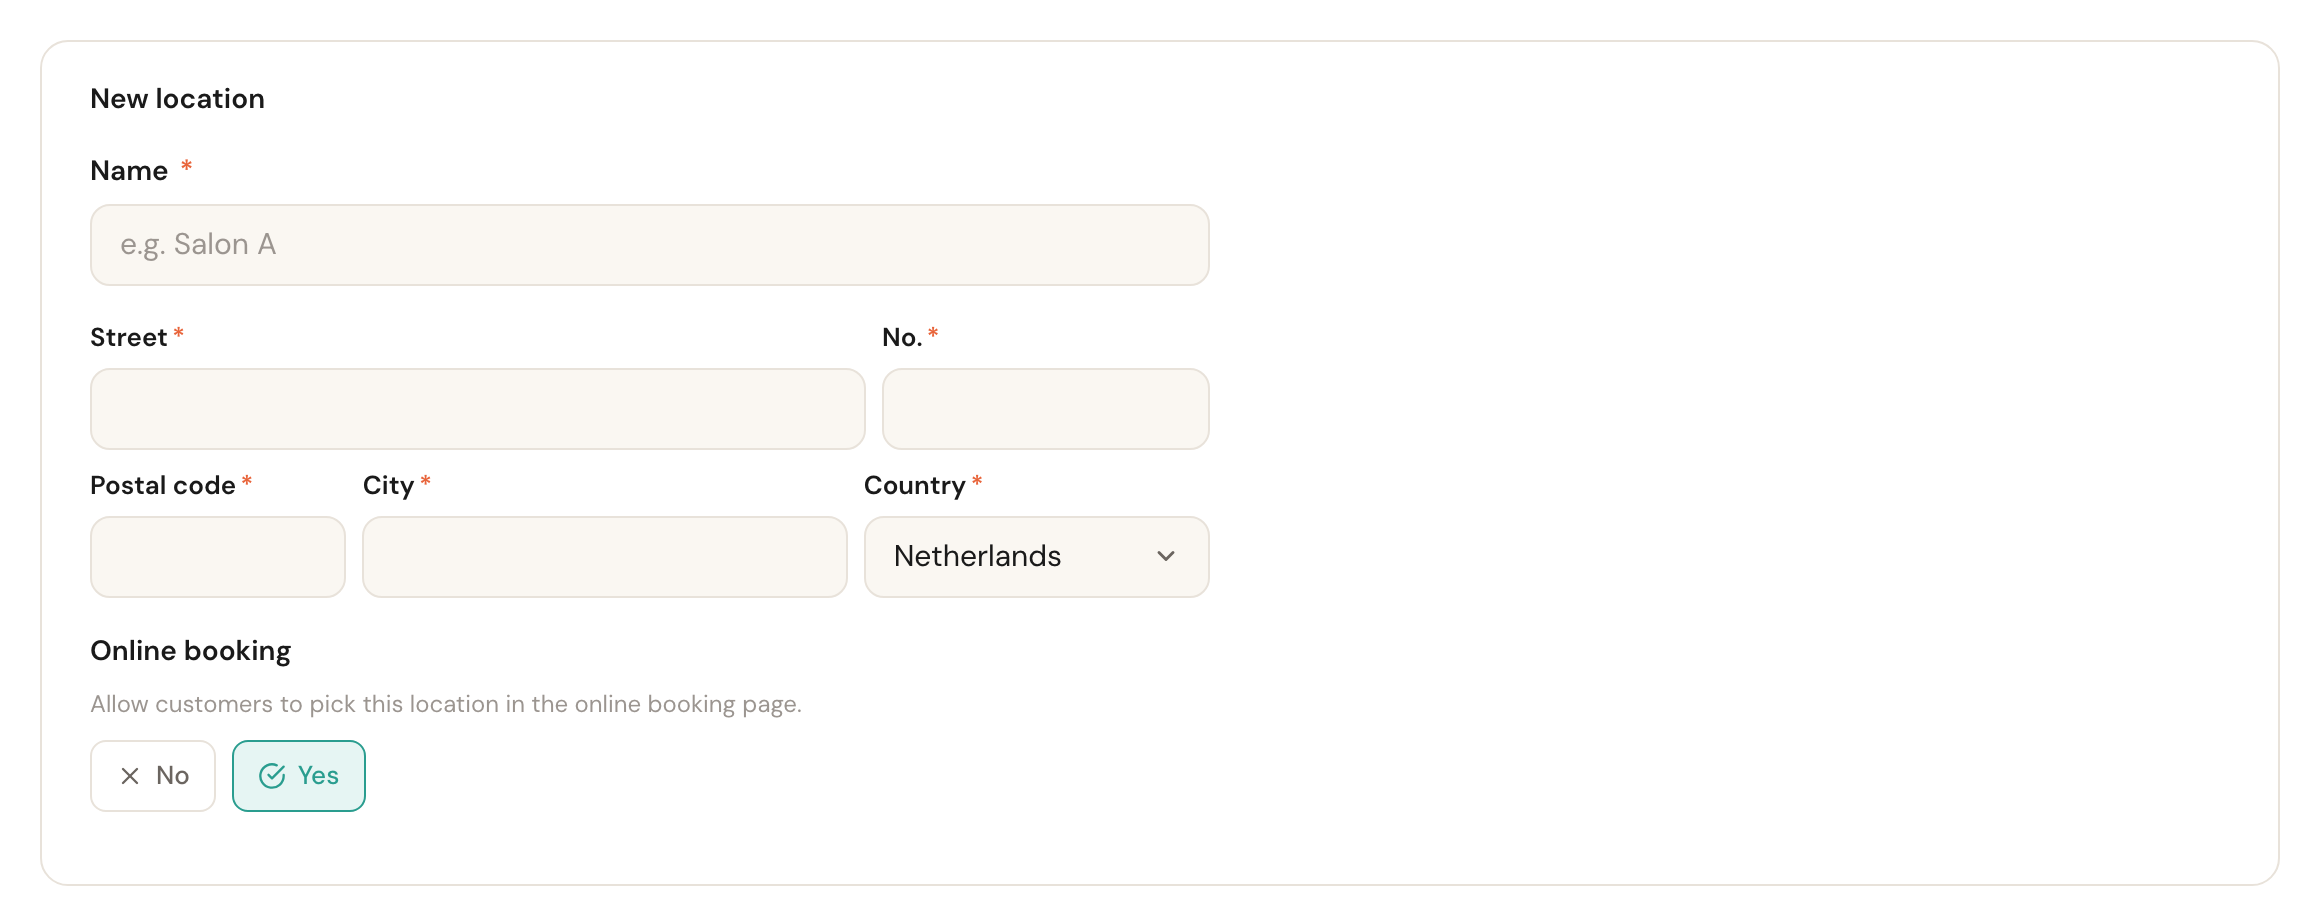
Fill in the details
Name and address are required; the rest is already set sensibly.
Click Save
The location appears in the list straight away and can be picked on your appointment types and in the roster.
The fields
Name
RequiredThe name you and your team see, and the one customers get when they choose a location while booking.
Pick something a customer would recognise from the street — “Rotterdam branch” or “Salon Centrum” beats “Building 2”. The name appears next to the address, so it does not need to repeat it.
Address
RequiredStreet, number, postal code, city and country, each in its own field.
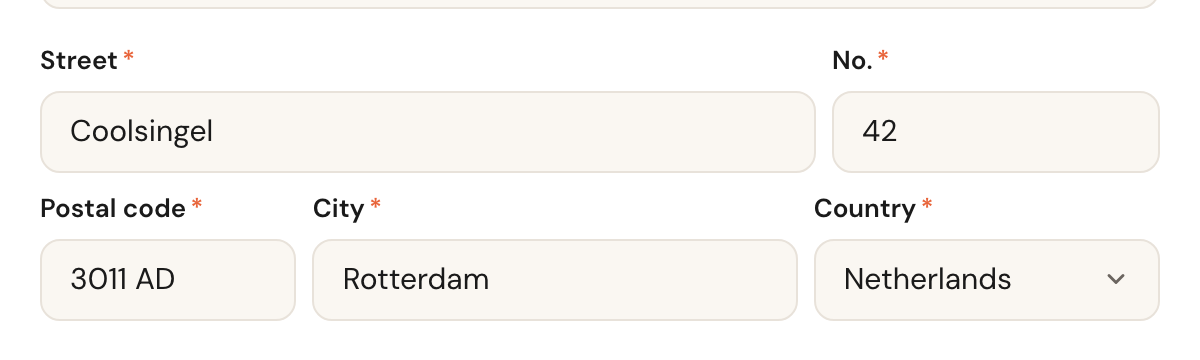
This address goes verbatim into the appointment and the confirmation email, and it is what travel time is calculated from. An incomplete address does not produce an error — it produces a customer standing at the wrong door.
Online booking
Default: YesDecides whether customers can pick this location themselves on your booking page.
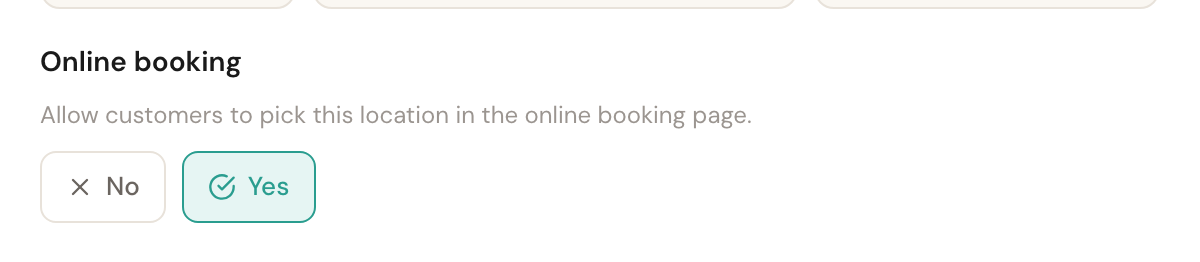
Set it to No for an address that belongs in your records but never sees customers — a warehouse or an office. The location stays usable in the roster and when scheduling by hand; it simply is not offered to customers.
Linking a service to a location
You do not do that here — this page only records the address.
Open the appointment type, tick At one or more locations under Where does this take place?, and choose the locations that service can be booked at. See Create an appointment type.
Who works here
An existing location shows this week's roster at the bottom, filtered to that location.
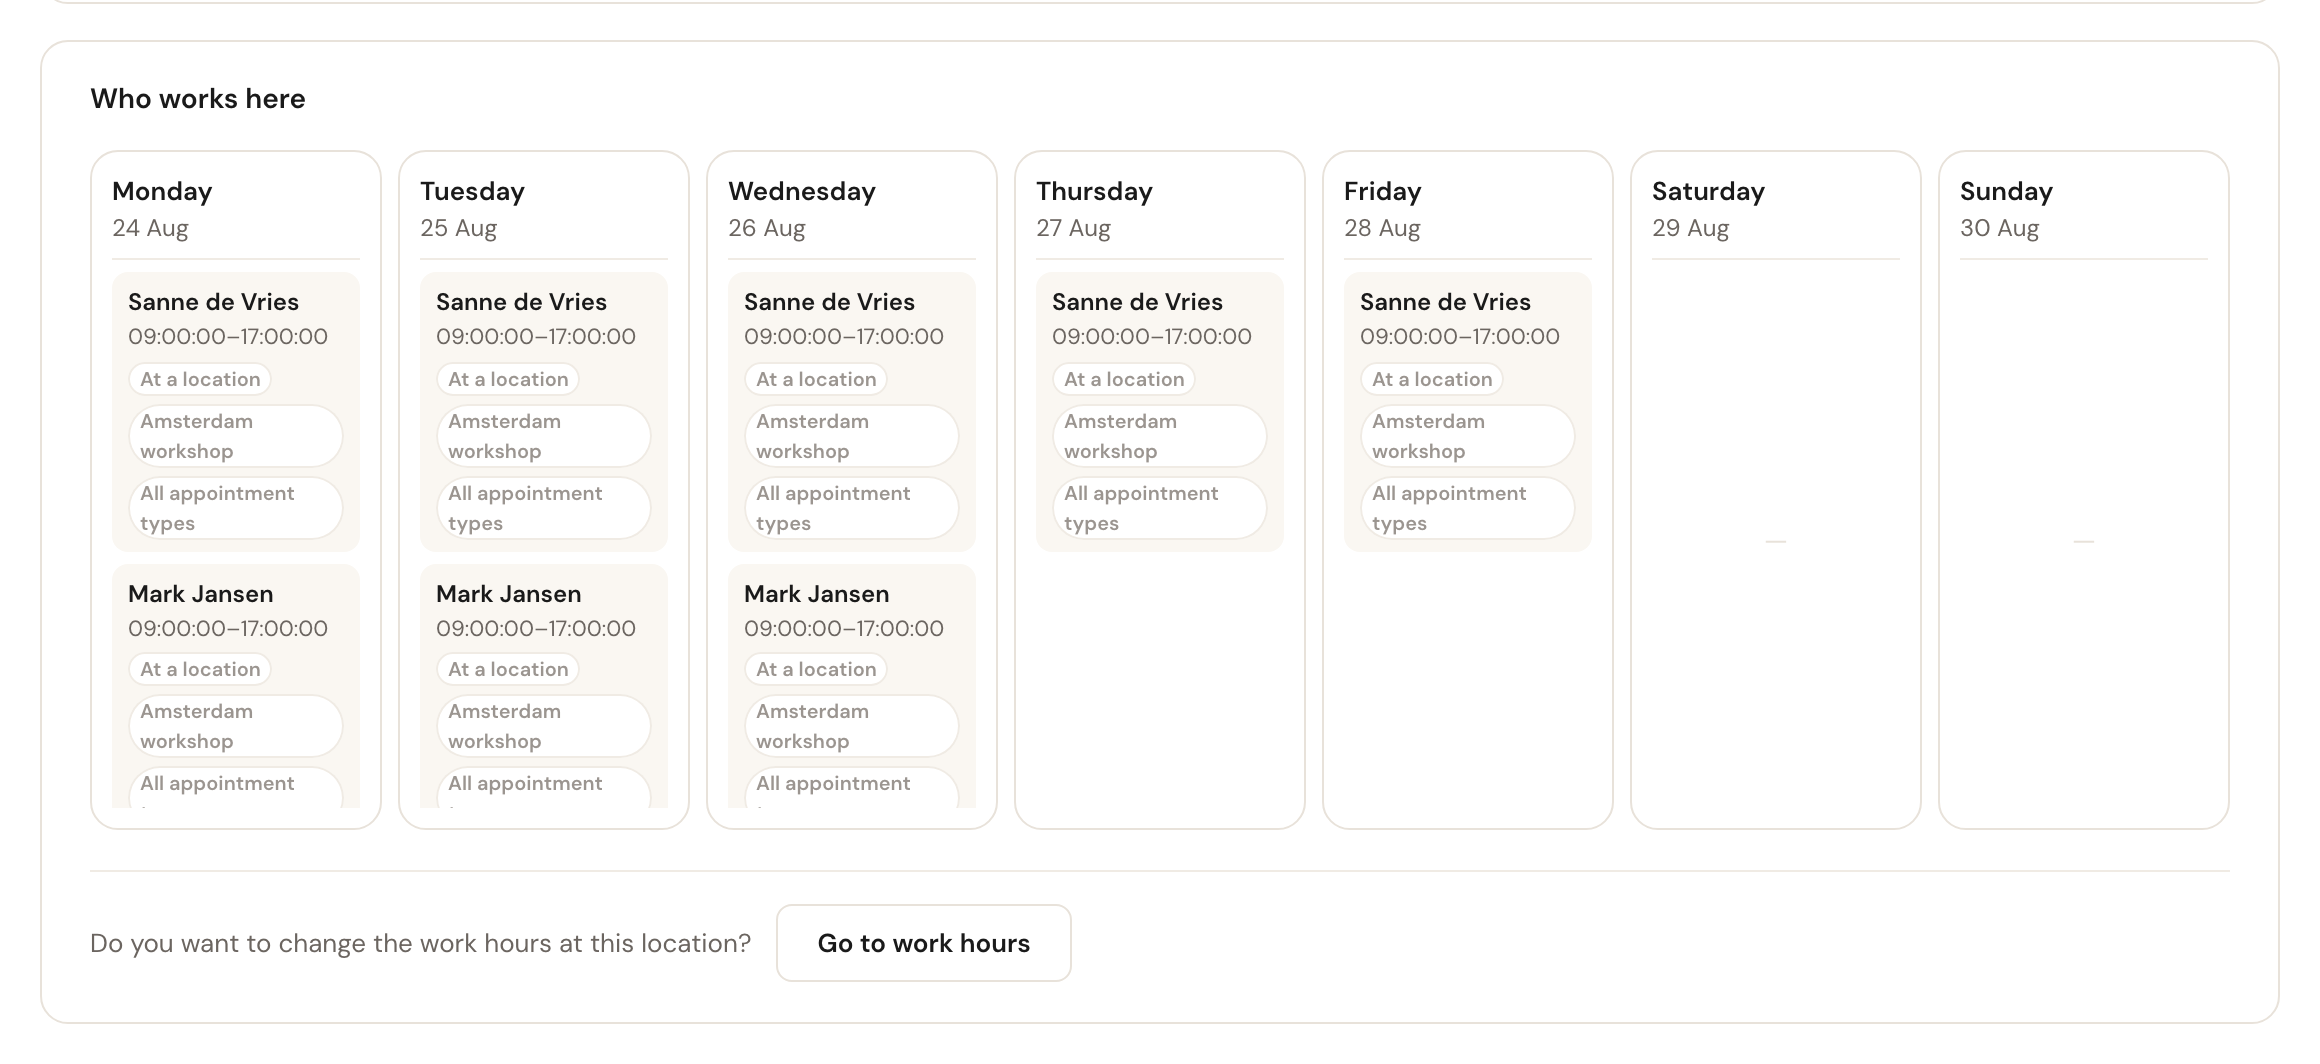
You can read it here but not change it — that happens in the roster itself, via the button underneath.
This is the quickest answer to "can anything actually be booked here?". If a day is empty where you expect customers, a work block for this location is missing from the roster.
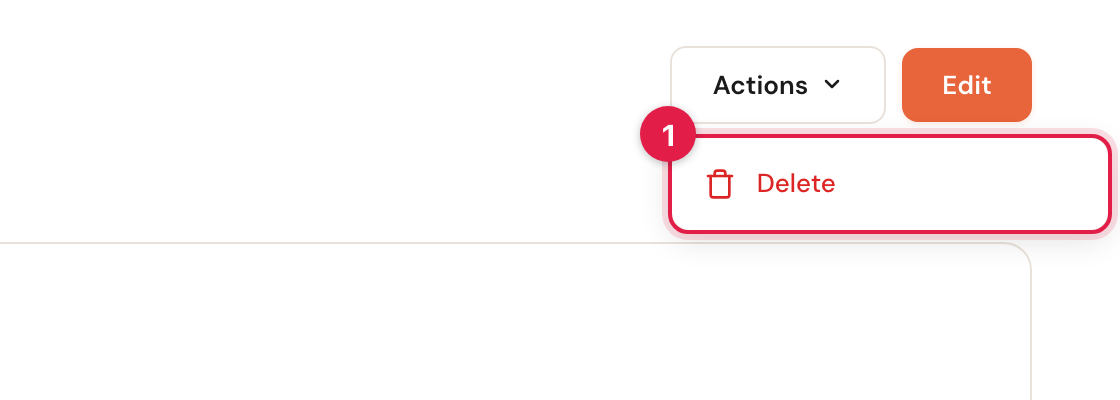
Deleting a location
Open the location, click Actions and choose Delete.
Frequently asked questions
Can I rename a location? Yes. Open it, click Edit, change the name and save. Existing appointments keep the address they already had.
Why can't I see a location on my appointment type? Check that you ticked At one or more locations on that appointment type — the list of locations only appears after that.
Do I need a location if I always travel to the customer? No. Services that take place at the customer use the customer's address. You only need locations when customers come to you.